EN - 12
IMPORTANT: Use fresh unleaded fuel with
an octane rating of at least 87. DO NOT use
E85 blended fuels; the engine is not E20 /
E30 / E85 compatible. The maximum
recommended ethanol content is 10%. Ariens
recommends using a quality fuel stabilizer in
all fuel. See Short Term on page 27.
3. Check engine oil level and add oil if
needed. Refer to engine manual.
4. Check function of controls.
• Attachment Clutch Lever
• Traction Drive Clutch Lever
• Dual Handle Interlock
5. Know how to stop in an emergency. See
Emergency Stopping on page 11.
START THE ENGINE
1. Electric Start: Connect power cord to
starter and then into 120V 3-wire
grounded outlet.
IMPORTANT: Use a power cord that is UL
listed or CSA certified, rated for a minimum of
13 amps, grounded and labeled as suitable
for outdoor use.
All Models
2. Turn fuel valve to on position.
3. Turn engine key to run position.
4. Cold Engines Only: Press primer bulb
3times.
5. Turn choke control knob to on position.
6. Electric Start: Press electric start button.
NOTICE: DO NOT run starter more than 10
times at intervals of 5 seconds on / 5 seconds
off or overheating and damage may occur.
7. Recoil Start: Pull recoil starter handle.
a. Grasp handle and pull rope out slowly
until it pulls harder.
b. Pull handle firmly and quickly with a
rapid, continuous full-arm stroke.
Repeat until engine starts. If engine
does not start, see Troubleshooting
on page 25.
c. Let handle rewind slowly after engine
starts. DO NOT let handle snap
against engine.
8. Gradually turn choke off as engine
warms.
9. Electric Start: Disconnect power cord
from outlet and then from starter.
OPERATE UNIT
1. Rotate discharge chute and move
deflector to desired positions.
2. Select desired speed.
3. Engage attachment clutch.
NOTICE: Stop auger when traveling between
work areas.
4. Engage traction drive clutch.
NOTICE: Release lever before changing
speed.
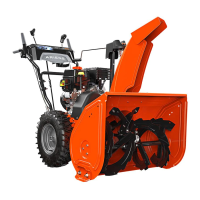
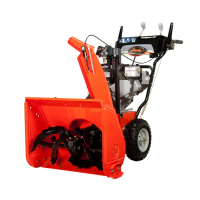
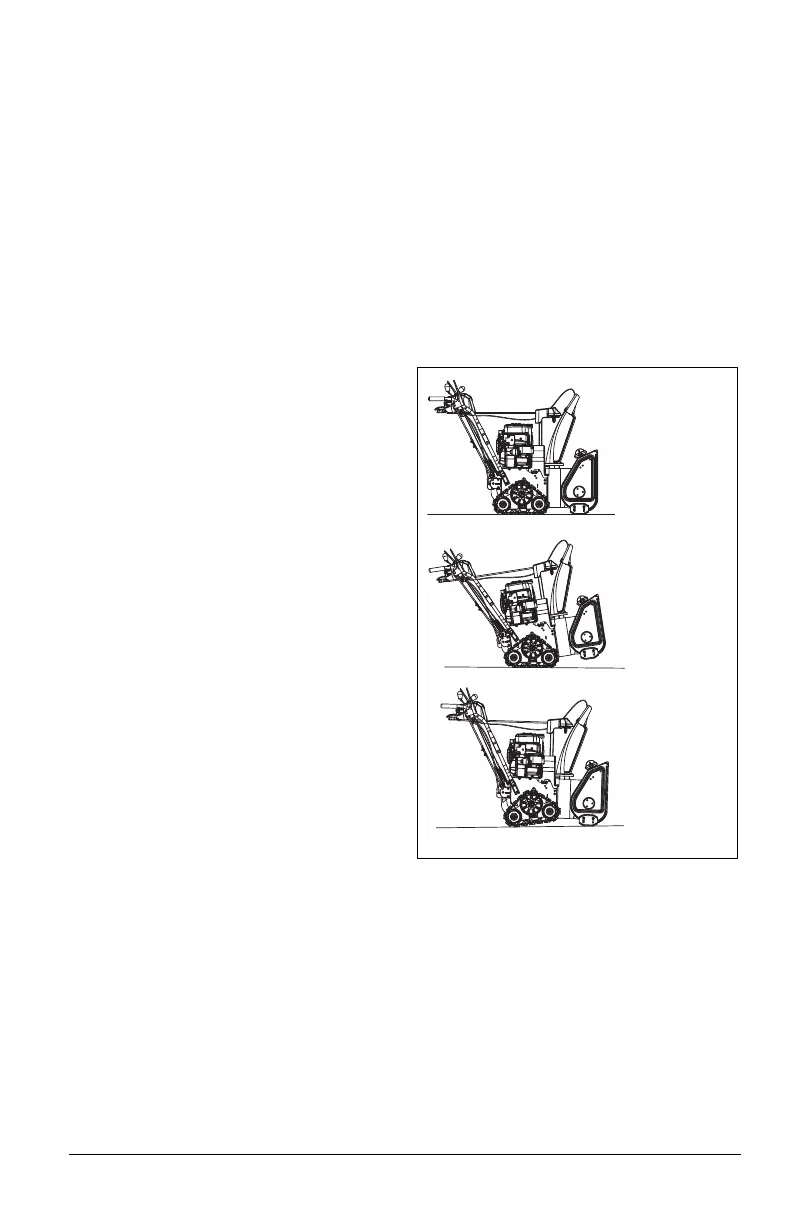
Adjust Track Angle
Model 920028
See Figure 13.
To clear snow on gravel or uneven surfaces
or to travel between work areas, squeeze
height adjustment lever and push down on
handlebars to raise auger housing.
To clear packed snow, squeeze lever and lift
up on handlebars to lower housing.
Set Axle Lock Pin
Models 920025, 920026, 920027
NOTICE: Wheels must be locked in the outer
axle holes when using tire chains.
See Figure 14.
Axle lock pins may be positioned so both
wheels lock with axle rotation for greater
traction, or so one wheel is unlocked from
axle and rotates freely for easier turning.
For greater traction:
1. Align both wheel hub holes with inner
axle holes and insert lock pins.
Figure 13
Normal Operation
Raised Position
Lowered Position
 Loading...