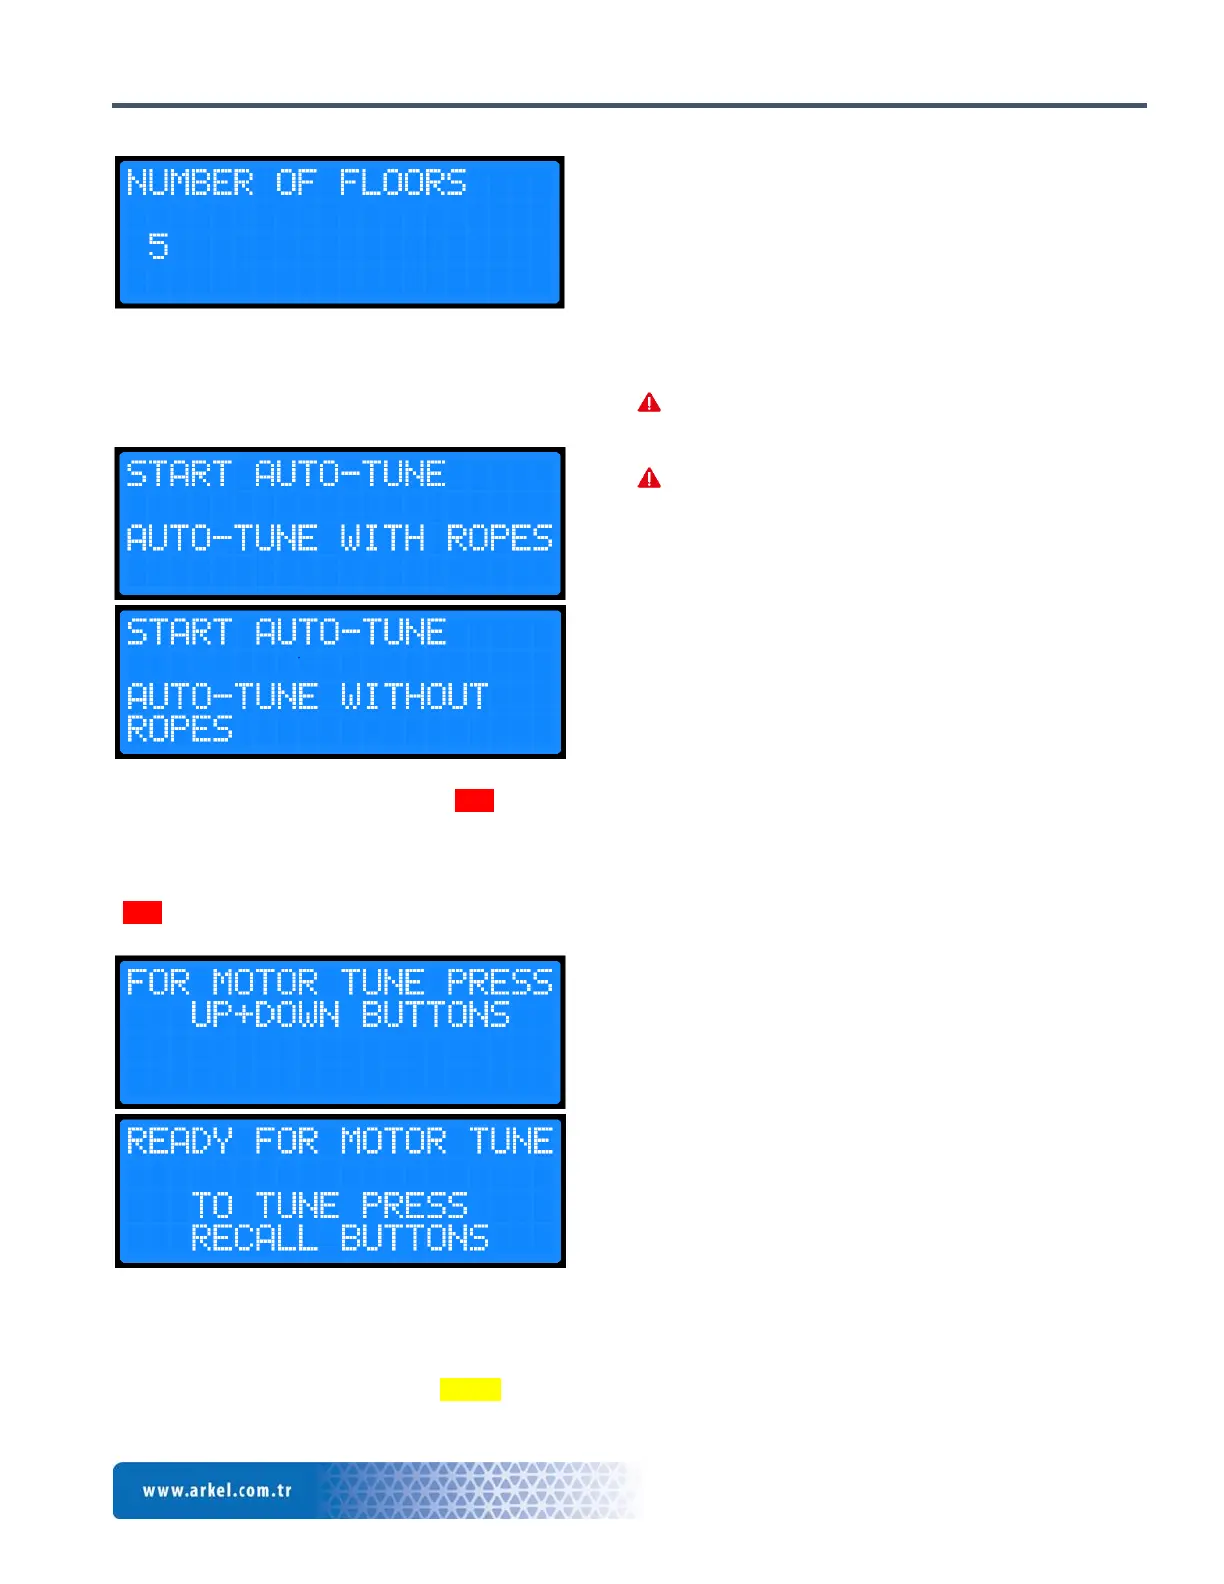
4.2.13 Start auto-tune
ARCUBE can perform auto tuning both with ropes and
without ropes. “START AUTO-TUNE” parameter
must be entered correctly.
Save the parameters and exit by pressing “ESC” button.
4.3 Performing Auto Tuning
After completing the above steps, exit by pressing
“ESC” button. After the changes are being saved, it turns
back to main menu and the below screen is come across.
Take the “SEE” key on ARCUBE to “1” position and
keep pressing up or down recall buttons until “MOTOR
TUNE SUCCEED” screen is seen. After you see this
message, save the values by pressing “ENT” button.
Then, try to move the car a little.
If the motor turns in a wrong direction when you press
down or up buttons: find “2.5: MOTOR DIRECTION”
parameter under “2-BASIC SETTINGS” title and
change the parameter. If it is chosen as “clockwise”,
choose “counter-clockwise”. If it is chosen as “counter-
clockwise”, choose “clockwise”.
If the car moves correctly in the recall mode, you can go
on the following steps.
Remove all the bridges between 110-140 terminals
in the safety circuit.
After this step, after car top and pit inspection
terminal mounting are completed, the parameters
must be corrected. The bridges must be removed.
After the magnetic switches and magnets are
mounted, the parameters must be corrected. The
bridges must be removed. Otherwise, the priority of
the person in the pit according to the person on the
car top, and the priority of the person on the car top
according to the person on the control panel will be
disappeared.
5. Preparations for Normal Operation
Make all the other mechanical installations of elevator
system.
Make the inspection box wiring, pit box wiring and safety
circuit wirings.
Up and down deceleration distance magnets should be
put 2 m away from the top and bottom door zone magnet
levels.
Make the installation of round magnets for SKSR1
magnetic switch 2 m away from bottom floor door zone
magnet level. Connect the cables of SKSR1 magnetic
switch to 100 and 817 terminals located on Fx-Cube
board.
Move the car to the bottom floor.
Car must be exactly at the bottom floor level.
Install round magnet with red color side above the
SKSR1 magnetic switch as deceleration distance.
Install the round magnet with black color side a little
above the red color magnet.
The distance between magnetic switch and magnets must
be 1-2 cm.