• Do not ship any switch in a rack without checking for restrictions in the
Aruba 2540 Switches Installation and Getting Started Guide
. Otherwise, you may void the switch warranty.
• Ensure the power source circuits are properly grounded, then use the power cord supplied with
the switch to connect it to the power source.
• Use only approved power cords with your Aruba Networking Product. Please see the power cord
information in the section titled Power cords on page 11
of this guide for acceptable power cords that are appropriate for this product. Failure to use
approved power cords can result in personal injury and product damage, and may void your
product warranty.
• If your installation requires a different power cord than the one supplied with the switch, be sure
the cord is adequately sized for the switch’s current requirements. In addition, be sure to use a
power cord displaying the mark of the safety agency that defines the regulations for power cords
in your country. The mark is your assurance that the power cord can be used safely with the
switch and power supply.
• When installing the switch, the AC outlet should be near the switch and should be easily
accessible in case the switch must be powered off.
• Do not install the switch in an environment where the operating ambient temperature exceeds its
specification. See the section titled Aruba 2540 Switch Safety and Regulatory Information on
page 12
.
• Ensure the switch does not overload the power circuits, wiring, and over-current protection. To
determine the possibility of overloading the supply circuits, add together the ampere ratings of all
devices installed on the same circuit as the switch and compare the total with the rating limit for
the circuit. The maximum ampere ratings are usually printed on the devices, near the AC power
connectors.
• Ensure the air flow around the switch is not restricted. Leave at least 3 inches (7.6 cm) for cooling
on the sides and rear of the switch. For other available air flow information, see the
Aruba 2540 Switches Installation and Getting Started Guide
, located on the Hewlett Packard Enterprise Information Library at www.hpe.com/networking/
ResourceCenter
.
Prepare for installation
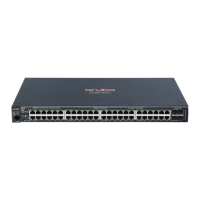
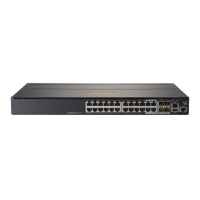
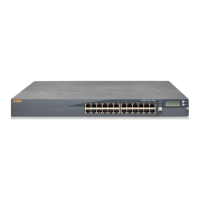
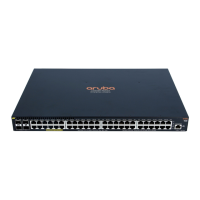
1. Unpack and check included parts:
• Switch
• Accessory kit (installation hardware)
• Power cord
• Documentation kit
2. Prepare for installation.
Chapter 1 Aruba 2540 24G/48G Switch Quick Setup Guide and Safety/Regulatory Information 5