February 2012 18 80-0180-262 Rev. D
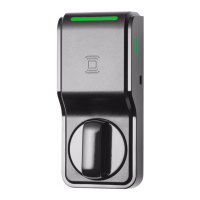
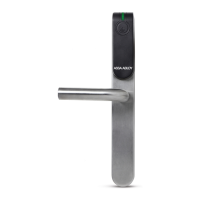
Replacing Mortise Cylinder
Insert key into Cylinder, turn key 180 de-
grees Clockwise to release blocking plate.
Insert allen key (included) and loosen the
screw to allow removal of the battery cover
(Fig 3).
Be careful to support the battery cover with
your free hand. Caution: once loosened,
the battery cover can slide down and fall.
Disconnect battery holder from eForce
®
150. Weight of batteries can damage
or break the wiring. (Fig 4.)
Remove two (2) #10-32 x 5/8 screws from the inside bottom of trim. (Fig 5).
Lift eForce
®
150 off mounting bracket. Be careful not to lose spindle located
in the spindle output on the back of the eForce
®
150.
(Fig 5)
(Fig 3)
(Fig 4)
80-0180-262 Rev. D 11 February 2012
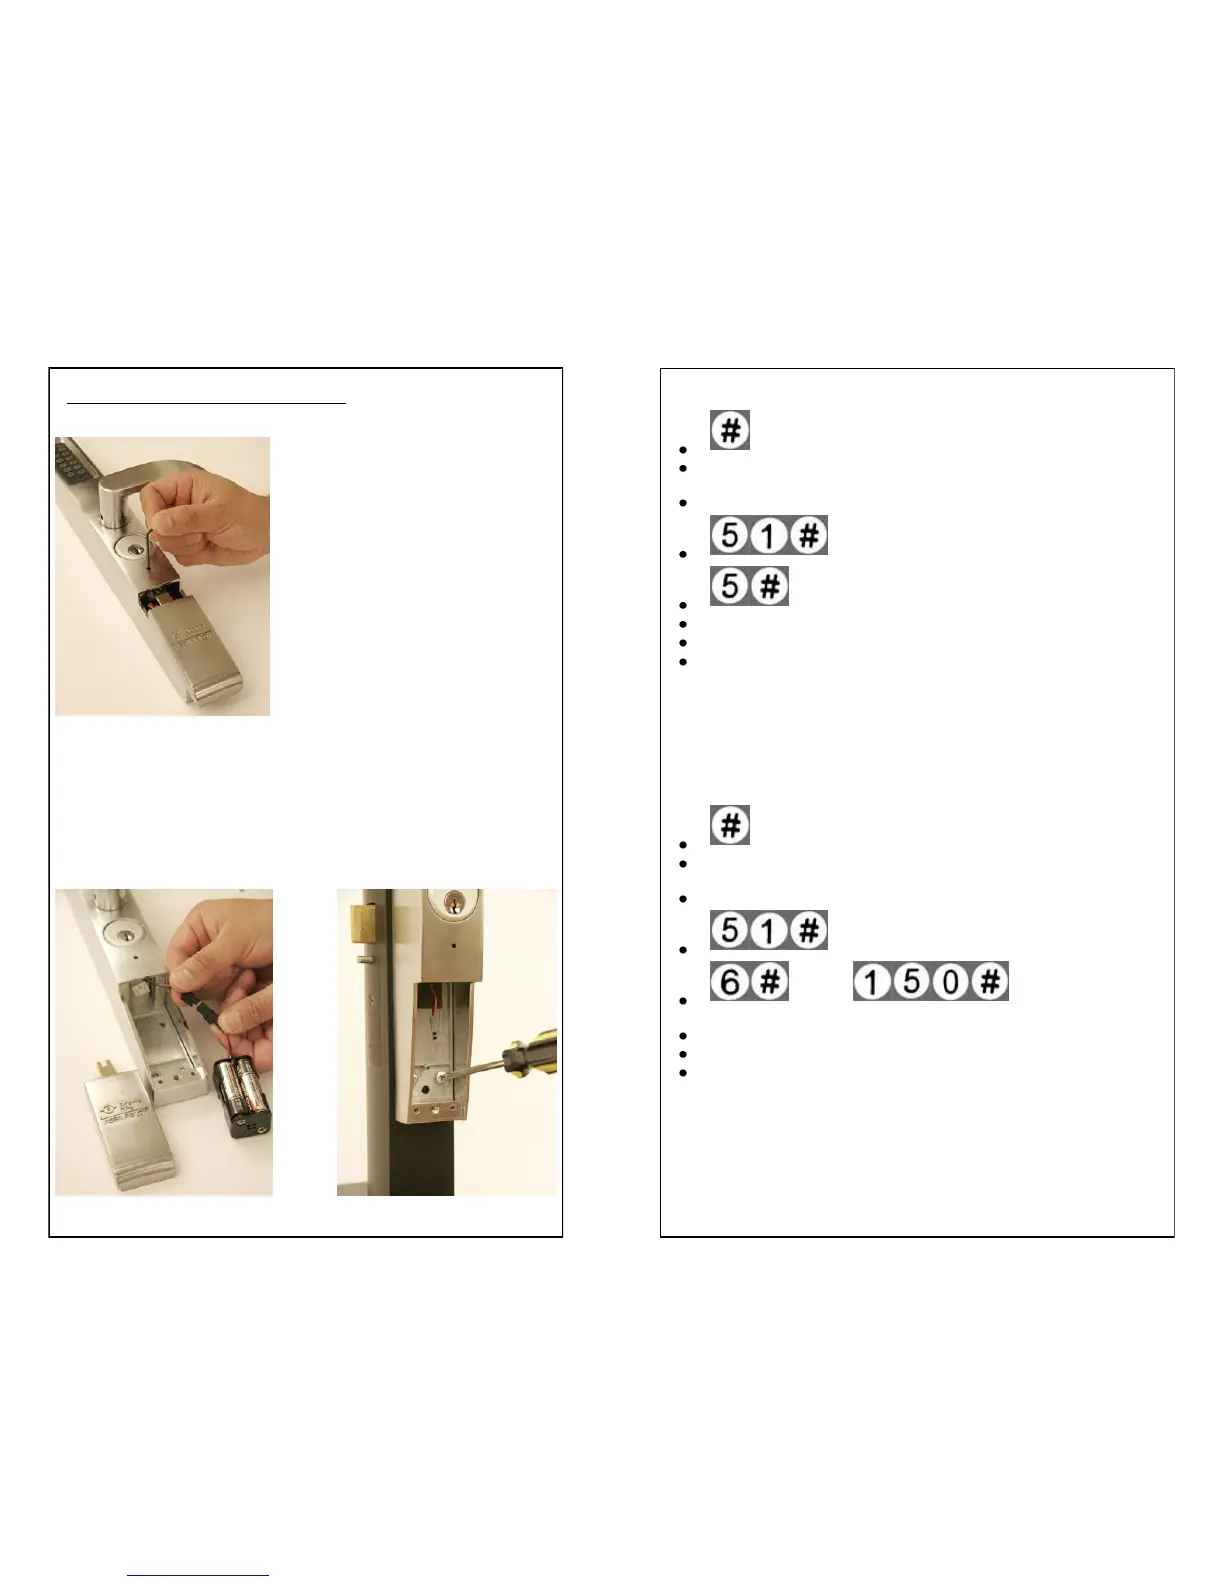
STEP 5: PASSAGE CODE (Location 5)
Depress and hold # key (approximately 5 seconds).
Release when yellow LED blinks. (Yellow LED will blink continuously
during programming)
Enter Master or Supervisor Code # (Green flash with 2 short tones)
Enter 51 # (Green flash with 2 short tones)
Enter 5# (Green flash with 2 short tones)
Enter desired Code # (4-7 digits) (Green flash with 2 short tones)
Re-Enter Code # (Green flash with 2 short tones)
Green flash with 2 short tones will repeat to indicate successful code
programming.
Press # within 2 seconds to stay in programming mode then enter 51#
to continue Steps 6 through 7.
STEP 6: NORMAL USER CODES (Locations 6-
150)
Depress and hold # key (approximately 5 seconds).
Release when yellow LED blinks. (Yellow LED will blink continuously
during programming)
Enter Master or Supervisor Code # (Green flash with 2 short tones)
Enter 51 # (Green flash with 2 short tones)
through Enter 6# through 150
# (Green flash with 2 short tones)
Enter desired Code # (2-7 digits) (Green flash with 2 short tones)
Re-Enter Code # (Green flash with 2 short tones)
Green flash with 2 short tones will repeat to indicate successful code
programming.
Press # within 2 seconds to stay in programming mode then enter 51#
to continue Step 7.