56 of 108
7.7.4 Washing the dispensing group
Those in possession of the “AL” version of the
machine, must not perform the group wash op-
eration.
Wash the dispensing groups on a daily basis.
The coffee dispensing wash method is different for each ma-
chinetype.Theinstructionsspecictothemodelbeingused
must be followed.
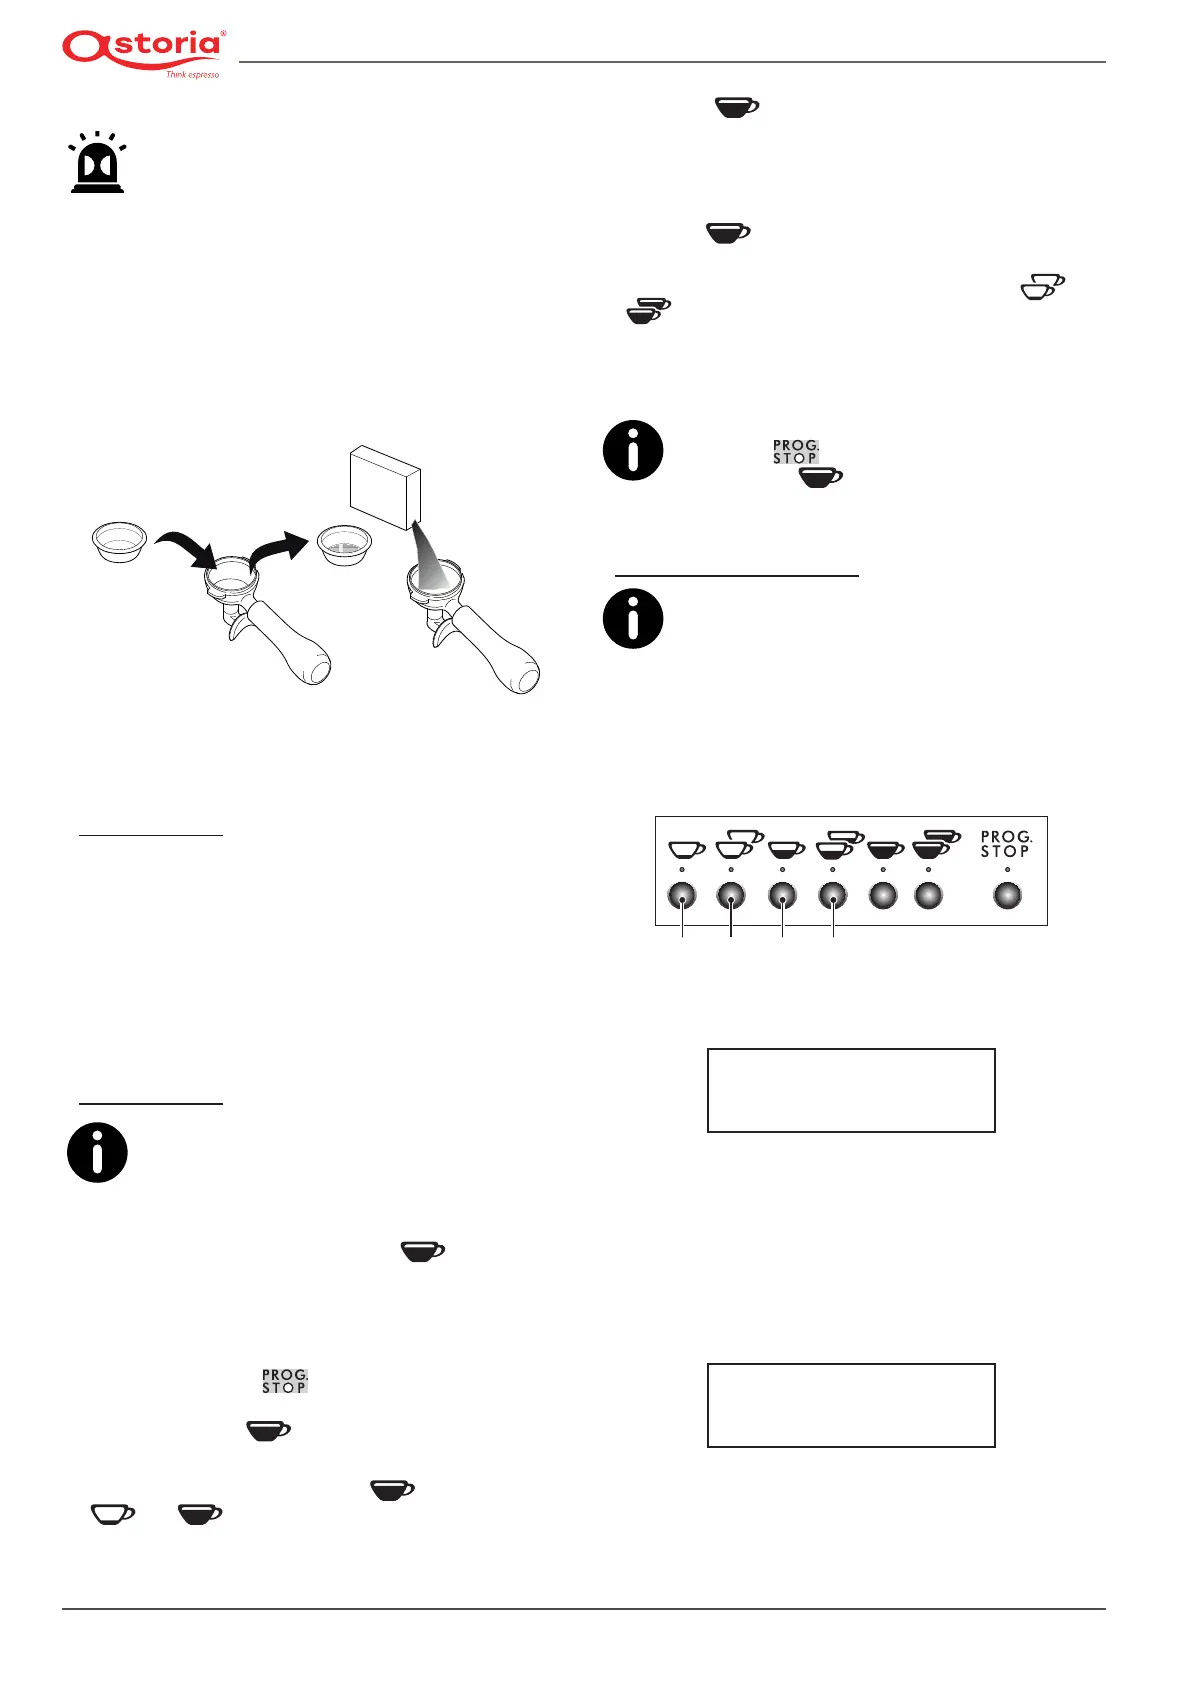
In any case, before starting the wash operation, the lter
holder must be prepared as described below:
• Removethelterfromthelterholderandtablindlter
(see the standard supplied parts).
• Pour the specic cleaner into the lter holder with the
blindlterandhookittothedispensinggroup.
Fromhereon,followtheinstructionsspecictoyourmachine.
“AEP” version
• Carry out several dispensing cycles until the water comes
out clean.
• Remove the lter holder from the group and carry out
at least one dispensing cycle in order to eliminate any
cleaner residues.
• Removetheblindlterfromthelterholderandreplaceit
with the original one.
“SAE” version
The washing operations can also be carried out
simultaneously on multiple dispensing groups.
To exit the washing phase, the washing proce-
dure must have been completed on all groups.
If there is a power failure during the wash or rinse cycle,
when the machine turns back on, the button’s LED
will ash to indicate that the wash cycle was interrupted.
The operation will need to be performed again to remove
any detergent remaining in the group.
• Press and hold the
button on the keypad of the
group you would like to wash and immediately afterwards,
press and hold the button for at least 5 seconds (the
buttonshouldash).
• To start the wash cycle, press the
button again (the
and buttonsshouldash).
• Wait for the wash cycle to be performed (this takes roughly
50 seconds).
• When the buttonashestoindicatethatthewash
cyclehasbeen completed,remove boththelter holder
andblindlter,thenreplacethecoffeelterinthelter
holder.
• Reattach the lter holder to the dispensing group and
press the
button to start the rinse cycle.
• Wait whilst the automatic rinse cycle is being performed
(roughly 30 seconds); this is indicated by the
and
buttonsashing.
• All of the buttons will light up to indicate that the rinse
cyclehasnished.
• Repeat the same operations for the other groups.
If using the version with an automatic steam
wand, the button can be used on any key-
pad. Use the button on the keypad of the
group you would like to wash.
“SAE-DISPLAY” version
Multiple groups can be washed at the same
time; each keypad controls the reference group.
If there is a power failure during the wash or
rinse cycle, when the machine turns back on, it will
prompt for the group wash cycle to be performed again.
The operation will need to be performed again to remove
any detergent remaining in the group.
• Press and hold button 2 for at least 10 seconds (the button
2LEDwillash)onthekeypadofthegroupbeingwashed.
21 3 4
• To start the wash cycle, press button 2 again (buttons 1
and2shouldash)andthefollowingmessagewillappear
on the versions with a display:
GROUP WASH
IN PROGRESS
• Waitforthe5automaticrinsecycletocompletelynish
(this takes roughly 1 minute).
• Whenthebutton2LEDashestoindicatethattherst
wash cycle has been completed, remove the blind lter
holder from the group.
• To start the rinse cycle, press button 2 (buttons 3 and 4
should ash) and the following message will appear on
the versions with a display:
GROUP WASH
IN PROGRESS
• Wait for the automatic rinse cycle to completely nish
(this takes roughly 1 minute).
• at the end of the rinse cycle, the machine is ready for nor-
mal use.