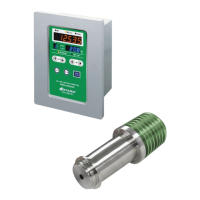
6. Mounting the Display Section
◇ Installation: Before performing installation procedures, be sure the display section's power switch is
turned off and the power supply cable is unplugged. Attempting to perform installation while the
instrument is powered on may increase the risk of electric shock.
It is recommended that the display section is mounted in a control box.
The display section is equipped with a wall-mount handle on the rear face, allowing the part to be mounted
to a wall surface (Fig.6-1).
Do not mount the instrument in a way that hinders access to operate the instrument.
When mounting the display section on a panel, use up to two flat washers to adjust the thickness of the
panel as needed and bolt the display section.
The table assumes panel thicknesses of 1 to 5mm (Table 6-1).
Panel cut dimensions
Fig.6-1