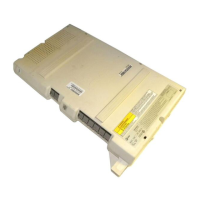
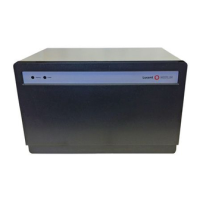
Connecting Equipment
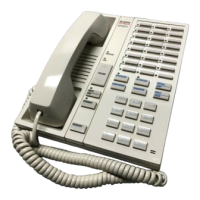
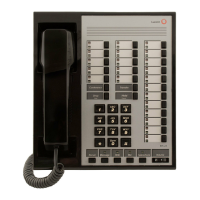
PARTNER Telephones
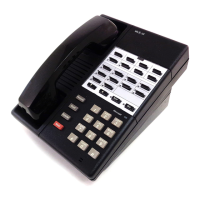
You can install a PARTNER phone on a desk or wall. Follow the instructions below for desk mounting. For wall
■
■
■
■
mounting, see the next page.
The telephone stand packed with the PARTNER phone is required for wall mounting, optional for desk mounting.
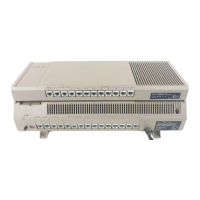
To connect a PARTNER phone to the system, use only the 2-pair (4-conductor) telephone cords included with
the phone. Use the mounting cord to connect the phone to a wall jack. Or connect the phone directly to a
telephone cord connected to a 206 module.
Do not install PARTNER or standard single-line phones out of doors or in a different building from your 206
module(s).
On a Desk:
1
Plug one end of the handset
cord into the jack on the handset. Plug
the other end into the jack on the side of
the phone.
2
3
Go to step 7.
4
A
Plug the other end of the
mounting cord into the modular wall
jack. (Skip this step if connecting the
Plug the mounting cord (or
telephone cord from a 206 module) into
the phone, attach the stand to the base
the jack on the bottom of the phone.
of the phone. Gently place the phone
Push the cord into either channel and
upside down with the low end of the
(Optional) To raise the angle of
out the back end of the phone, so the
phone to the right. Insert the tab on the
phone sits flat without wobbling.
narrow end of the stand into the right slot
on the base of the phone. Then insert the
other tab into the left slot, pushing the
stand down and slightly inward until the
tab locks into place.
phone directly to the 206 module).
B
Slide the Quick Reference card
between the “feet” of the phone.
Installing the Hardware
2-9
 Loading...