- 54 -
5.5.6 Replacing the floodlights
5.5.6.1 Replacing the HiLight H5+ LED’s
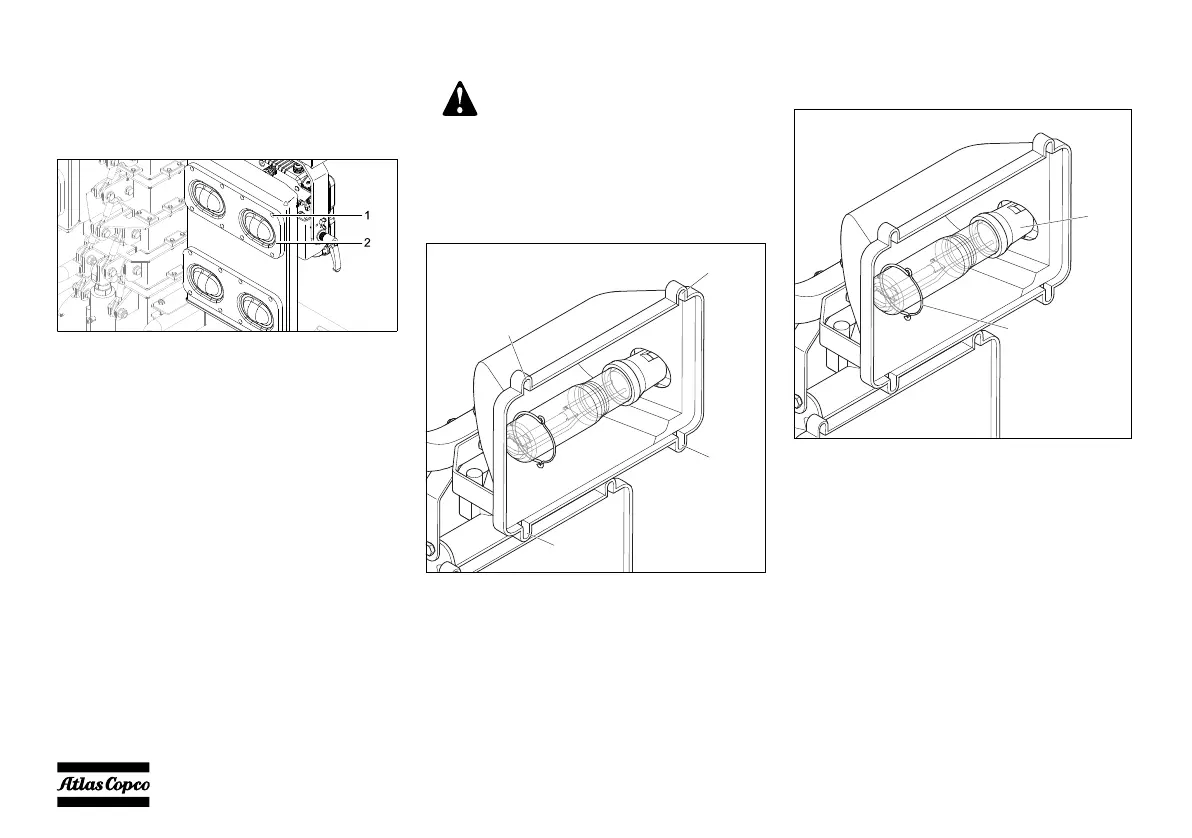
1. Loosen and remove the 8 screws (1) and remove
the protection lenses (2) in front of the LEDs.
2. Disconnect the LED power wires.
3. Replace the LED and connect the power wires to
the new LED.
4. Reinstall the protection lenses and the 8 screws.
Carefully tighten the 8 screws with a screwdriver.
5.5.6.2 Replacing the HiLight H2 lamps
1. Release the 4 clamps (1) and rotate them to open
the protection glass. The glass must stay hinged
on the bottom part of the floodlight.
2. Remove the lamp, first releasing the safety spring
(2) placed around the lamp and then unscrewing
the lamp from its seat (3).
3. Install the new lamp and re-install the safety
spring (2).
4. Lock the protective glass using the 4 clamps and
remember to carefully tighten the screws with a
screwdriver.
Do not touch the lamps when they
are still hot without having taken all
necessary precautions. It is
recommended that protective gloves
are always worn.
00_00_HiLight H5+-H2_EN.book Page 54 Thursday, February 27, 2020 3:23 PM
 Loading...