20 ©2008 • All rights reserved.
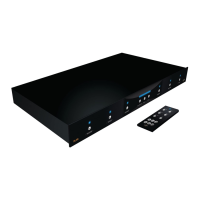
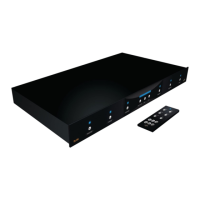
DLA2/4/6 Speaker Level Audio Router
4. Settings & Operation
Functions of the DLA2/4/6 may be controlled from the Front Panel controls, through optional
IR Receivers connected to the IR INPUTS, or with the optional RF Remote.
Volume Settings
Receiver/Ampl er Volume Settings
Prior to setting volume levels of the DLA2/4/6, proper volume level must be set of the Re-
ceiver/Ampli er. To set proper Receiver/Ampli er volume level:
Turn on the Receiver/Ampli er and start an audio source (CD Player, Radio, etc.). 1.
Adjust the Receiver/Ampli er level to the lowest setting. 2.
Set the Receiver/Ampli er to Stereo and disable any surround sound or DSP 3.
modes or “Sound Fields”.
If using a Receiver/Ampli er with “A/B” speaker outputs, select the “B” speak- 4.
ers and turn off the “A” speakers for maximum output to the DLA2/4/6.
Note: When the DLA2/4/6 is not in use, turn off the “B” speakers and turn on the
“A” speakers for normal operation.
Turn on one room of the DLA2/4/6 and adjust the volume level to maximum. 5.
While listening to the room turned on in the previous step, slowly adjust the re- 6.
ceiver/ampli er volume to the loudest level possible without distortion. Make a
note of the receiver/ampli er level for future reference.
RECEIVER/AMPLIFIER LEVEL
Turn on each room of the system and adjust the volume of the DLA2/4/6 to a 7.
comfortable level.
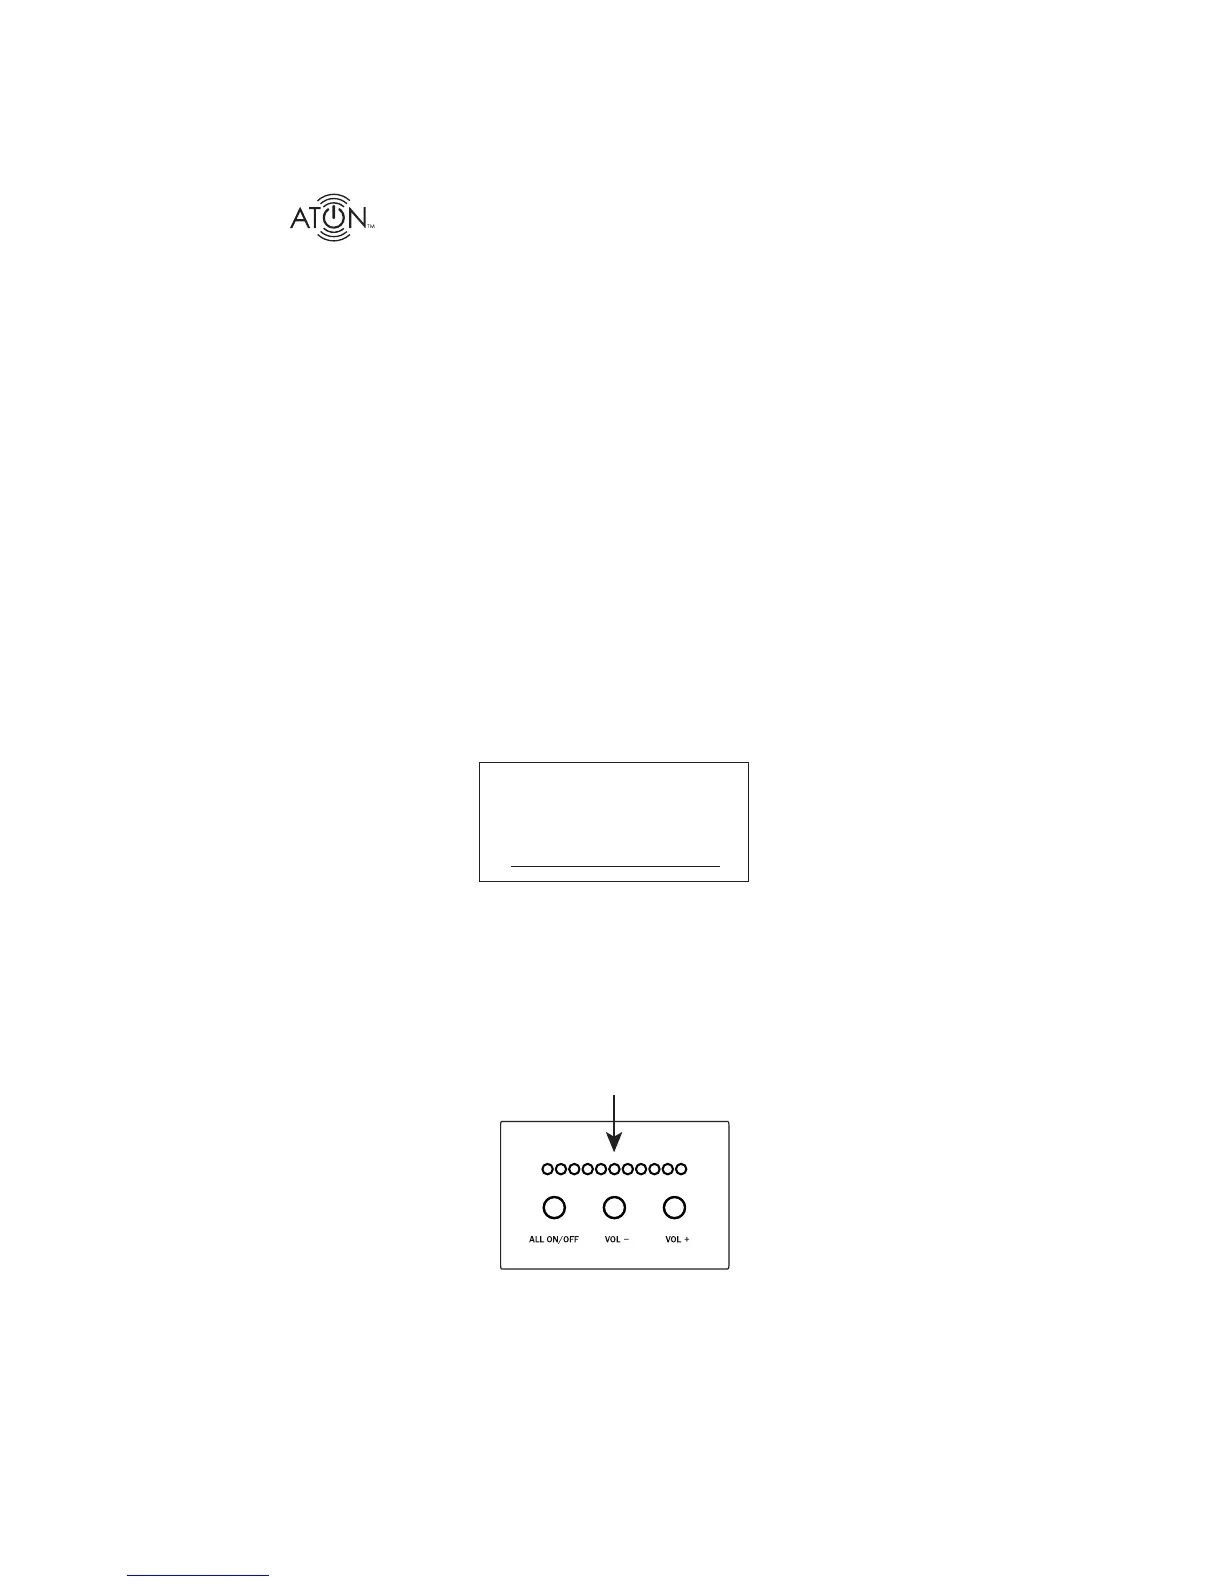
Volume Status Bar
The front panel includes a Volume Indicator LED bar with 11 LED’s located above the All On/
Off and Volume -/+ buttons. The Volume Indicator LEDs display the Volume for whichever
Room is selected. When a Room is selected and ONE LED is lit, that room is at minimum vol-
ume. When a Room is selected and ALL LEDs are lit, that room is at maximum volume.
Volume Status Bar
Figure 4-1: Volume Status Bar