7
Installing Audacity software for PC
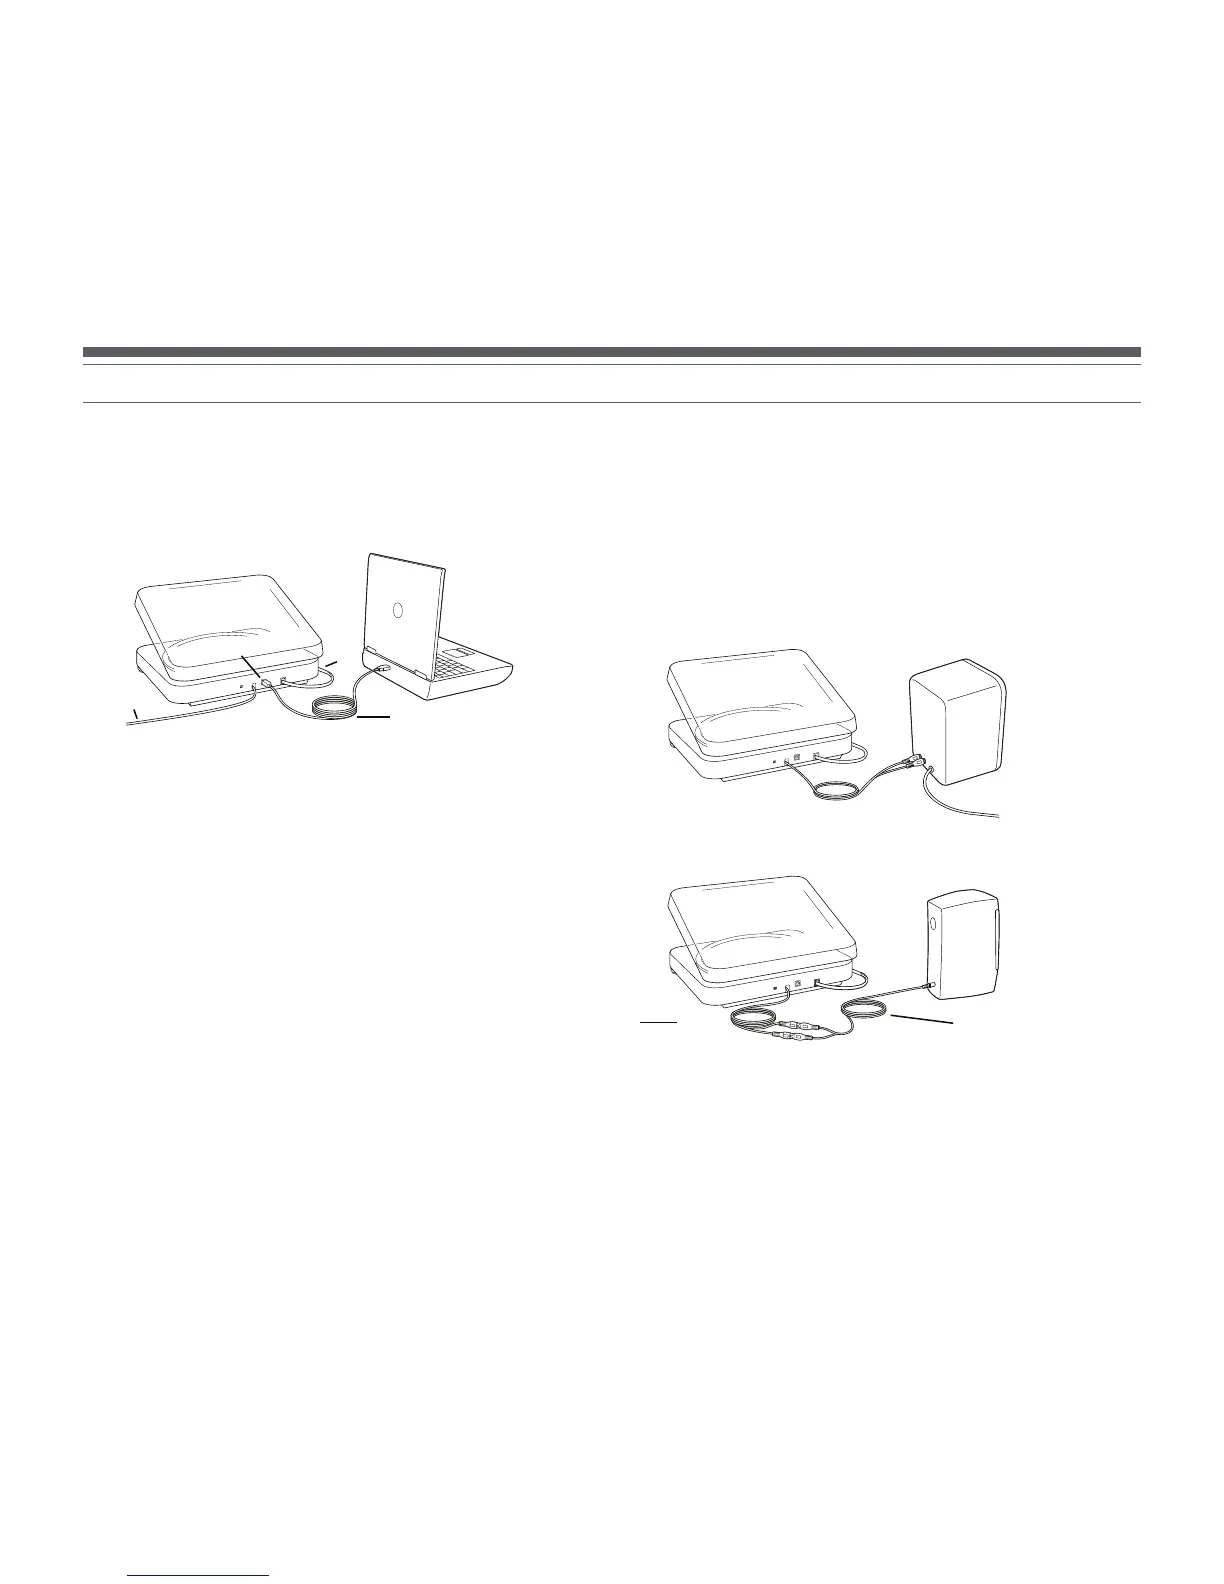
4. If you have external self-powered speakers, make certain they are plugged into
your computer’s audio input or into the line-out RCA plugs of the USB turntable, and
that the Phono/Line switch on your turntable is switched to Line. (Audacity offers
a software play-through feature that allows you to listen to the album through your
computer while recording, even if you don’t have external speakers.) If your computer
has a headphone output, you can choose to monitor your recording with headphones.
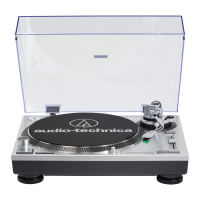
NOTE: On the AT-LP240-USB and the AT-LP1240-USB, the RCA cables are not
permanently attached to the turntable; they plug into the RCA jacks on the back of
the turntable. See the AT-LP240-USB and AT-LP1240-USB owner’s manuals for cable
connection instructions.
Cables
Red to Red
White to White
5. Turn your computer on.
6. Insert the included Audacity CD. An Audacity window will appear. Click Audacity
Setup icon to install.
Follow the directions on the pop-up windows to install
the software.
7. Re-start your computer.
USB cable (included)
RCA
USB
AC
Included adapter cable (RCA
to 3.5 mm stereo male)
Typical connection for: Speakers with
RCA inputs
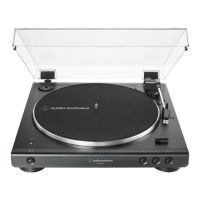
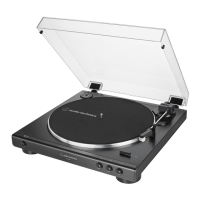
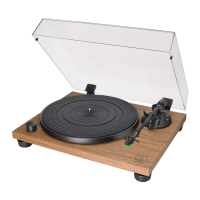
1. Before installing software, assemble the turntable, following directions in the
included Owners Manual.
2. Plug the AC cord on your turntable into an AC power outlet.
3. Next, use the included USB cable to connect the turntable to your PC’s USB port.
NOTE: If the signal drops out when using the USB output on a Windows-based
desktop computer:
1. Make certain you are utilizing a USB port on the CPU portion of your computer. Do
not use the USB ports on a hub or monitor, as there is unregulated power to these
ports which can cause loss of USB connection. Please check the Microsoft website
for additional detail if needed.
2. Check to make certain the cable is secured in both the turntable and computer.
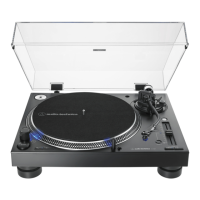
3. On the AT-LP240-USB and the AT-LP1240-USB, make certain the Line/Phono switch
is set to the “Line” position when using the USB output.
Typical connection for:
Speakers with 3.5 mm
stereo input
(using adapter cable)
 Loading...