Hardware Installation Manual 18 Document #: LTRT-70116
Mediant 2000
To install the device in a 19-inch rack by attaching it to the rack's frame
holes:
1. Attach the two front-side mounting brackets (supplied) to the device, by performing the
following:
a. On one side of the device, remove the two screws located nearest the front
panel.
b. Align a bracket (supplied) over the two holes from which you removed the screws
so that the bracket’s larger holes face the front. Using the two replacement
screws (supplied), screw the bracket to the chassis.
c. Attach the second bracket to the other side of the device, by following steps a
through b, above.
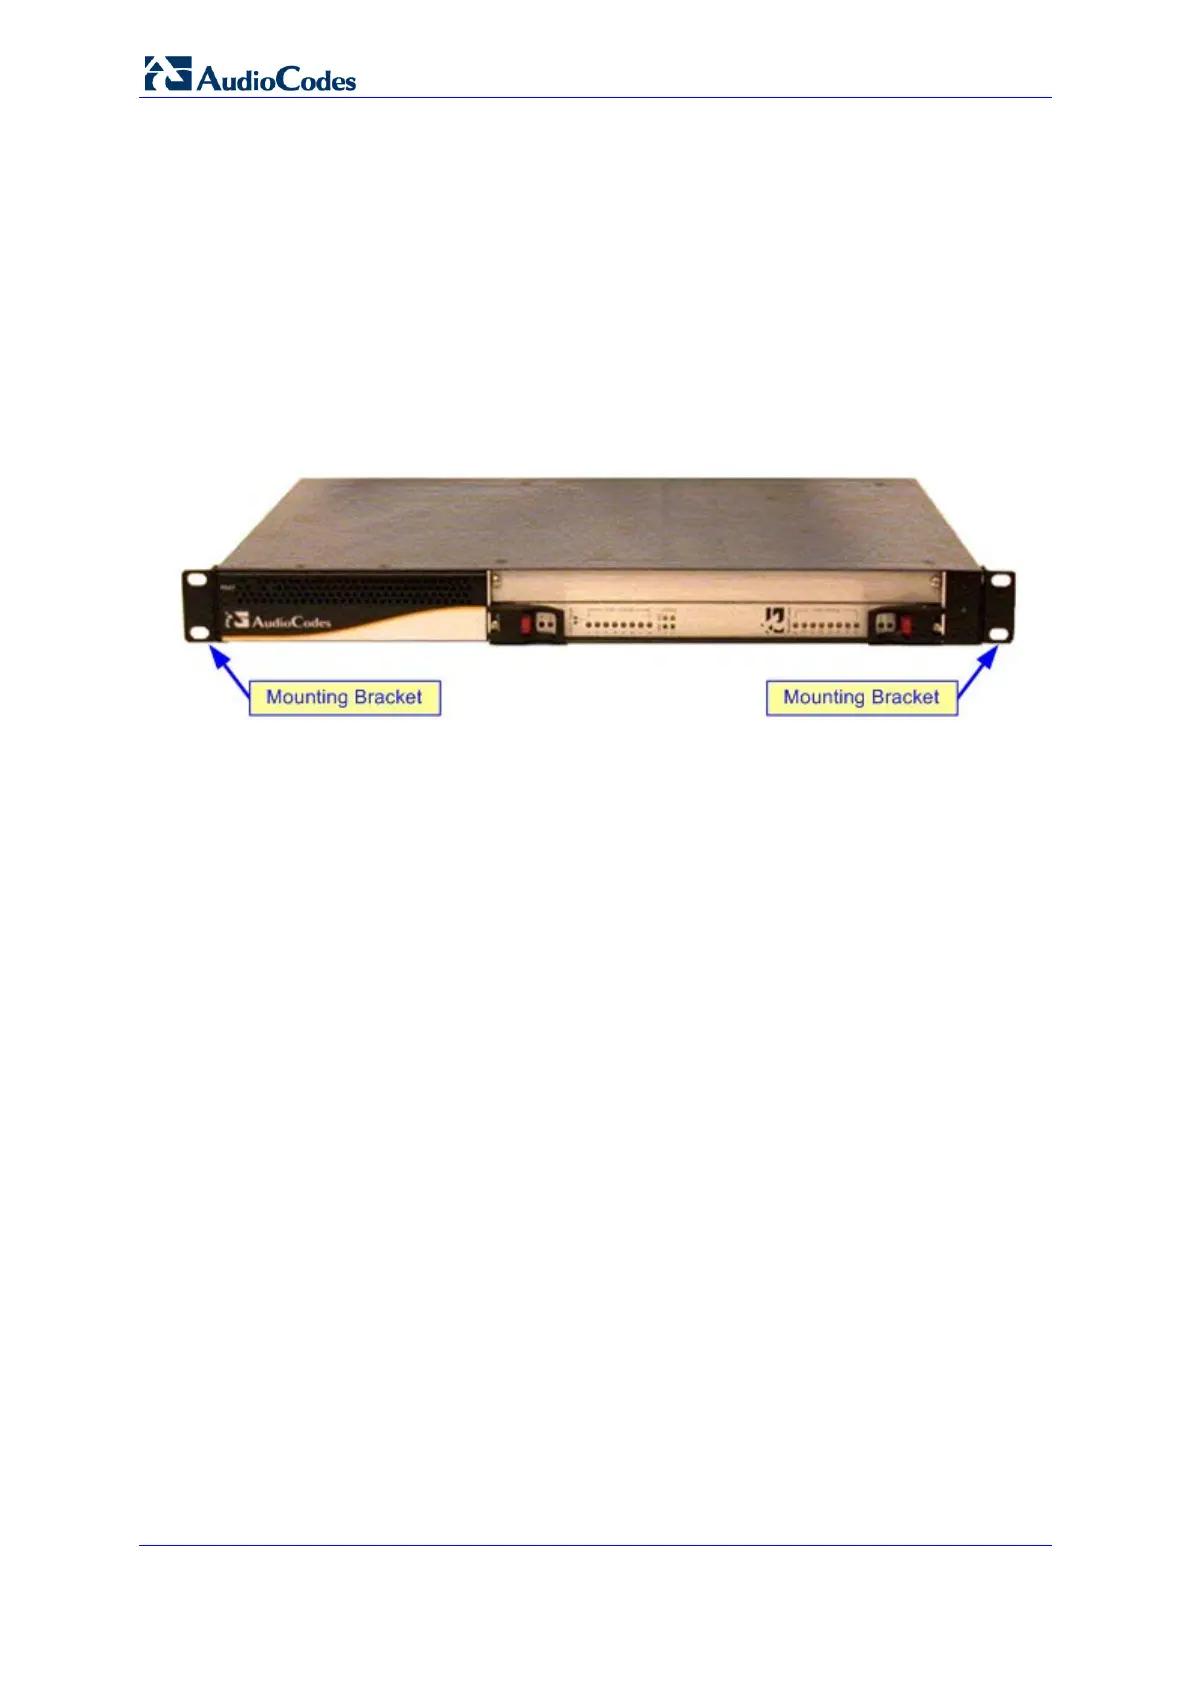
Figure 4-1: Device with 19-inch Rack-Mount Brackets
2. Attach the two rear mounting brackets (not supplied) to the chassis's left and right
rear-end sides:
• The distance between the screws on each bracket is 26.5 mm (1.04 inches).
• Use 4-40 screws with a maximal box penetration length of 3.5 mm (0.14 inch).
3. Position the device in a 19-inch rack and align the left-hand and right-hand bracket
holes to the desired holes in the vertical tracks of the 19-inch rack.
4. Use standard 19-inch rack bolts (not supplied) to fasten the device to the frame of the
rack.
To mount the device on a pre-installed shelf in a 19-inch rack:
1. Place the device on the pre-installed shelf.
2. You’re now recommended to take the optional steps of fastening the device to the
frame of the rack (as described above), preventing it from sliding when inserting
cables into connectors on the rear panel.

 Loading...


