11 | P a g e
Machine Setup
Tools needed for installation
▪ Outlet Tester (May be purchases at electronics store)
▪ Forklift with adjustable forks
▪ Utility dolly
▪ Phillips #2 Screwdriver
Machine preparation
The FX Locker unit is assembled and packed so that a minimum amount of time is necessary for
preparation to install it on location. The following steps are recommended to ensure correct
unpacking.
1. Shipping Damage
Thoroughly inspect the exterior of the box and/or wrapping for damage, which may have
occurred during shipment.
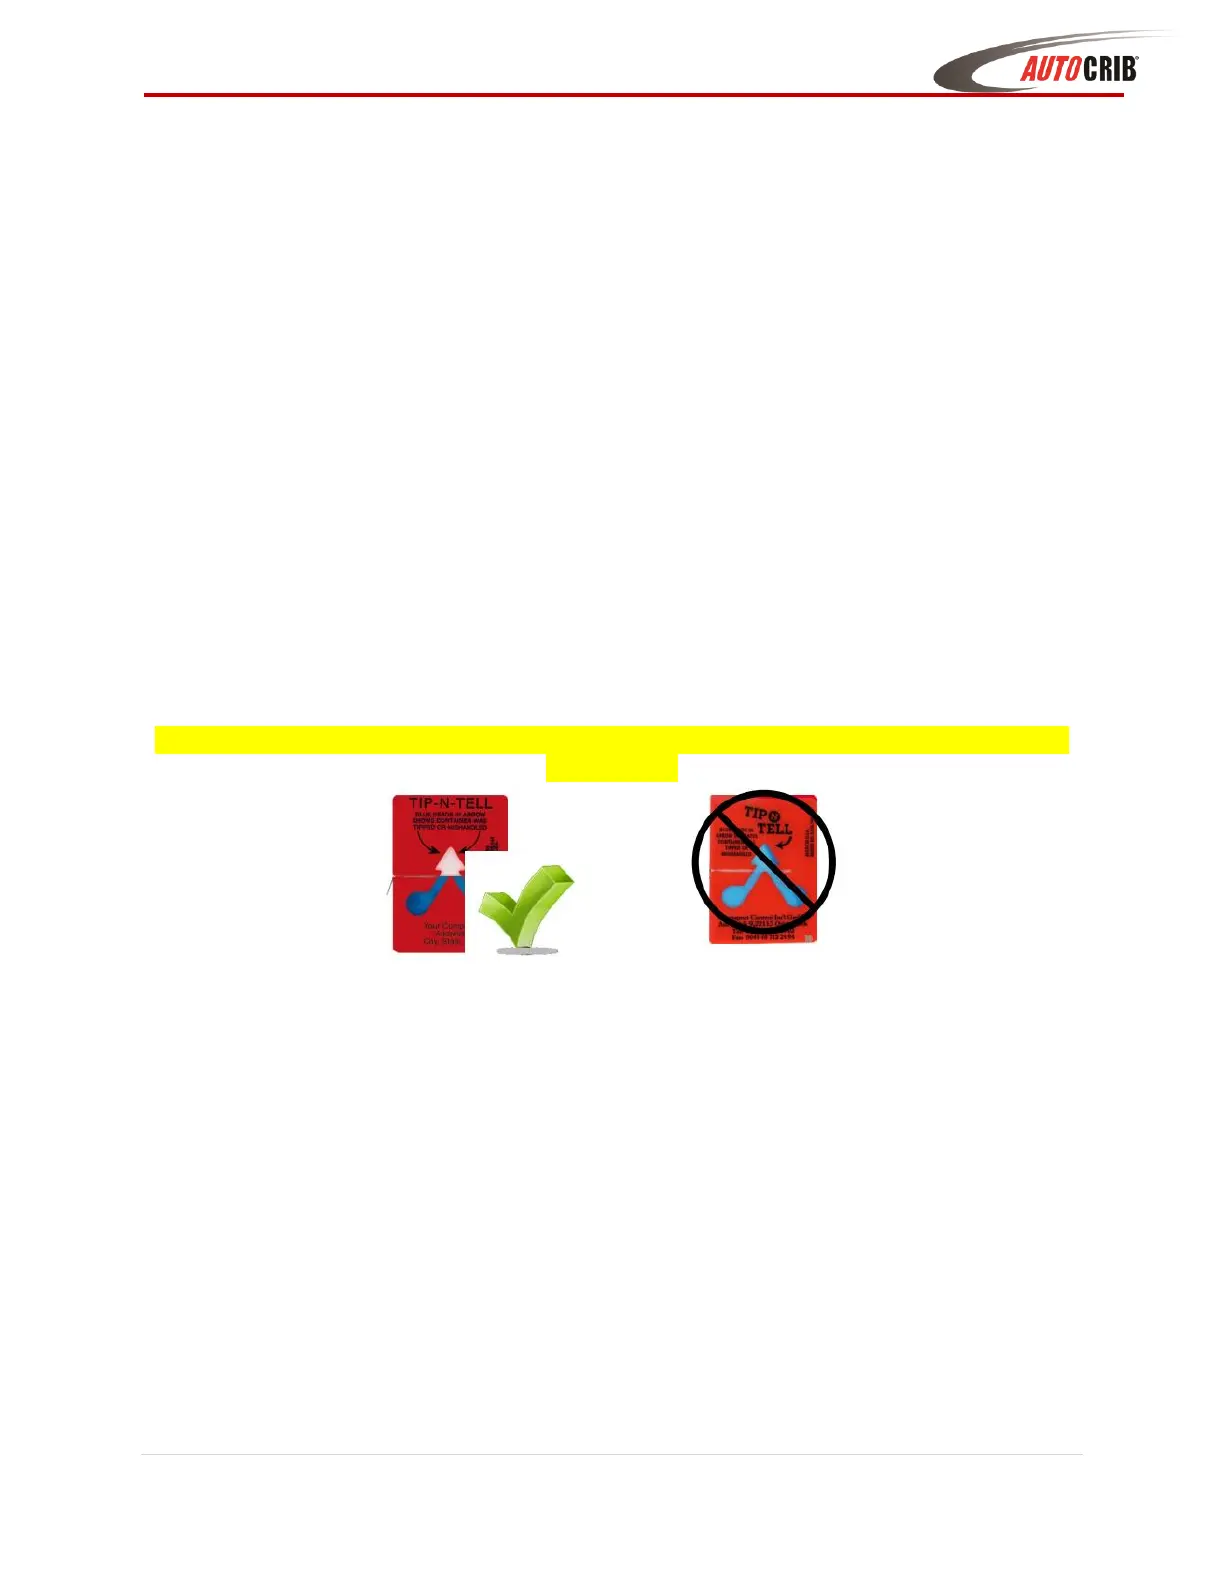
a. Verify “TipNTell” is intact. (See Diagram 1.1)
b. Note any damage or irregularities on shipping document.
c. Report any damage to delivering carrier and follow their instructions.
DO NOT SIGN FOR SHIPMENT IF ANY DAMAGE HAS OCCURRED, REFUSE THE
SHIPMENT!
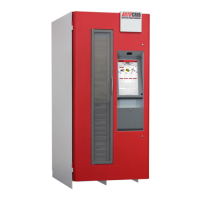
2. Uncrate the FX Lockers
a. The FX Locker is a self-contained automated vending unit, ready to use right out
of the box with very little set-up. The machine is shipped in specially designed
packaging, and it should stay that way until it is positioned near its final location.
b. Using a cordless drill with a #2 Phillips head bit, remove screws on crate.
Carefully remove plywood and cardboard panels (Retain the screws and crate, in
case there is concealed damage and you need to return the machine.)
c. Use a Forklift to place the FX Lockers and pallet near the final location.
3. Remove the FX Lockers from Pallet
d. Remove ratchet shipping straps from the FX Lockers and from under the shipping
pallet.
d. Remove the inner shrink-wrap and bubble packaging from the machine.
e. Using a utility dolly move the FX Lockers to the final location. Insert the utility
dolly from the back of the FX Lockers frame to move.