4
installation
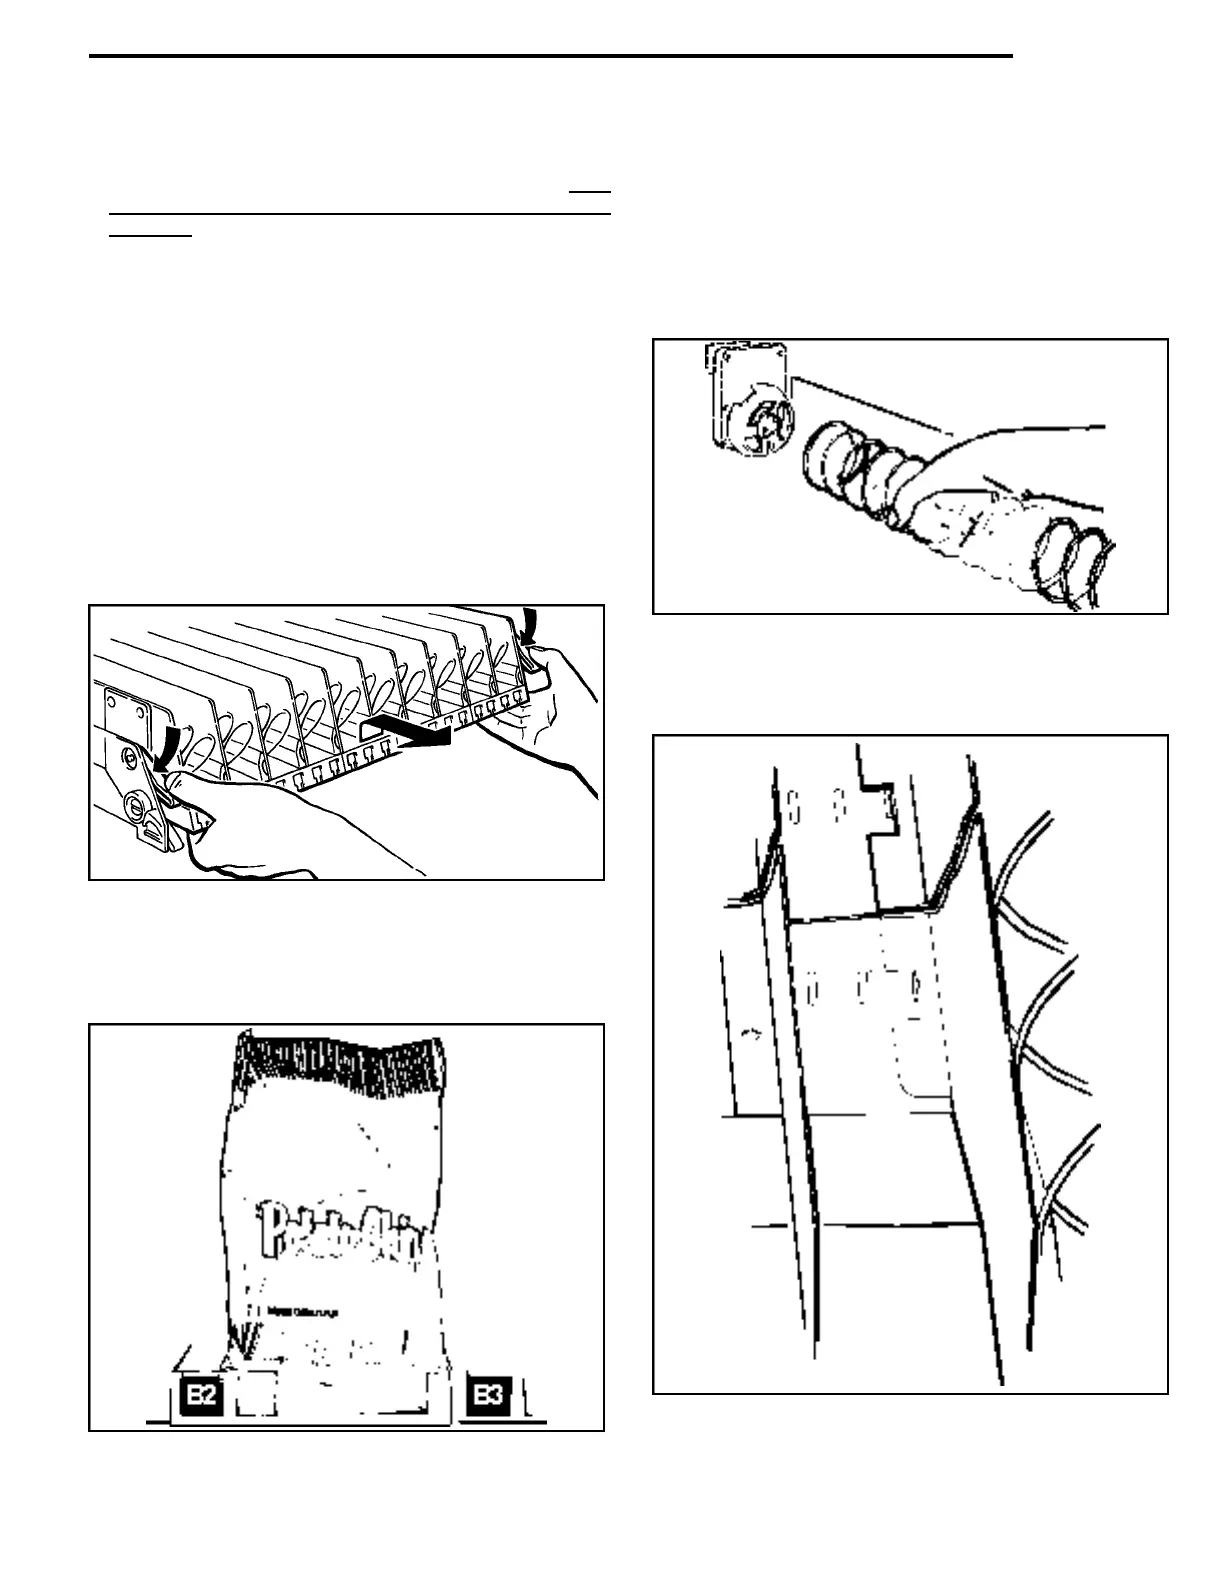
4. L OADING SNACK SHELV E S : Open door to full open
position, push down on white plastic lock lever (Figure 1)to
unlock shelf, holding both levers down. Grasp the shelf
slightly and pull fo r ward until shelf reaches its stop. The
shelves tilt down (do not drop) to make loading easier. O n ly
one product shelf should be in the loading position
at a time. When returning a shelf, be sure the shelf is in its
full home or vend position. Begin loading with the top shelf.
Move it to the loading position.The height spacing for items
is greatest in this shelf and the tallest bagged items should be
placed there. Soft items, such as pastry, pies, etc., should be
placed in the lowest snack shelf, making the drop distance as
short as possible.
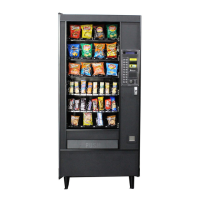
IMPORTANT: Product must not be forced into the spiral
spaces but should fit freely. If the product is too tight, use a
larger pitch spiral. The bottom of the product should be
placed on top of the spiral wire that rests on the the shelf
surface (see Figure 2). The width of the product must be
greater than the diameter of the snack spiral. If it is smaller,
the product may fall through when it is in the front, ready to
vend position.
Figure 1. MOVING SHELF TO LOADING
POSITION.
Figure 2. PLACEMENT OF PRODUCT ON MAIN
PRODUCT SNACK SHELVES AND
FRONT END POSITION OF SPIRAL.
5. REMOVAL OF SPIRAL: Grasp the front of the spiral and turn it
clockwise. Lift the spiral up and off of the spiral lock.When replac-
ing a spiral attach it around the tab on the spiral lock and turn the
spiral counterclockwise to lock it in place. Be sure the front end of
the spiral is positioned properly (with the front end of the spiral
pointing downward on the left side) (see Figure 3).The spiral lock
is attached between the spiral retainer tabs. Give a light forward
pull on front of the spiral to check it it is locked in place.
Figure 3. REMOVING AND
INSTALLING SPIRAL.
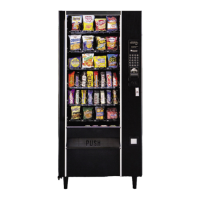
Figure 4. ALIGNMENT OF MOVEABLE
PRODUCT SPACERS.