3
unpacking
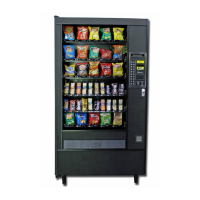
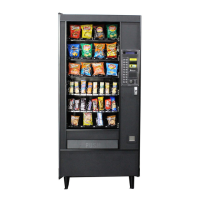
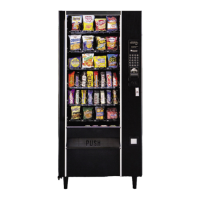
The Snackshop 113 is assembled and packed so that a mini-
mum amount of time is necessary for preparation to install it on
location. The following steps are recommended to insure cor-
rect unpacking.
1. Shipping Damage: Thoroughly inspect the exterior of the
carton for damage which may have occurred during ship-
ment. Report any damage to delivering carrier and follow
their instructions.
NOTE: Machines with refrigeration units delivered on
their sides should be stood upright for 24 hours before
the machine is plugged into an outlet.
2. Remove staples from lower edge and those at top of carton,
and slit carton vertically at the taped corner. Open and
remove carton. Remove the remainder of the packing mate-
rial. On machines shipped with lock in place, the keys are
located in the coin return cup.
3. Remove Vendor With A Fork Lift Truck: Remove the car-
ton from the vendor. Open the door on the vendor and
remove the hold down bracket at the front center of the cab-
inet base and lose the vendor door. From the front of the
vendor tip the vendor backward and run forks under the cab-
inet.
4. Removing Vendor Without A Fork Lift Truck: Remove the
carton from the vendor. Remove 1/4 “ piece of plywood
located just behind the front legs, then open the door on the
vendor and remove the hold down bracket at the front center
of the cabinet base and close vendor door. From the front of
the vendor tip the vendor back far enough to clear the wood
strip across the front of the base. Slide vendor toward the back
until the back legs are off the base and pull base out.
NOTE: Because the weight concentration is toward the
back of the cabinet trucking and lifting should be done
from the back. CAUTION should be taken when trucking
from side.
5. On machines with lock in place, unlock, and turn handle to
open door. When no lock is furnished, remove tape and turn
handle. Swing door it its full open position.
6. Remove all packing tape and paper from various areas of
machine and the shipping strap.
7. Warranty: The warranty card is attached to the cover of
this manual. It must be filled out in full and mailed at
once to insure coverage.
8. IMPORTANT: A set of anchoring brackets are sent with
each machine. The kit is located in the bottom of the
machine complete with instructions. It is recommended that
this kit be installed to prevent shifting of the machine.
Kit, Part #660438
installation
1. GENERAL: In some locations, due to the size of this
machine it is not possible to move the fully assembled
machine through doors or narrow hallways. For such loca-
tions the door of this vendor can be removed, thus reducing
the clearance required down to 32 inches.
DOOR REMOVAL: To remove the door, swing door to 90
degrees. Remove bolt and washer on door end of door stop.
Unplug the light harness from the main interlock box. The
upper hinge is secured to the cabinet by one bolt extending
through the hinge from the inside of the cabinet.Remove the
bolt with a 1/2 socket. Pull the door forward, the top hinge
plate will slide out of its guide, freeing the door. Lift the door
off of the lower hinge. Remove the left side panel extension
which is held on by six screws. Remove the cabinet to door
filler assembly which is held on by twelve screws. To install
the door, reverse the above procedure.
2. LEVELING THE MACHINE on location is important for the
proper function of the machine. The four leveling screws in
the legs are the means of leveling the machine. After posi-
tioning the machine, level machine in front to rear and right
to left directions. After leveling, turn front right (lock side) lev-
eling screw in about one-half turn to drop this corner slight-
ly to make the door easier to close and lock.
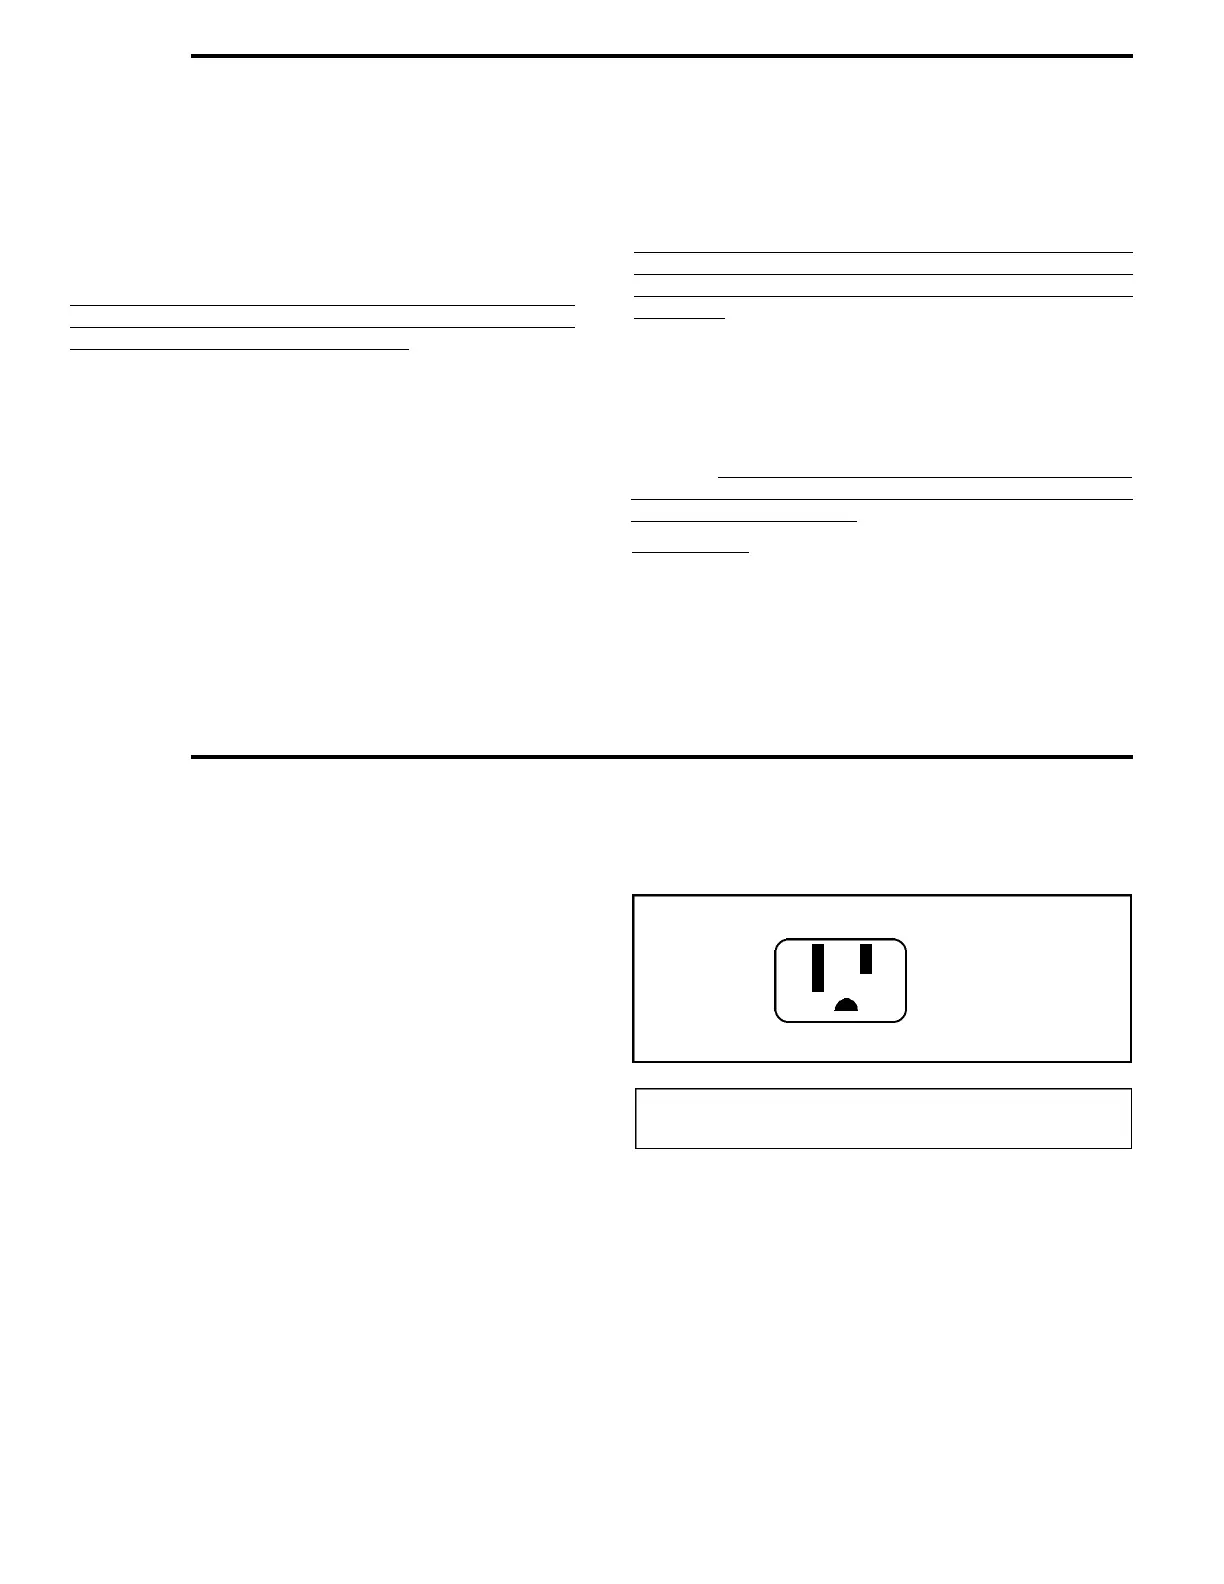
3. VOLTAGE AND POLARITY CHECK. It is important that this
machine is hooked up to the proper voltage and polarity.
Using a voltmeter, perform the following checks from the
illustration below.
(A)
(B)
(C)
(A) to (B) = 117 VAC (+-10%)
(A) to (C) = Less than 1 VAC
(B) to (C) = 117 VAC (+-10%)
A. C. HOT (B)
A. C. NEUT (A)
EARTH (C)
GROUND
NOTE: Should the readings be different from above,
have a certified electrician correct the problem.