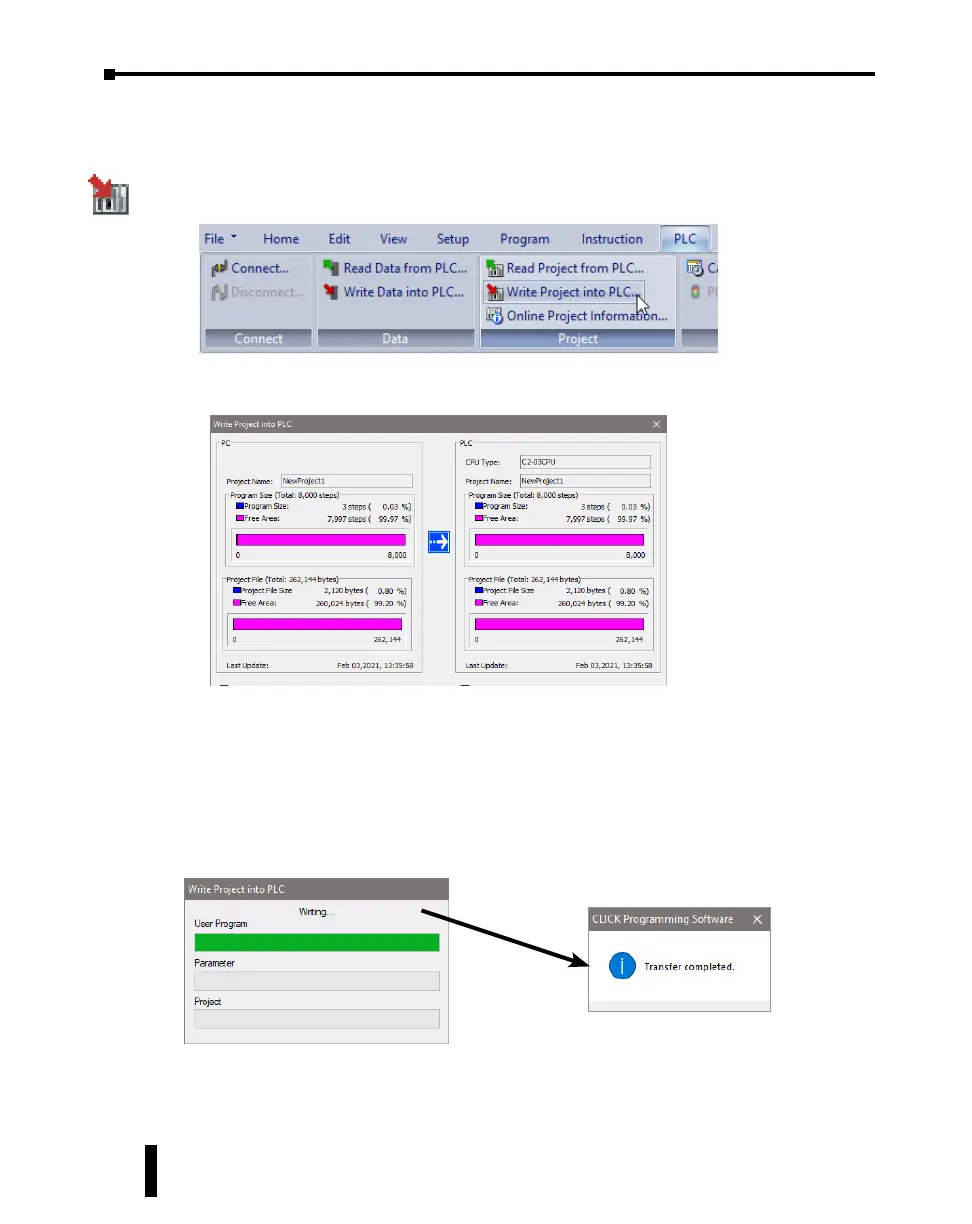
Step 8: Write Project into PLC
e next step is used to transfer the project that was created into the CLICK PLUS PLC. From
the PLC ribbon, select Write Project into PLC as shown below, or click on the Write Project
into PLC icon located on the PLC Toolbar.
e following dialog box is displayed.
e dialog box displays the information for the Project that is currently opened in the
programming software (PC) on the left side. e dialog box also displays the information for
any Project that may be stored in the CLICK PLUS PLC unit (PLC) on the right side.
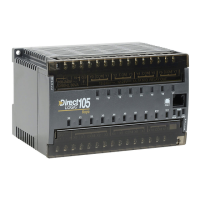
Click OK to write the project data from the PC to the CLICK PLUS PLC unit.
e Writing... progress window will open to allow verication that the Project is being written
to the CPU. When nished, a Transfer Completed message will be displayed. Click OK to
continue.
CLICK PLUS PLC Hardware User Manual, 1st Edition, Rev. K – C2-USER-M
1-30
Chapter 1: Getting Started