Before you begin
•
Make sure you have the correct type of rack and know where to mount the outer rails, as described
in Preparing the Rack and Rails for Mounting the Device on page 9.
•
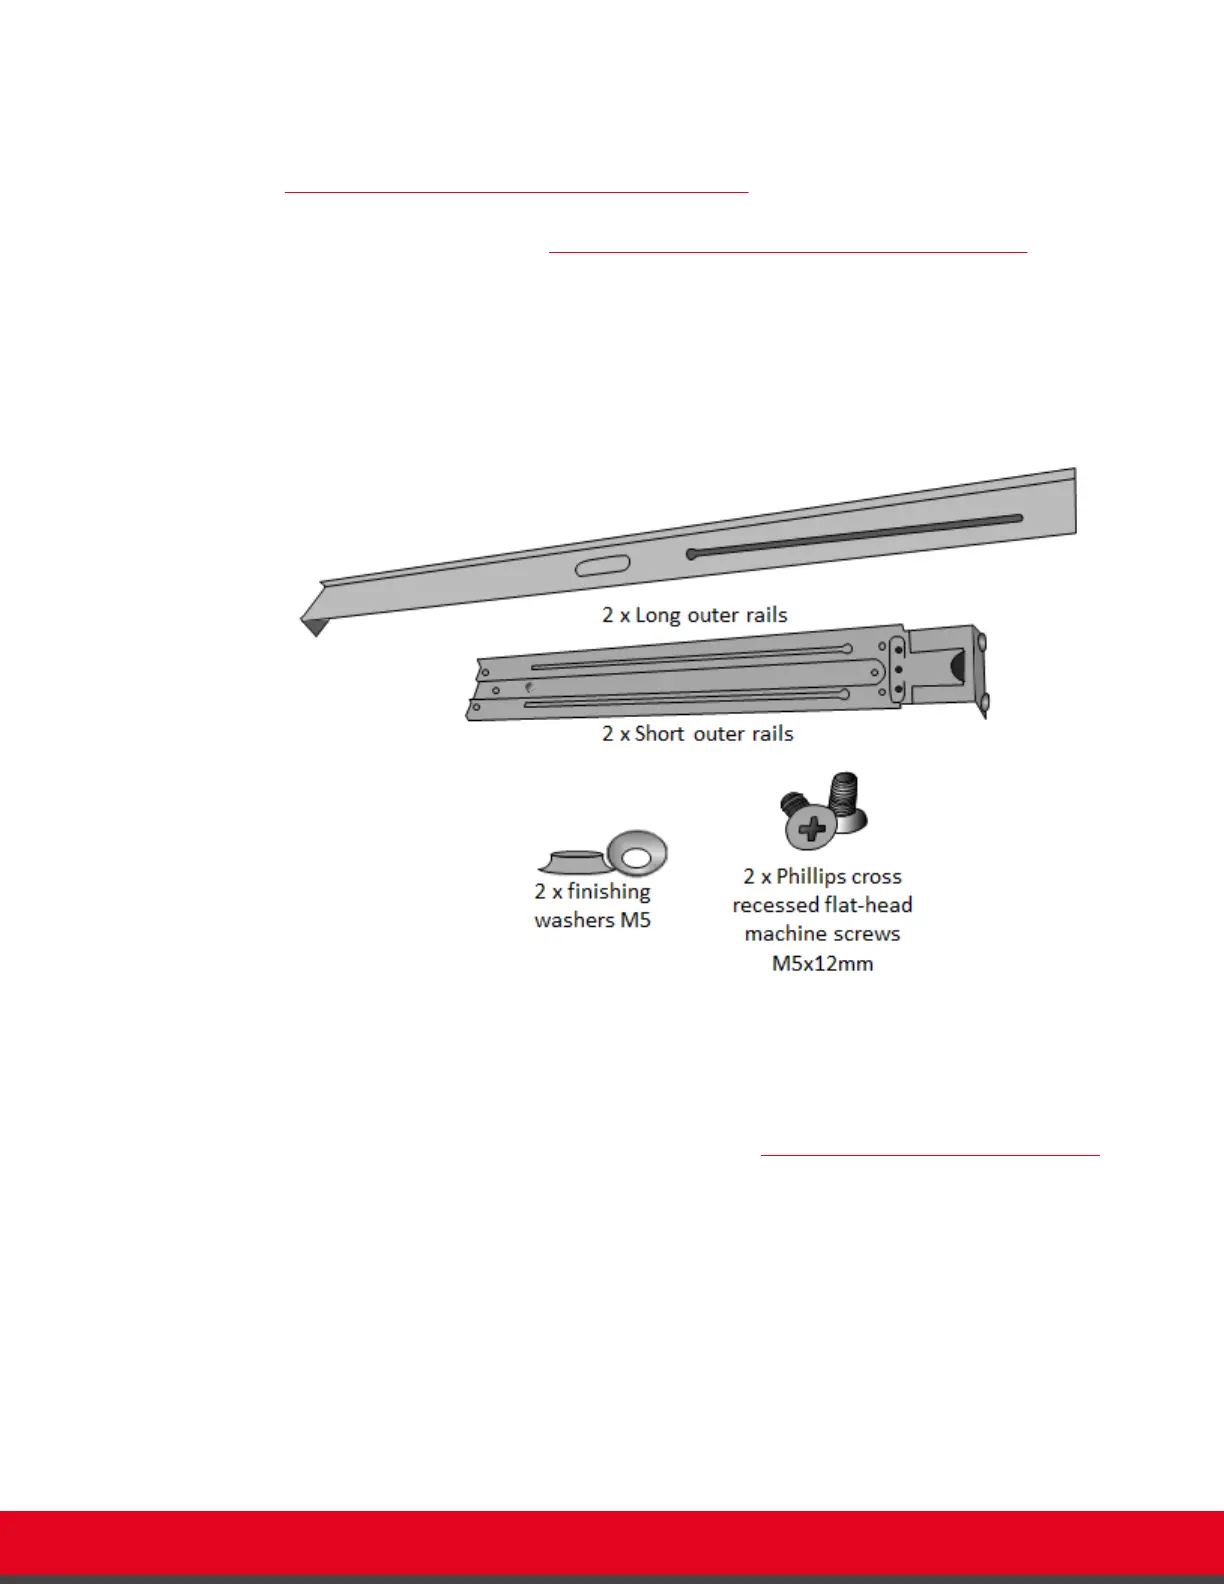
Make sure you have the following items, which were shipped with the device and are used to
mount the outer rails to the rack (Figure 4: Preparing the parts required to mount the rails on page
12):
–
Two long outer rails
–
Two short outer rails
–
Two flat-head long screws (Phillips cross recessed flat-head machine screws M5x12mm)
–
Two brackets (finishing washers M5)
Figure 4: Preparing the parts required to mount the rails
Procedure
1. Connect the long and short outer rails to each other by sliding the knob on the short rail
through the rounded end of the slot on the long rail (Figure 5: Connecting the two outer rails
on page 13).
Installation Guide for Avaya Scopia
®
Application Server Version 2 Setting up the Device | 12

 Loading...


