Stage 4816
7 Secure each card to the front panel of Stage 48 using four
front panel mounting screws.
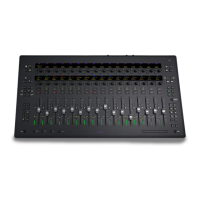
8 Inside Stage 48 via the open back panel, tighten the two cap-
tive thumbscrews to secure the I/O card to the Stage 48 chas-
sis. Use a screwdriver to make sure the card is properly
secured.
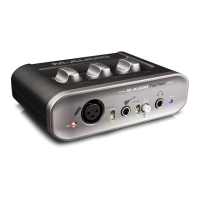
9 Inside Stage 48, locate the pre-installed 50-pin I/O card rib-
bon cable bundle.
10 Cut the cable tie that is securing the ribbon cable bundle,
making sure to not damage the ribbon cables. Remove the ca-
ble tie from Stage 48.
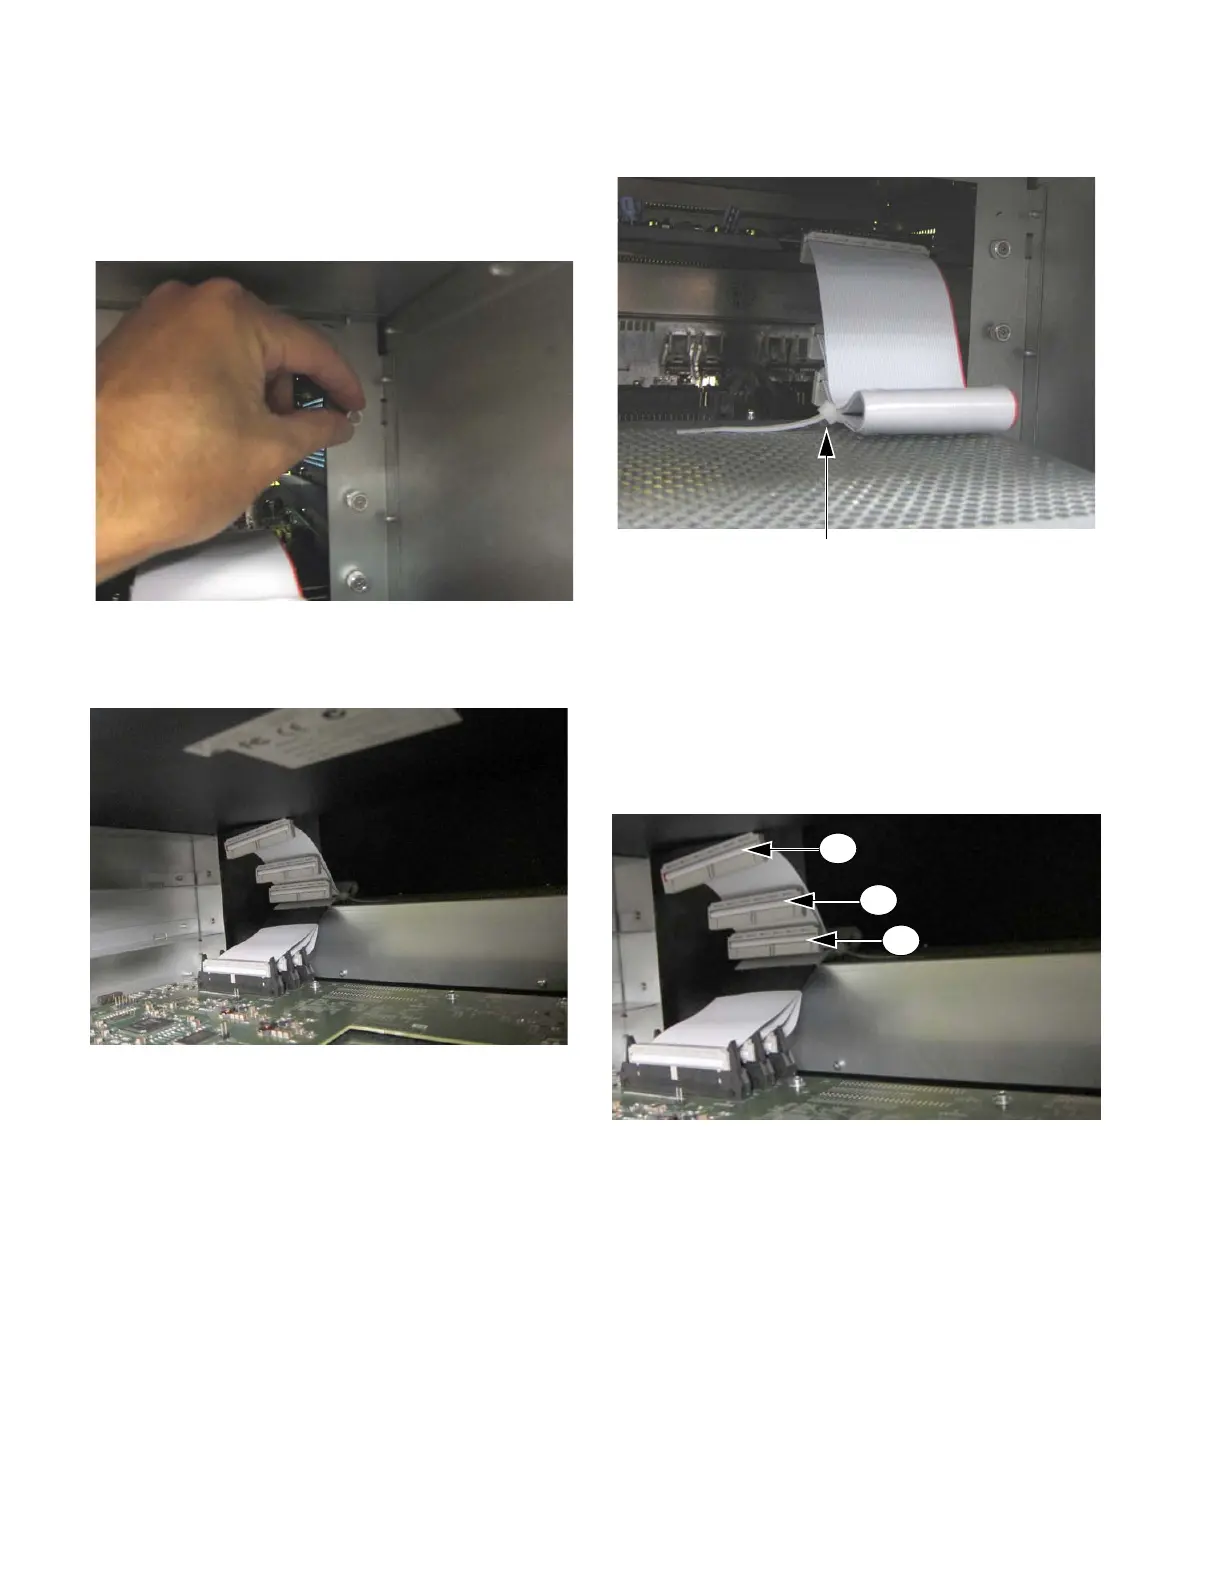
11 Use the following cables, depending on the slots you have
chosen to install cards into:
• For a card installed in the top slot of Stage 48, use the ca-
ble that is labeled in Figure 22 as “1.”
• For a card installed in the middle slot, use the cable that
is labeled in Figure 22 as “2.”
• For a card installed the bottom slot, use the cable that is
labeled in Figure 22 as “3.”
12 Connect the cable to the I/O card by making sure the plastic
key on the connector is aligned with the slot on the port. Se-
cure the connection by moving the retaining clips on each side
of the socket connector inward. Check to make sure the ribbon
cable is connected securely.
13 Reconnect the fan cable.
14 Replace the back panel of Stage 48.
15 To connect your Stage 48 to your VENUE system and to
confirm I/O installation, proceed to Chapter 3, “Connecting
Stage 48.”
Figure 19. Tightening a captive thumbscrew
Figure 20. I/O card ribbon cable bundle (front view)
Figure 21. Cable tie to be removed
Figure 22. I/O card ribbon cables