Chapter 4: Configuring and Installing I/O in Stage 48 15
Installing I/O Cards in Stage 48
After you have removed Stage I/O cards from SC48, or if you
have purchased new compatible Stage I/O cards, you can in-
stall them in Stage 48.
Stage 48 has three slots that accept Stage I/O cards. I/O cards
are connected to pre-installed 50-pin ribbon cables located in-
side Stage 48.
I/O cards can be installed in any slot of Stage 48, in any order.
If you are installing a combination of input and output cards,
however, it is recommended that you install input cards above
output cards.
To install I/O cards in Stage 48:
1 On the front panel of Stage 48, locate the slots which you
want to install I/O cards into, and remove the card slot covers.
2 Remove the ten back panel mounting screws.
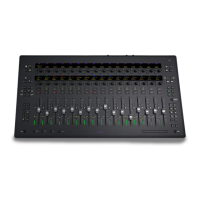
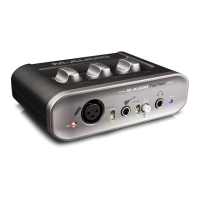
3 Carefully pull the panel partially away from the rack, making
sure not to damage the fan cable attached to the back panel.
4 Disconnect the fan cable before removing the panel entirely.
Set the panel aside.
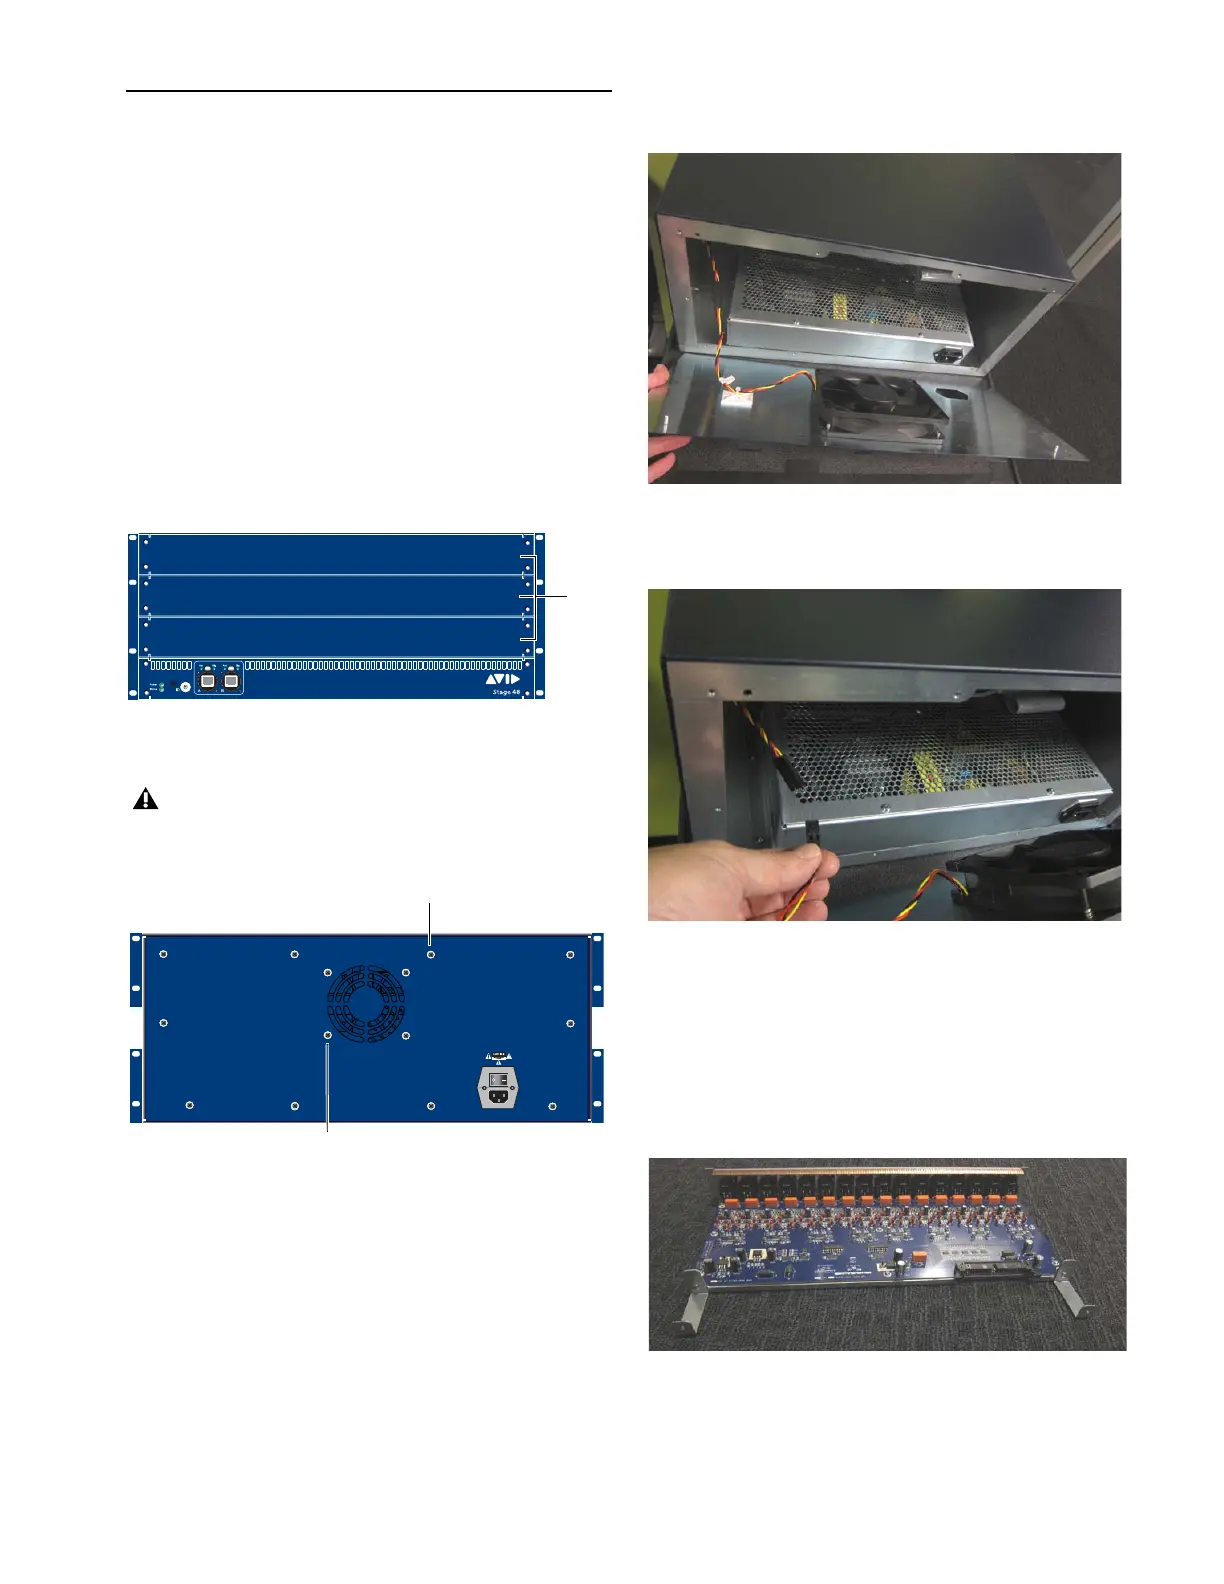
5 If you are installing output cards in Stage 48, do the follow-
ing before proceeding:
• Locate the included extenders.
• For each output card, use two extenders and two of the in-
cluded Phillips head screws to attach the extenders to the
back of the card. Orient the extenders so that the long
side of the extenders lay flat.
6 For each I/O card you are installing, hold the card by its
edges and gently slide the card into the slot.
Figure 15. An empty Stage 48’s I/O card slots
Do not remove the four fan mounting screws that are closest
to the fan port.
Figure 16. Stage 48 I/O back panel
Mounting screws (remove all)
Fan mounting screws (do not remove)
Figure 17. Removing the back panel.
Disconnecting the fan cable
Figure 18. AO16 Output card with extenders