EN 32
D - BEGINNING OPERATION
To adjust this value, follow this procedure
• Press PROG for 3 seconds › L0 will flash once
and L1 will turn on.
• Press PROG, for 3 seconds › L0 will flash twice.
• Press “+” once › L2 will switch on instead of L1.
• Press SET › the number of LEDs that turn on will
indicate the set value.
• Use the “–” and“+” buttons to change this value
(see table below)
• Press SET to confirm this value › all
the LEDs will turn on and off to confirm the
operation.
LED on L0 L1 L2 L3 L4 L5
Recharge 78cm 63cm 47cm 31cm 23cm 16cm
3.2.3 - PHOTOCELL SELF-TEST (OPTIONAL)
The system will perform a self-test on the photocells
(connected to “PHO”) several times:
• To detect photocells when the power is switched
on.
• To detect photocells when the operating mode
setting is confirmed.
• Before the gate is set into motion if they are active
for the time of movement requested.
• The reception and transmission photocells have a
separate power supply.
This test is performed in 3 steps:
1. Power up the transmission and reception
photocells, and check if the “PHO” input is
earthed (which happens if the receiving photocell
receives an infrared beam).
2. Cut off the power supply to the transmission
photocell, and check whether the “PHO” input is
no longer earthed (absence of the infrared beam).
3. Restore power to the transmission photocell, and
check whether the “PHO” input is earthed again.
The photocell self-test is activated by default (Value
1). Most photocells on the market have a separate
power supply. If you wish to connect photocells with
a shared power supply, the self-test will not detect
these photocells. You can then deactivate it (Value
0).
To activate or deactivate this function, follow
the procedure below
• Press PROG for 3 seconds › L0 will flash once
and L1 will turn on.
• Press PROG, for 3 seconds › L0 will flash twice.
• Press “+” twice › L3 will switch on instead of L1.
• Press SET.
• If L1 is switched on, the function is activated ›
press
“–” to deactivate it, then SET to confirm.
• If L1 is switched off, the function is deactivated ›
press “+” to activate it, then SET to confirm.
If 2 sets of photocells are connected in a series, this
function does not enable you to detect a potential
fault in one of the sets.
It is still necessary to perform a manual test of all the
safety parts at least once every 6 months.
3.2.4 - PRE-FLASHING TIME
The flashing light is an essential safety
component. It starts when a command to set the
gate in motion is received by the electronic card.
The gate is set in motion around one second after a
command is received.
In certain use cases, it is better that the time
between receiving a motion command and the start
of the manoeuvre is longer. It is possible to increase
this time to 3 seconds.
To set the pre-flashing time, follow the
procedure below
• Press “PROG” for 3 seconds. L0 will flash once
and L1 will switch on.
• Press “PROG” for 3 seconds. L0 will flash twice.
• Press “+” 3 times and L4 will switch on instead of
L1.
• Press SET.
• If L1 is switched off, the time is 1 second. Press
“+” to increase it to 3 seconds, then SET to
confirm.
• If L1 is switched on, the time is 3 seconds. Press
“–” to reduce it to 1 second, then
SET to confirm.
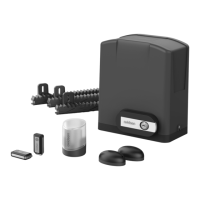
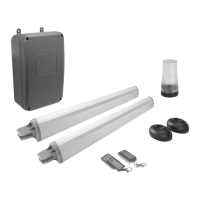
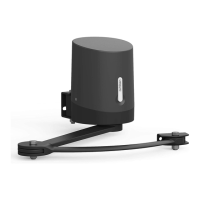
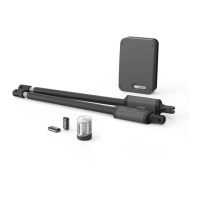
CONNECTED MOTOR DRIVE KIT
 Loading...