MOUNTING AND INSTALLATION
This chapter outlines how to mount and install the Product in a correct and safe manner.
These steps are subdivided into the following groups, each of which is documented in a separate section:
1. Mounting on Wall or Ceiling
2. Connecting the Components to the Camera
3. Connecting a Controller to a Camera
4. Connecting the camera to a local network
Take the following precautions to prevent the Product from falling down which may cause injuries:
• Set up this Product on a hard, stable surface, or mount it to a wall or ceiling.
• ONLY use an Avonic mount for mounting to a wall or ceiling.
• Ensure the mounting construction is capable of supporting four times the weight of the Product. (See
'General Specifications > Weight product’ in the Product Datasheet for the exact weight.)
• Use a safety loop or drop protection that prevents the Product from falling if the mounting construction fails.
• During mounting and installation, NEVER install a Product above a person.
• Check the installation at least once a year. An improper mounting could cause the unit to fall off, resulting in
personal injury.
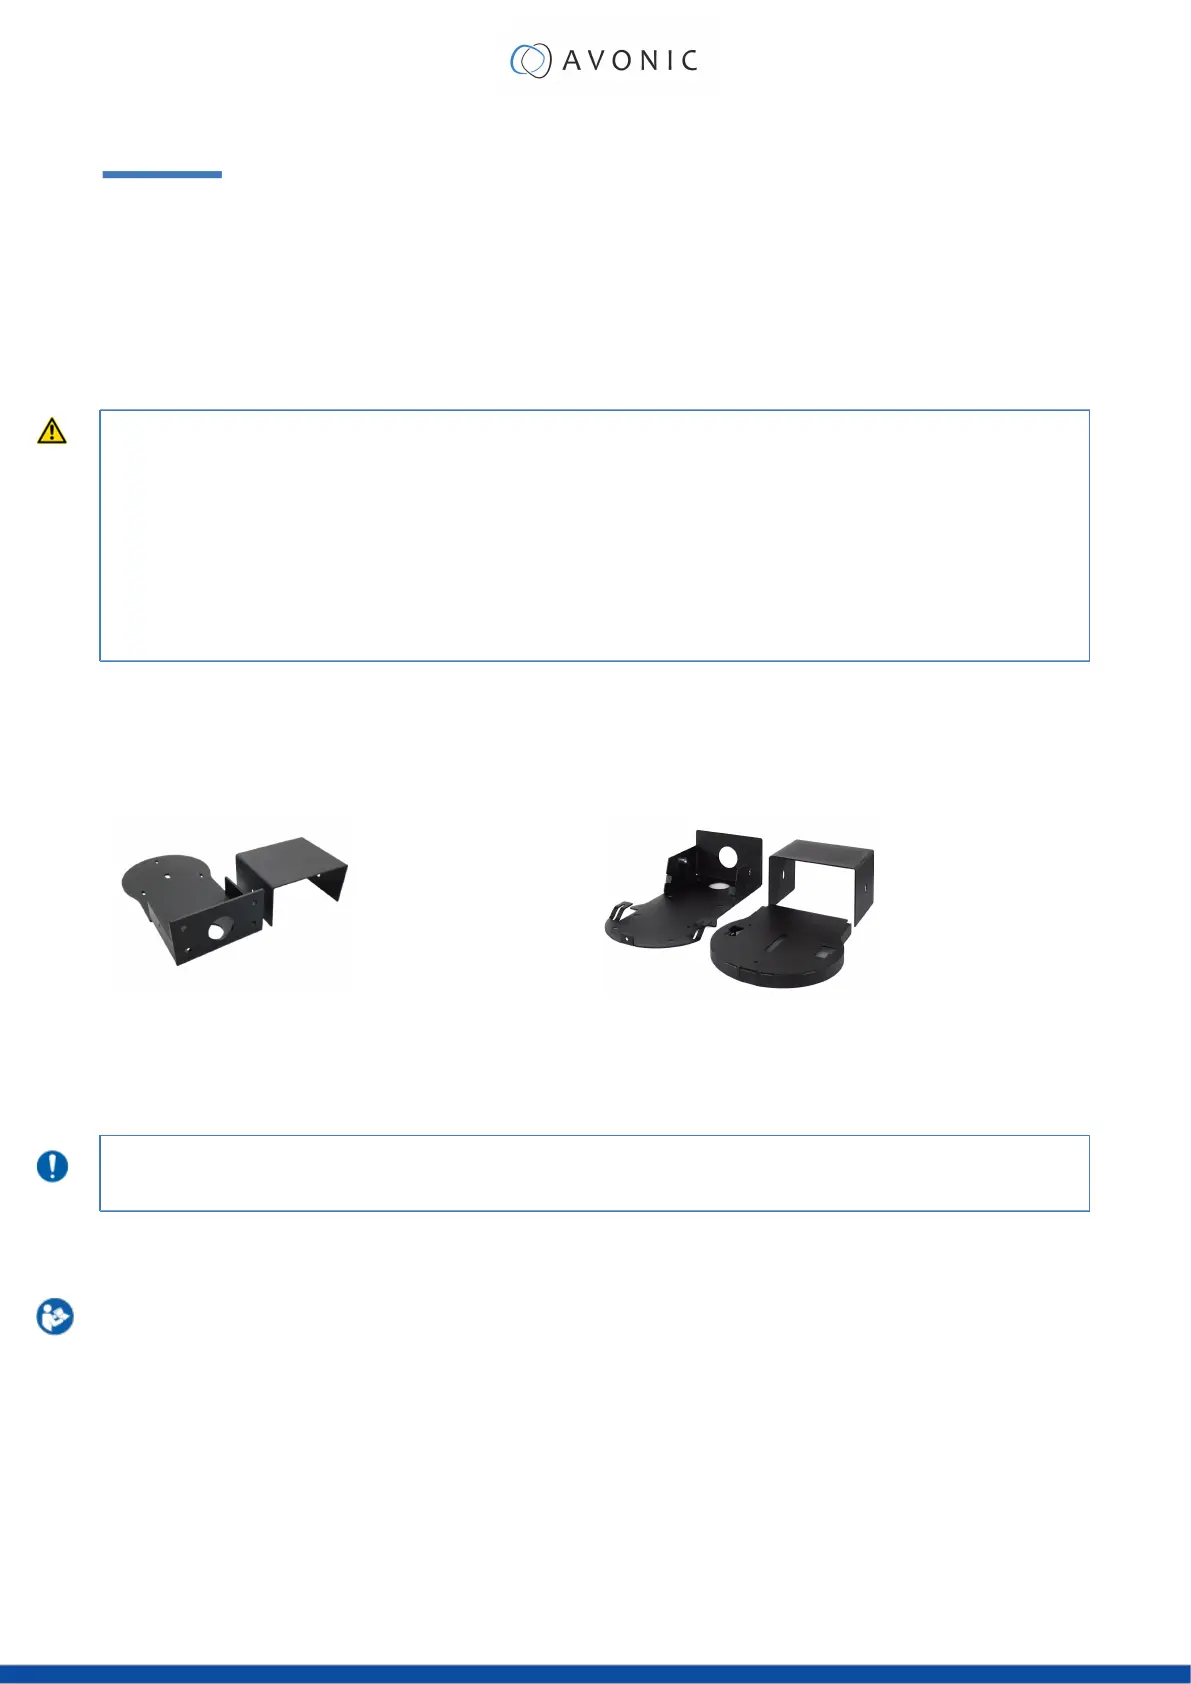
Mounting on Wall or Ceiling
The following accessories (AV-MT200 and AV-MT250) are separately available if the client wants to mount the
camera to the wall or ceiling. Contact your Avonic reseller or local distributor for purchasing details.
Wall mount (AV-MT200)
SKU white: AV-MT200-W
SKU black: AV-MT200-B
Ceiling mount (AV-MT250)
SKU white: AV-MT250-W
SKU black: AV-MT250-B
Visit www.avonic.com to download instructions for mounting the camera to the wall or ceiling using the
accessories AV-MT200 or AV-MT250.
Connecting the Components to the Camera
Execute the following steps to connect the components to the camera:
1. Connect all provided components (see Package Contents) to the ports at the rear of the camera. The figure
below shows the applicable ports.
15
 Loading...