AVTECH Software Inc. 7
Room Alert 26W Installation
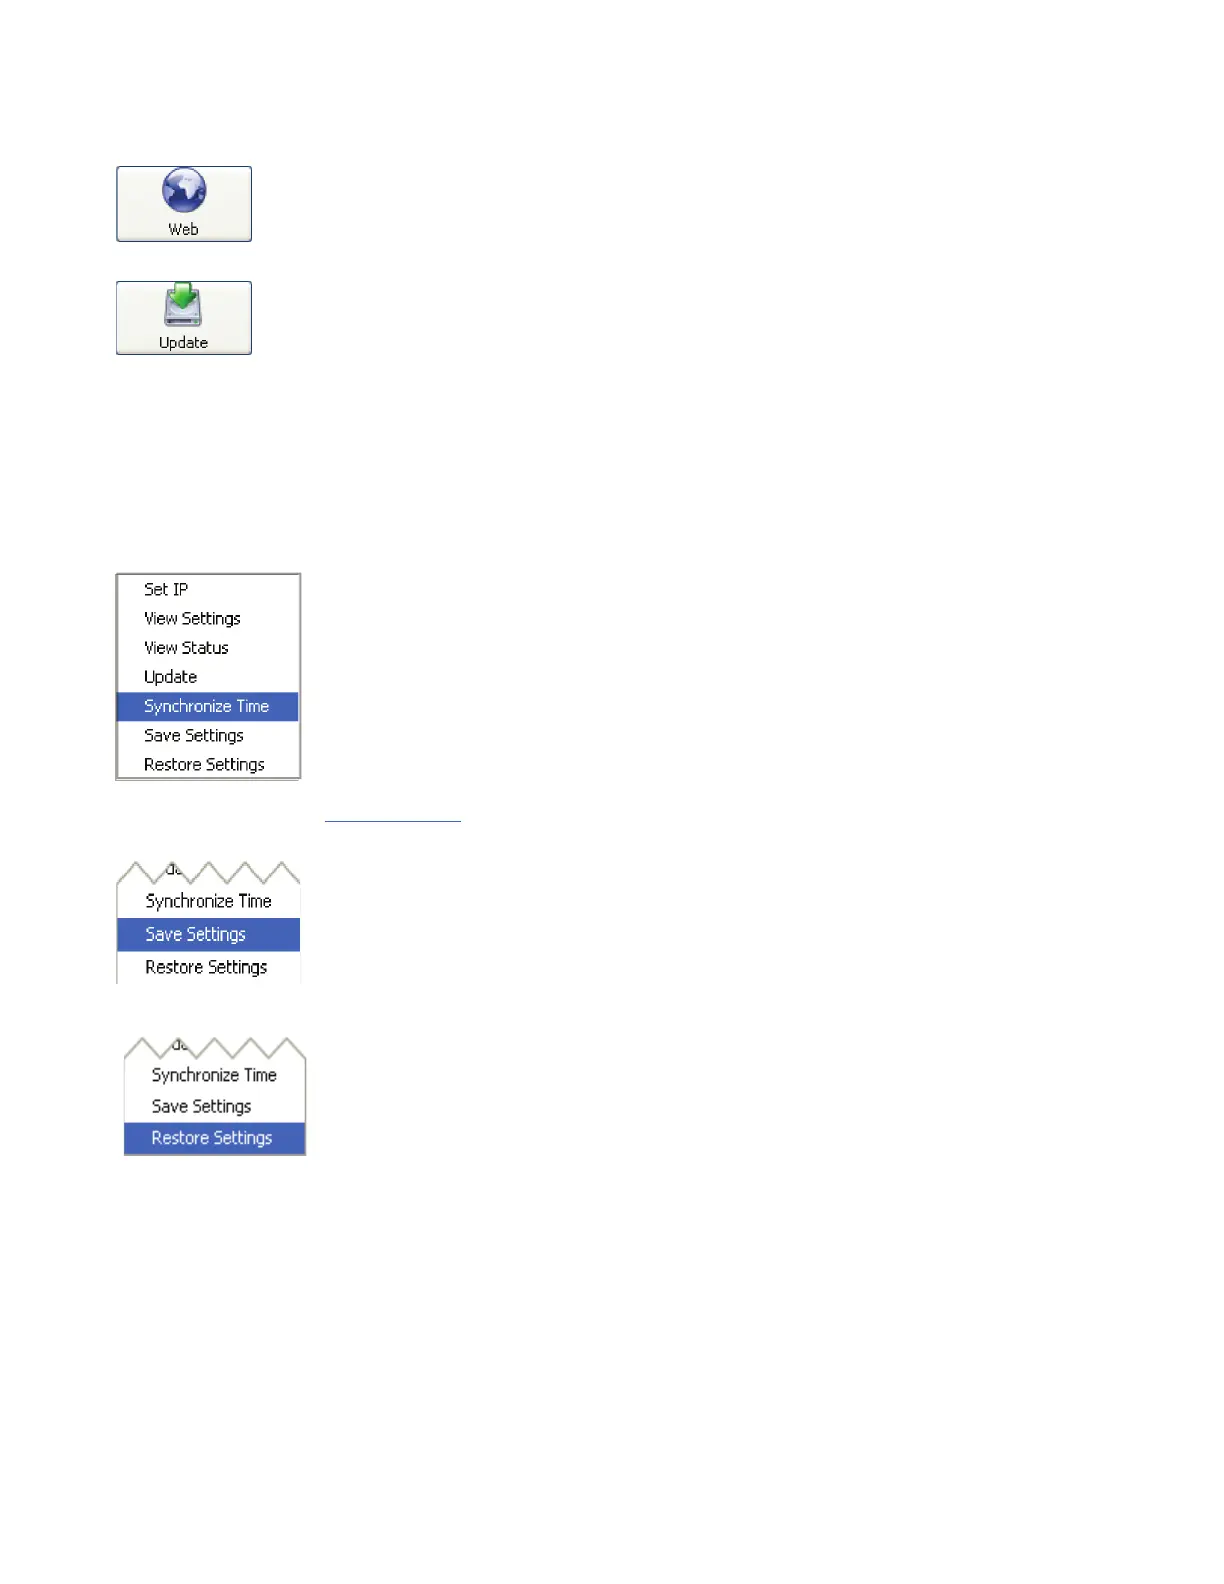
The ‘Web’ button displays the main ‘Status’ screen of the Room Alert 26W web interface
which shows current sensor data and alarm status in the default web browser for the system you
are using. Be sure to bookmark the link that loads for quick and easy reference in the future.
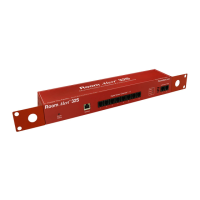
The ‘Update’ button initiates the rmware upgrade process of the AVTECH Device
Discovery Utility. If a Room Alert 26W unit is not selected before left clicking this
button, a dialog will display asking for the IP address of the unit to upload rmware to.
Please see the ‘Upgrading Firmware’ section of the ‘Advanced Topics’ chapter for important instructions
on the ‘Update’ feature.
The AVTECH Device Discovery Utility offers additional features accessible via a right click context
menu. This menu is accessible only when a located Room Alert 26W unit has been selected and the right
mouse button has been clicked. These menu options are described below.
The ‘Synchronize Time’ option instructs the Room Alert 26W unit to
synchronize with the time server specied in the ‘Time Server IP’ eld on the
‘Advanced’ tab of the ‘Settings’ screen. The time displayed on the Room Alert
26W ‘Status’ screen and included in email alert notications can only be updated
by linking with a network time server (NTP) on UDP port 123. If a time server is
not available on your network and access to a time server on the internet is not
possible, Microsoft has various help les available that explain how to congure
a computer on the local network to act as a time server for other devices. Visit
Microsoft.com to learn more or see AVTECH’s Frequently Asked Questions (FAQs).
The ‘Save Settings’ feature can be used to download the current conguration
settings on a Room Alert 26W unit for backup purposes. This feature can also be
used to quickly congure multiple Room Alert 26W units by conguring one unit,
selecting it, clicking the ‘Save Settings’ option, then selecting multiple units and
clicking the ‘Restore Settings’ option.
The ‘Restore Settings’ feature is used to restore a saved conguration created
using the ‘Save Settings’ feature to one or multiple Room Alert 26W units. When
selected, the user will need to select from a previously saved ‘.bak’ le located in
the ‘log’ folder of the ‘AVTECH Device Discovery Utility’ directory in order to
restore or update the settings on the Room Alert 26W unit(s).
Static-Only Networks
If the network that the Room Alert 26W unit will be connected to does not have automatic DHCP
IP address assignment, the Room Alert 26W unit will default to a ‘169.xxx.xxx.xxx’ IP address. The
AVTECH Device Discovery may or may not be able to discover your unit when it has obtained a
‘169 xxx.xxx.xxx’ IP address, depending on various network conditions. Follow the steps below to
assign an IP address to the Room Alert 26W unit that will be appropriate for your network.