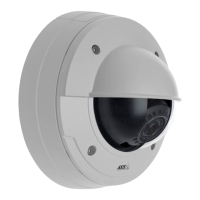
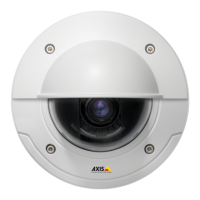
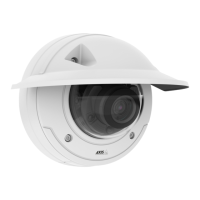
AXISP3364-LVENetworkCamera
RoutetheCablesalongtheWall
Note
Toavoidmoisture-relatedproblemsitisrecommendedthatthecablesareroutedtothe
camerafrombelowwiththecableholesfacingdownwards.
1.Drillfourholesinthewallusingthedrilltemplate.
2.Attachthemountingbrackettothewallusingfourscrewsappropriateforthewall
material.
3.Removethecameraunitfromtheunitcasingbypushingthespringsaside.
4.Removethebottomgasketsintheunitcasing.Ifthereisonlyonecable,removeonly
onegasket.
5.Placetheunitcasingonthemountingbracketandattachitbytighteningthefourscrews.
6.Pullthenetworkcableand,ifrequired,theI/Oandaudiocablesupthroughthebottom
holesintheunitcasing.
7.Dragthegasketsalongthecablesandplugthemintotheholes.Thegasketsshouldt
snuglyintheholeswithnofoldsorbends.
8.Re-attachthetoppartofthecableshieldbytighteningthetwoscrews.
InstalltheCameraUnit
NO NO
NO
TICE TICE
TICE
Riskofheatermalfunctioning.Makesuretheswitchunderthecameraisconguredto
HEATER-PoECLASS3.
Note
Becarefultonotstretchthenetworkcable,orbenditunnecessarily,asthiscanbreak
thecable.
1.Attachthenetworkcabletothecameraunitand,ifrequired,thecablesforaudioand
I/O.Itisrecommendedthatthenetworkcableisturnedintoaloopasshowninthe
illustration.
2.InserttheSDmemorycard(optional).
3.Pullasidethespringsintheunitcasingandclickthecameraunitinplace.
4.Attachthefanconnectortotheconnectorinthecameraunit.
Theillustrationbelowshowsastandardoutdoormodel.
20