2-3
2-1. SVP assembly
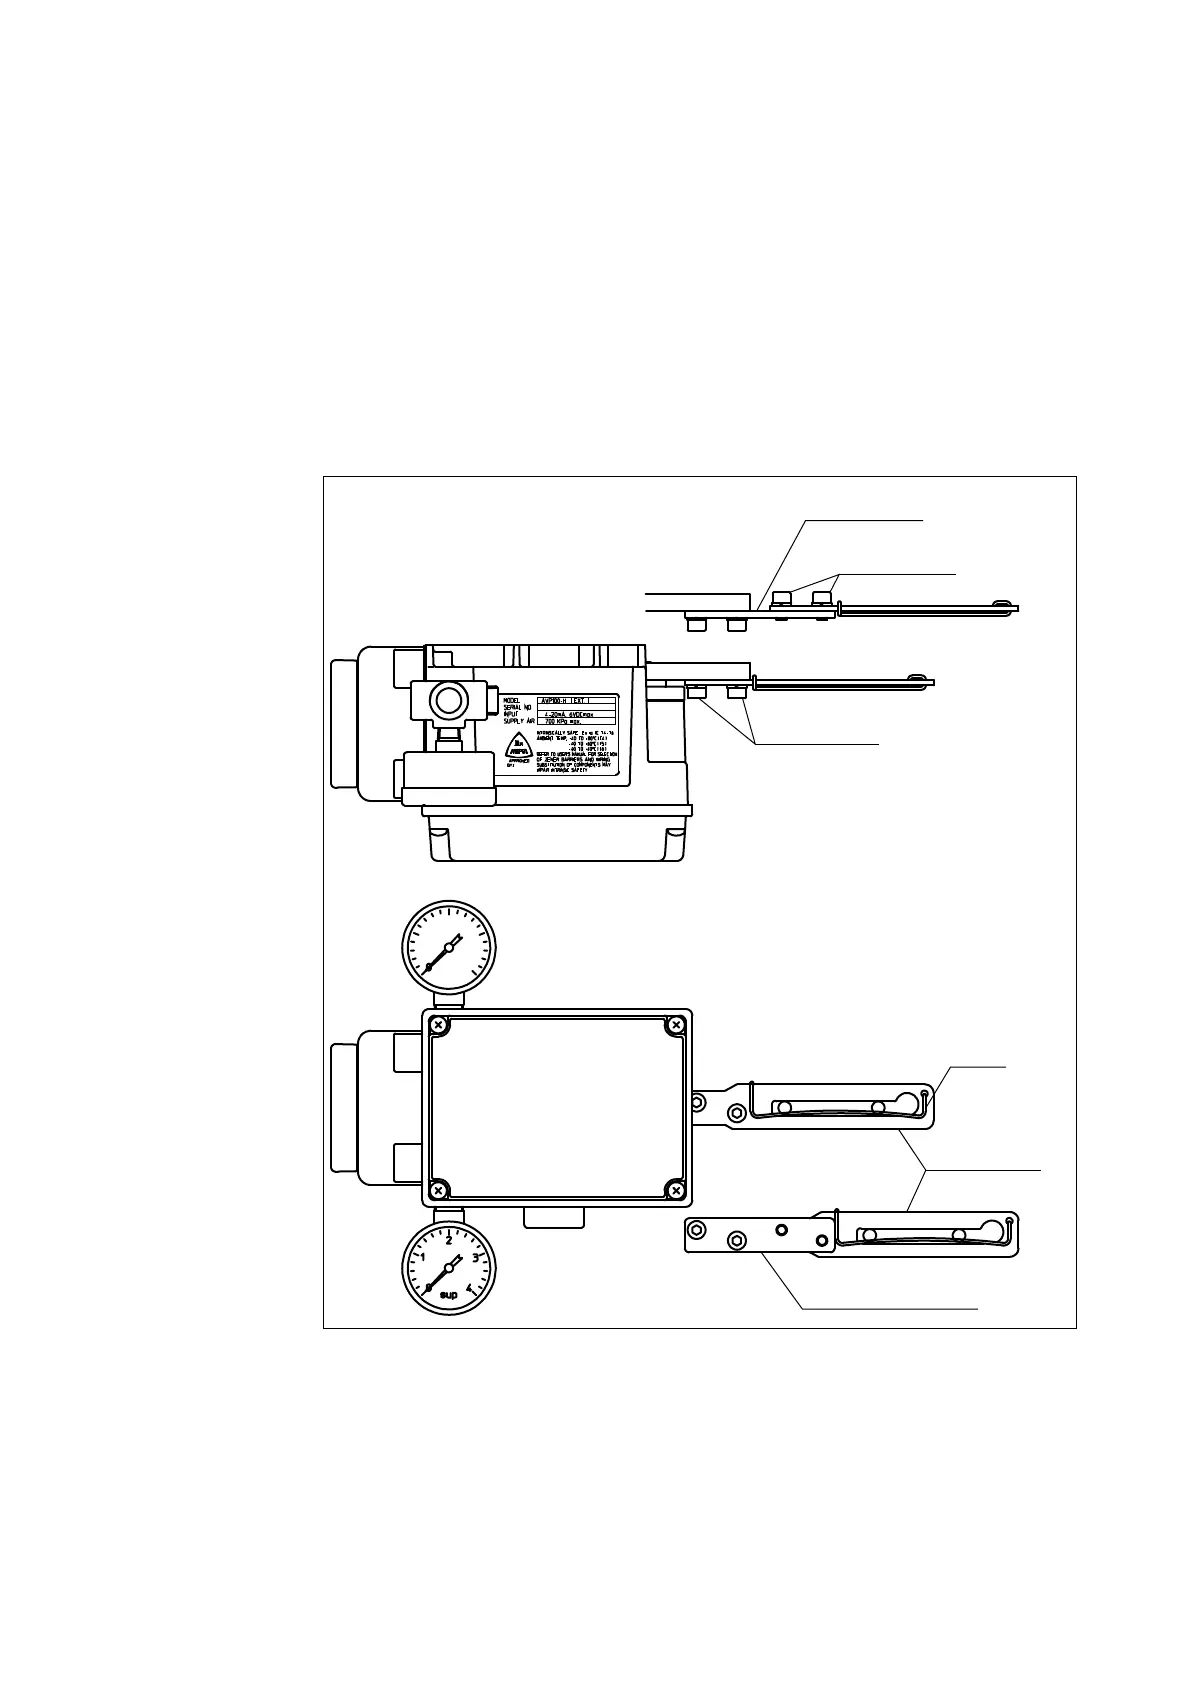
2-1-1. Attaching SVP feedback lever
The SVP is factory shipped with the feedback lever removed. Follow the assembly procedures
for the SVP and the feedback lever given below.
Linear motion actuator
Assemble the feedback lever and the SVP using the two provided hex socket bolts.
Ensure that the rotation angle of the feedback lever does not exceed 20° from the horizontal
(40° travel). In case of exceeding 20°, use the optional extension lever.
Extension lever
Hex socket bolt
Hex socket bolt
Spring
Feedback lever
Extension lever (option)
Fig. 2-1. SVP feedback lever
 Loading...