CHANGING THE PRESSER FOOT
Sewing Basics
75
2
d
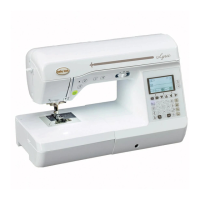
Hold the dual feed foot in place with your
right hand, then using the included multi-
purpose screwdriver, securely tighten the
large screw.
e
Plug the connector of the dual feed foot
into the jack on the back of your machine.
f
Press to unlock all keys and buttons.
All keys and operation buttons are unlocked, and
the previous screen is displayed.
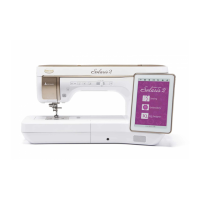
■ Attaching/Detaching Toe
Attach the toe by aligning the pins with the notches
and snap it into place.
a Pins
b Notches
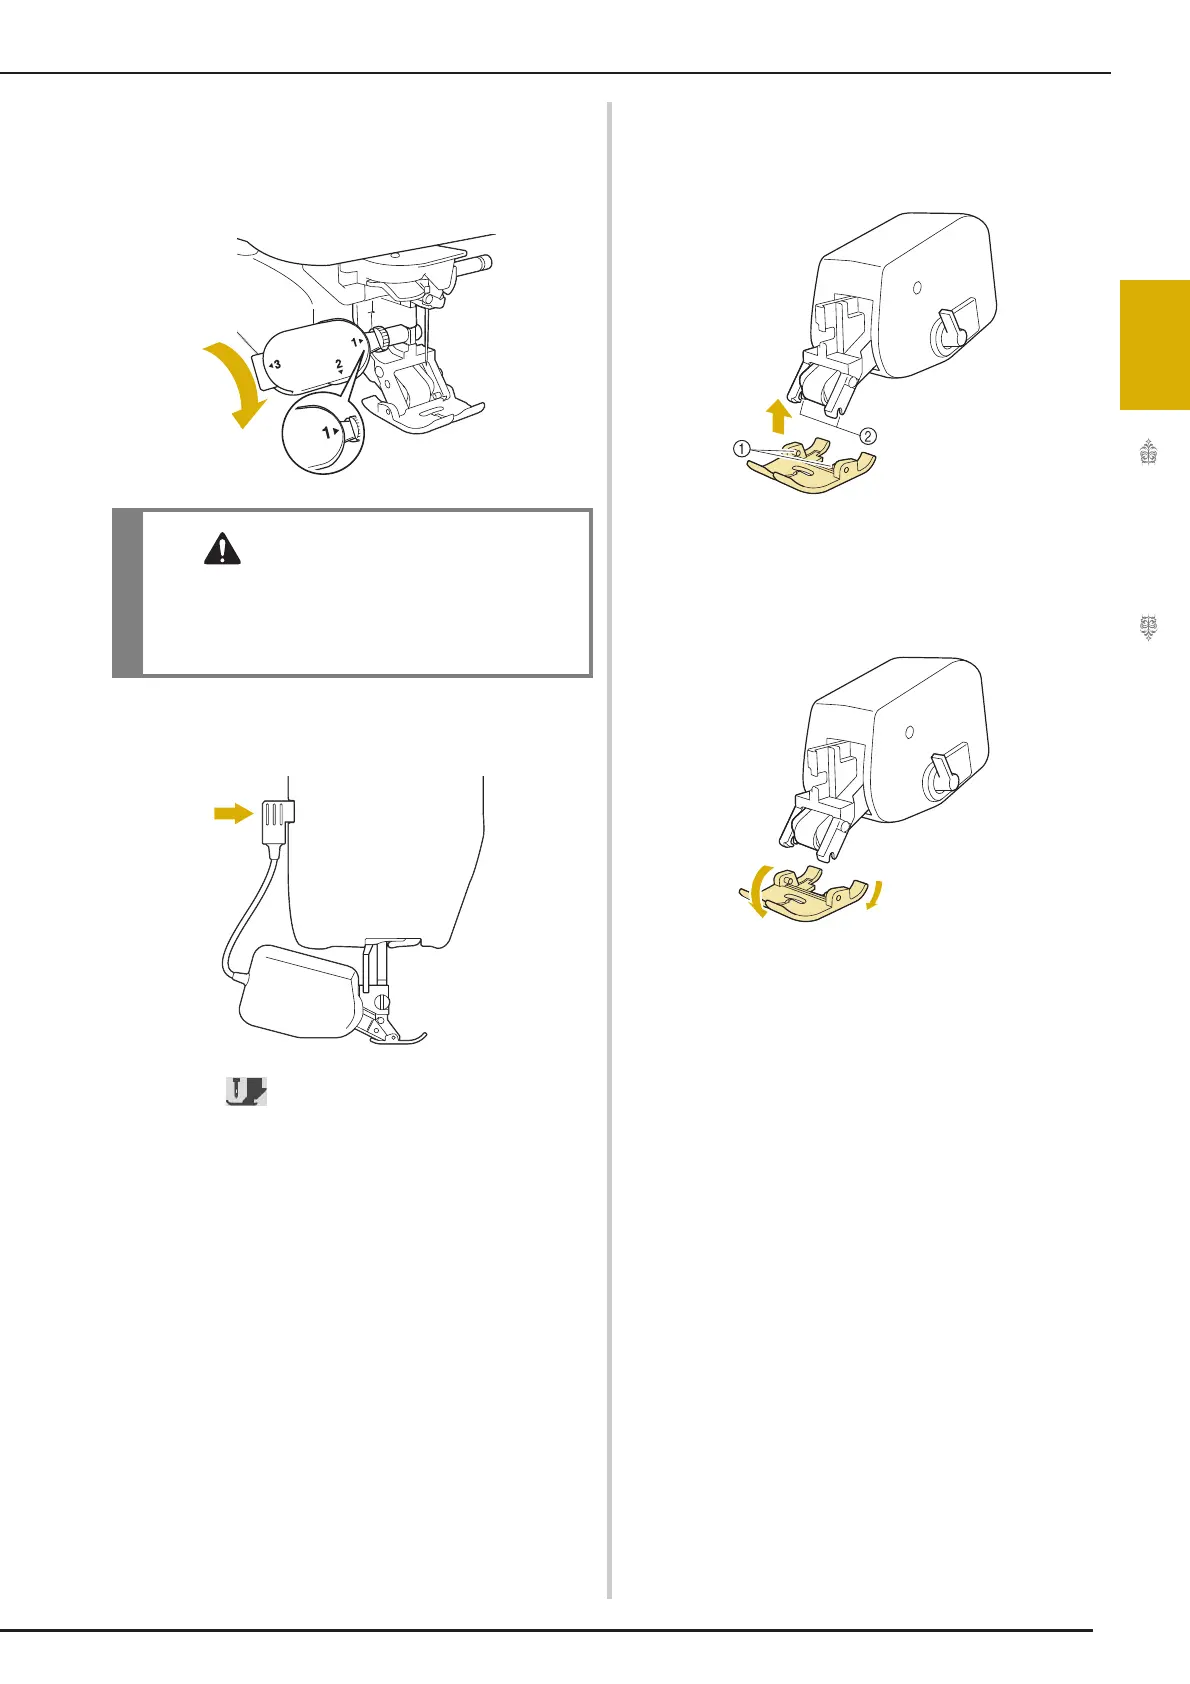
If you push down on the front and back part of the
dual feed foot, the toe of the dual feed foot will snap
off.
• Use the included screwdriver to firmly tighten
the screw. If the screw is loose, the needle may
strike the presser foot and possibly cause
injury.
 Loading...