5. Lenses & lens holder
3
F
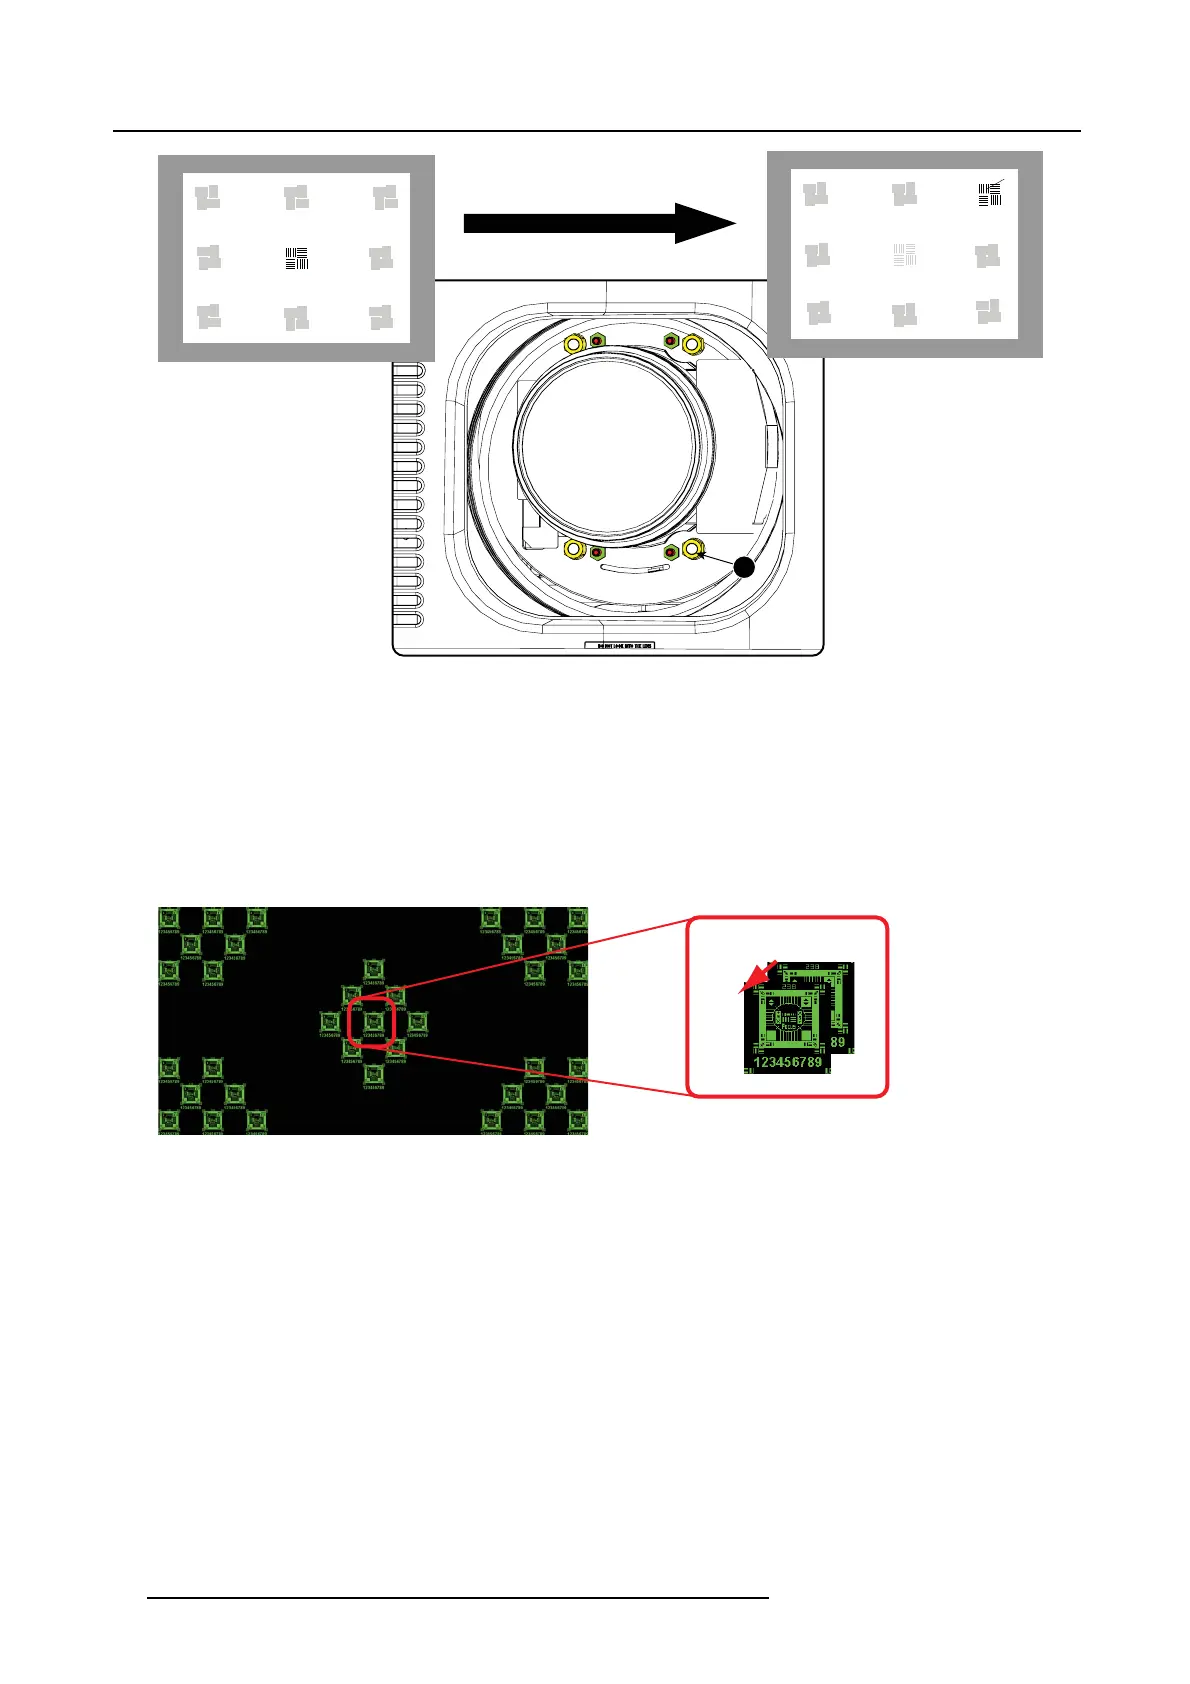
Image 5-24
Corner focusing
9. Repeat from step 6 until the projected focus pattern is as sharp as possible in the ce nter, left, right, top and bottom of the screen.
How to fixtheScheimpflug
Start t he fixation as follows (steps must be followed strictly) :
1. Turn in set s crew A, B and C. Tighten lightly (by hand).
Tip: Any movem ent of the image will affect the S cheimp flug adjustme
nt
2. Fasten lock nuts a, b and c.
3. Turn in s et screw D lightly (by hand) allowing the image to m ove slightly (1/3 to 1/2 of a square).
1/3 to 1/2
Image 5-25
4. Fasten lock nut d.
5. Tighten nut 4 until the offset of the im age m
ovement created in step 3 is cance led.
Tip: The amount of image movement in step 3 will determ ine how tight the nut in step 5 will need to be turned to return the
image to its original p osition.
46
R5905050 DP2K C-SERIES 10/07/2012

 Loading...


