K5902142 /04 Nio 5MP14
5. When the drivers are completely installed, your display will automatically detect the connected video input
signal(s) and apply the correct video mode and refresh rate.
2.5 QAWeb registration
About
QAWeb Enterprise helps you manage quality and assure compliance of your expanding healthcare
enterprise with less effort, lower cost, and complete confidence. This fully automated and secure system
guarantees a consistent image quality and uptime for all registered imaging display systems within your facility
and across your enterprise. Learn more at www.barco.com/qaweb.
To register your display system to your QAWeb Enterprise organization, the QAWeb Enterprise Agent must be
installed and running on your workstation and it must be able to communicate with the QAWeb Enterprise
cloud service.
For more information and instructions, check the QAWeb Enterprise user guide on www.barco.com/support/
qaweb-enterprise.
When still using the older MediCal QAWeb, visit www.barco.com/support/medical-qaweb to obtain
the installation package and user documentation.
2.6 VESA-mount installation
CAUTION: Use suitable mounting apparatus to avoid risk of injury.
WARNING: Never move a display attached to an arm by pulling or pushing the display itself.
Instead, make sure that the arm is equipped with a VESA compliant handle and use this to move
the display.
Please refer to the instruction manual of the arm for more information and instructions.
WARNING: Use a mount that is compliant with the VESA 100 mm standard.
Use a mount that can support the weight of the display. Refer to the technical specifications of this
display for the applicable weight.
Overview
The panel, standard attached to the tilt & swivel foot, is compatible with the VESA 100 mm standard. So it can
be used with an arm stand according to the VESA 100 mm standard.
Therefore, the tilt & swivel foot must be removed from the panel.
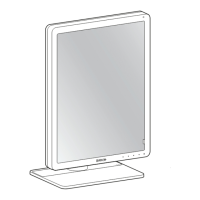
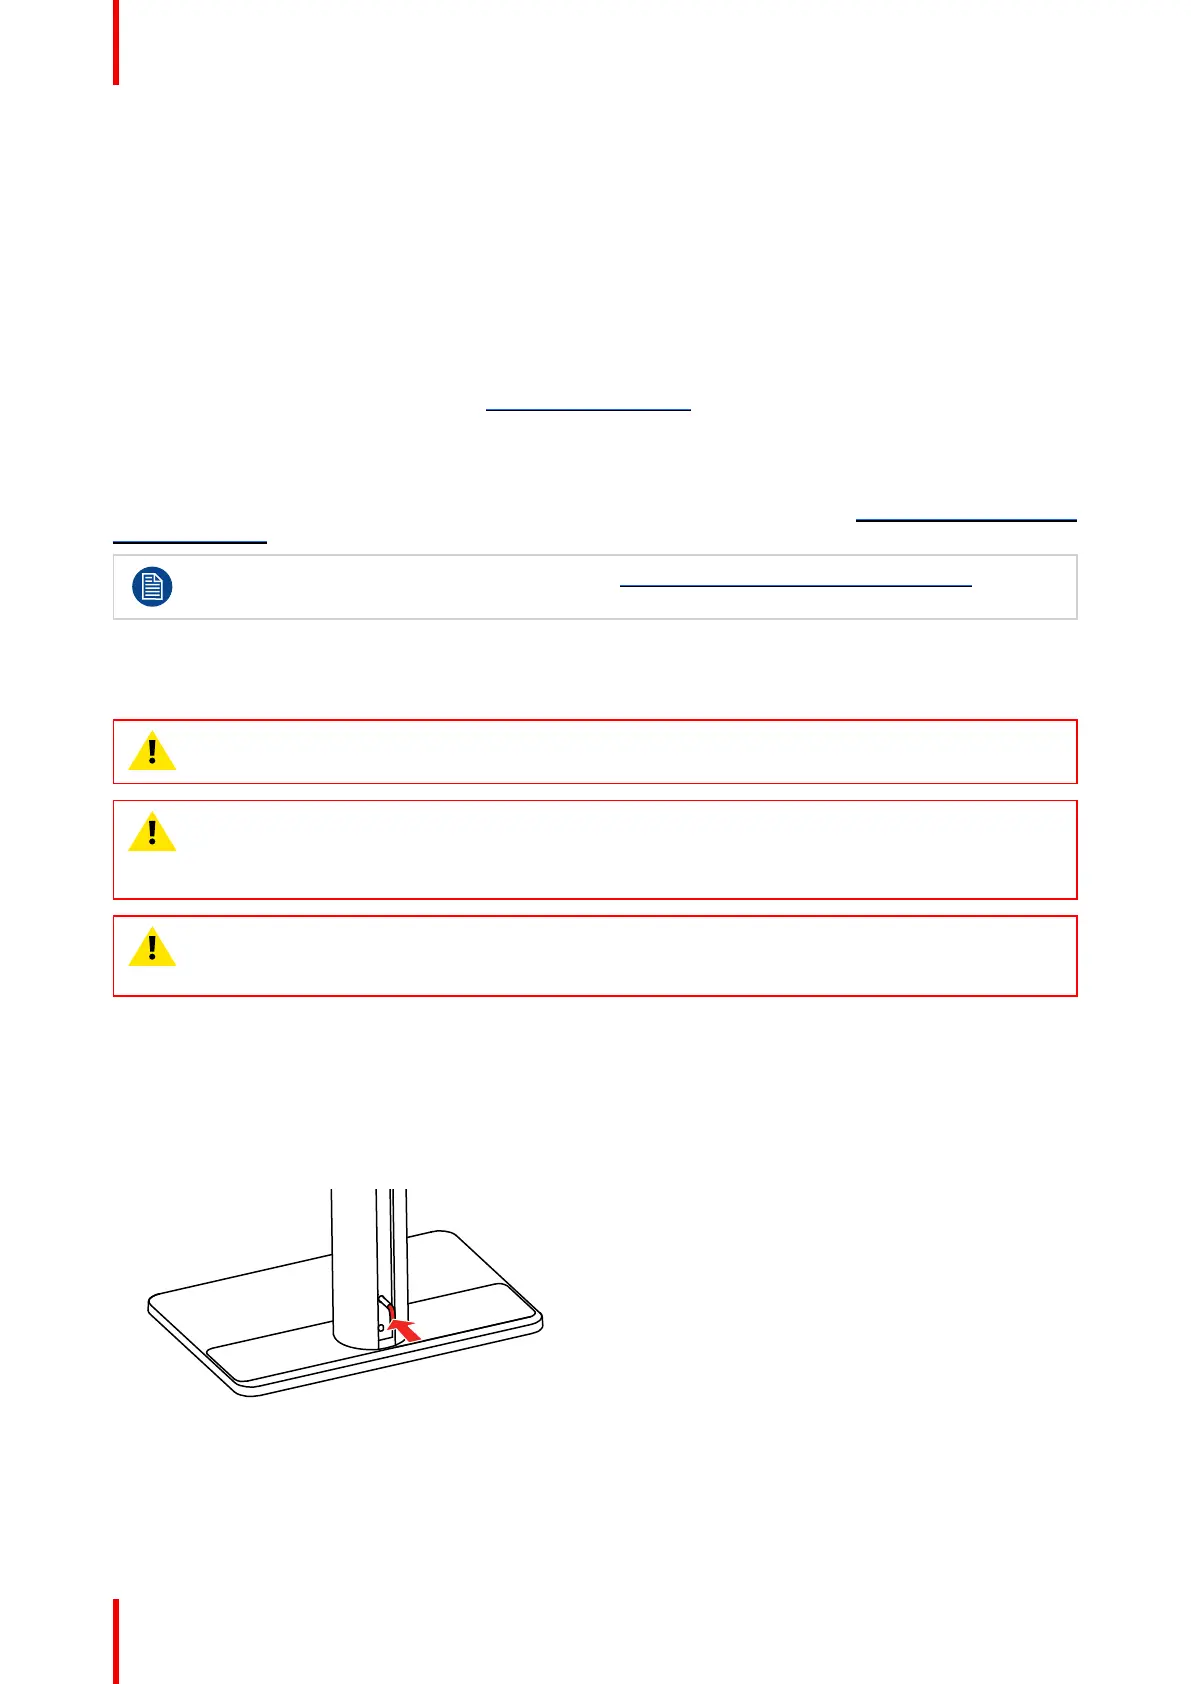
1. Put the display in the lowest position and lock the height mechanism.
Image 2–10
2. Put the display face down on a clean and soft surface. Be careful not to damage the panel screen.
3. Remove the plastic cover with a flathead screw driver.
Installation
 Loading...