27
Step 4
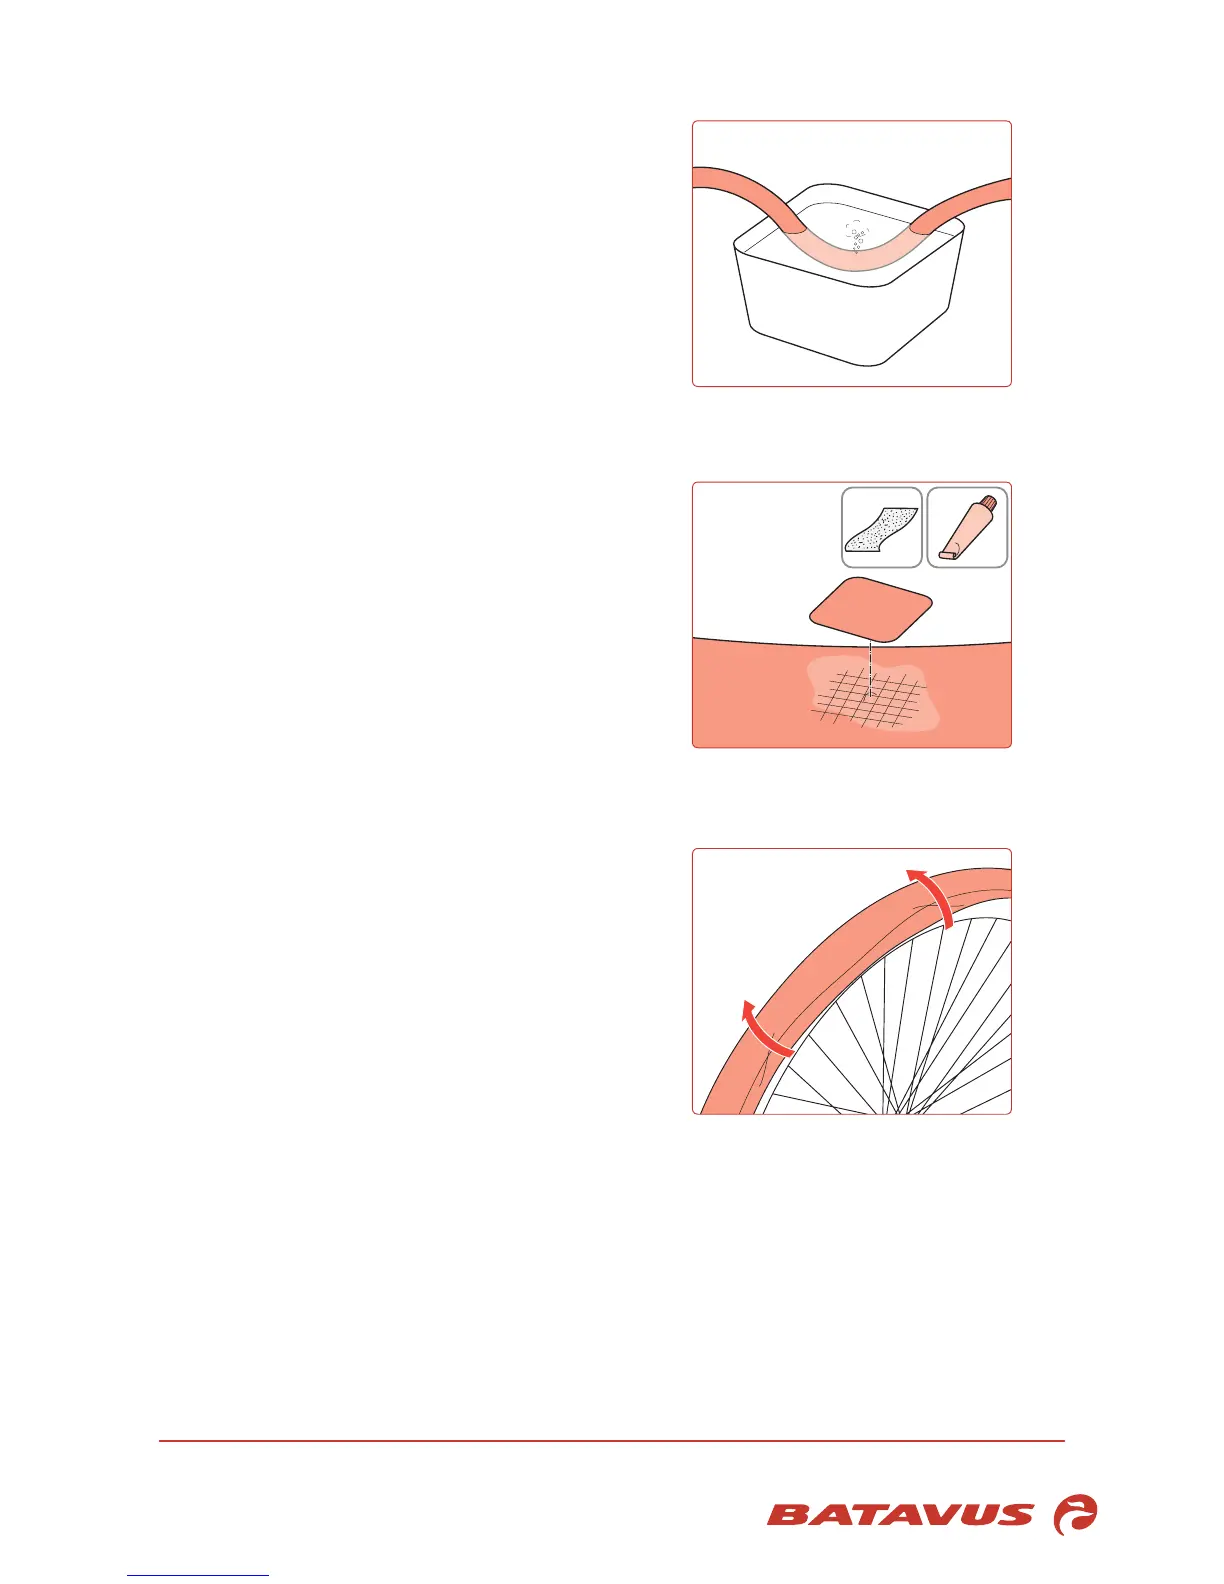
1. Pump up the inner tube.
• Incaseofalargepuncture:youcanheartheair
escape.
• Incaseofasmallerpuncture:submergetheinner
tube in water (for example in a bucket).
2. Dry the inner tube.
3. Mark the puncture with a ball pen.
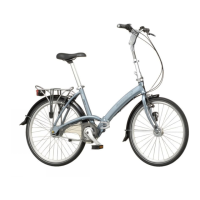
Step 5
Repair the tube following the instructions included
in the tyre repair set. With most sets the instructions
belowwillsufce:
1. Clean the place of the puncture with sandpaper.
2. Let the air release from the inner tube.
3. Applyglue/solventonanareathatisslightlylarger
than the sticker.
4. Let the area dry one to two minutes.
5. Remove the backing from the sticker.
6. Tightly press the sticker onto the puncture.
1
Step 6
1. Put back the inner tube into the tyre. The valve
casing must come straight out of the rim hole.
2. Tighten the rim nut a few turns.
3. Tighten the valve.
4. Pump up the tyre a bit, making sure that the inner
tube does not come out of the tyre.
5. Position the tyre. Use your hands.
• Whenmakinguseoftyrelevers,thereisabig
chance of causing punctures.
• Makesurethattheinnertubeisnotpinched
between the tyre and the valve.
• Atthevalveareapressthevalveabittowards
thetyreandbackagain;thiswillmaketheinner
tube‘jump’intothetyre.
6. Pump up the tyre.
1
1