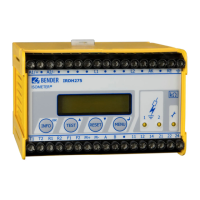
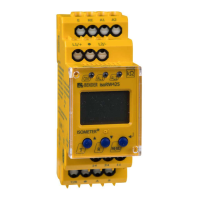
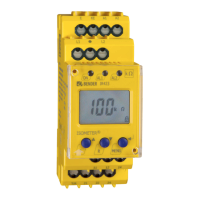
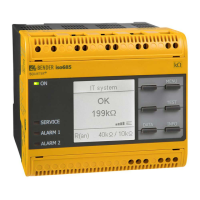
Installation, connection and commissioning
29
VMD460-NA_D00001_05_M_XXEN/01.2020
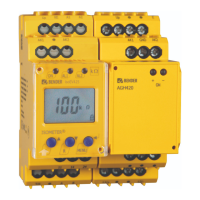
In principle, an extension to several generating units is possible. For this purpose, fur-
ther generating units must be integrated into the signal chain of the tripping circuit via
relay K2 and the contact feedback via D2 accordingly.
Wiring diagram legend
* Explanation: NC (in non-operating state closed)
NO (in non-operating state open)
off (switched off)
No.
Element Function
1A1, A2
Supply voltage U
s
(see ordering details)
2 L1, L2, L3, N Power supply connection
3K1, K2 Relay connections
4DG1/2, D1
Central interface switch with contact monitoring
D1: Feedback signal contact K1
(feedback signal contacts optionally NC/NO/off)*
5RTG, RT1
RTG: GND
RT1: remote trip input (optionally NC/NO/off)*
6A, B Service interface
7
R
on/off
Activate or deactivate the terminating resistor of the service interface (120 Ω )
DG3/4, D3, D4 Not used for these standards
8, 8a D2
Generating unit (in this case PV inverter with an integrated interface switch and contact monitor-
ing)
D2: Feedback signal contact to relay 2
(feedback signal contacts optionally NC/NO/off)*
924 Remote tripping output via relay K2
The interface switch is monitored by means of contact feedback. Faulty
conditions such as welded contactor contacts can thus be detected.
If the feedback signal contacts are designed as NC contacts, they must be
connected in series to the contact monitoring (see illustration). If the feed-
back signal contacts are designed as NO contacts, they must be connect-
ed in parallel to the contact monitoring.