11
8. Slide carriage back towards the base plate. Ensure the lift
head chain is properly positioned with the lift head chain sheave
and cylinder is properly seated in cylinder ring. (See Fig 3.11-
3.12)Failure to properly align lift head chain and/or cylinder will
result in lift malfunction.
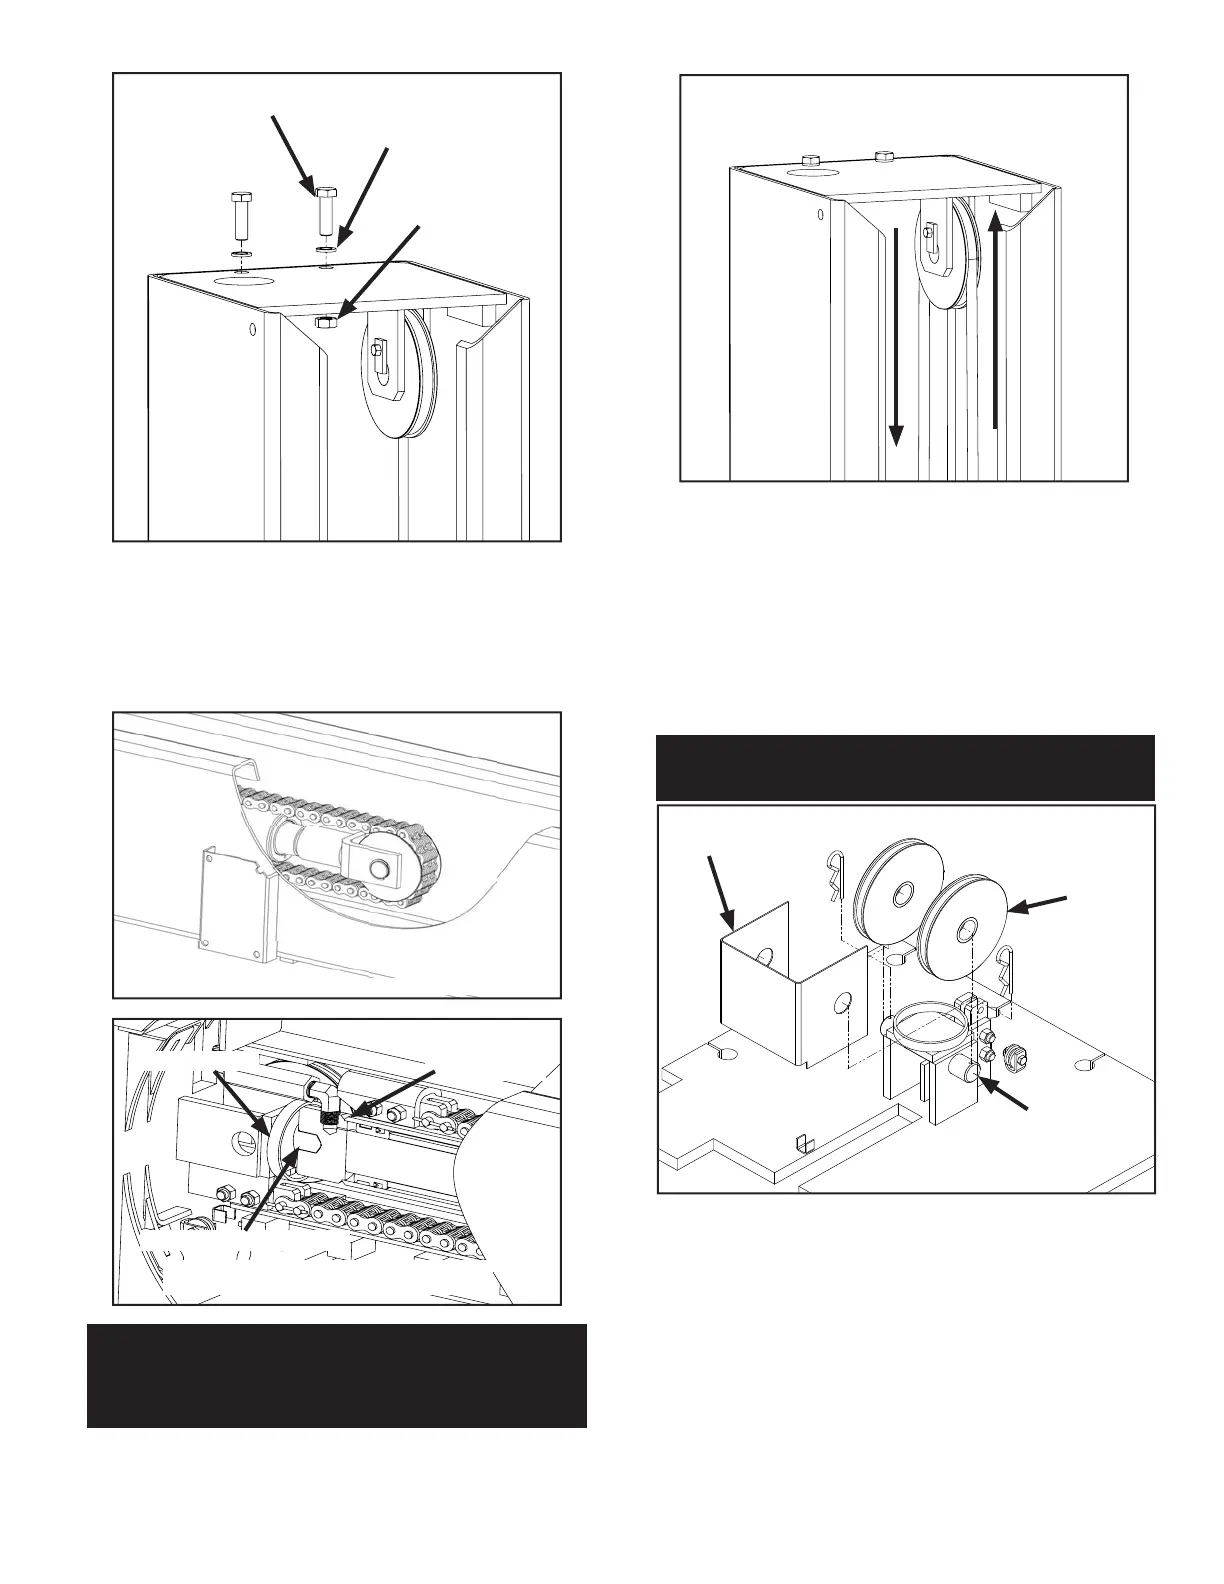
9. Uncoil cable and route cable around the Top Plate
sheave and coil the remaining cable up and leave it in the
post above the carriage. (See Fig 3.13)
NOTE: Post hidden for clarity
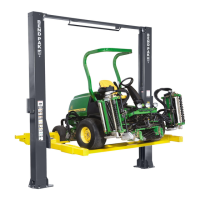
OPTIONAL SHEAVE COVER
INSTALLATION INSTRUCTIONS
To install optional sheave covers, rst t sheaves over
sheave shafts. Then t sheave cover over both sheave
shaft ends. Ensure the notched face of the sheave cover
faces the base plate. Secure sheave cover by inserting
cotter pins through the cotter pin holes in the sheave
shaft.
Sheave
Cover
Sheave
Shaft
Sheave
Fig 3.10
M10 Bolt
M10 Spring
Lock Washer
M10 Nut
Fig 3.13
Fig 3.11
NOTE: Portions of post cut away for clarity
NOTE:
ENSURE CYLINDER LEVELING PLUG IS ALSO
INSTALLED PROPERLY WHEN CHECKING
ALIGNMENT OF CYLINDER AND CYLINDER RING
Fig 3.12
NOTE: Portions of post, carriage, and cylinder
cut away for clarity.
Cylinder Ring
Cylinder Leveling Plug
Cylinder
Fig 3.14