26
POST-INSTALLATION CHECK-OFF
Posts properly shimmed and stable
Anchor bolts tightened
Pivot / sheave pins properly attached
Carriage stop bolts torqued to 2-3 ft-lb
Electric power supply con rmed
Cables adjusted properly
Safety locks functioning properly
Check for hydraulic leaks
Oil level
Lubrication of critical components
Check for overhead obstructions
Lift arms level
All screws, bolts, and pins secured
Surrounding area clean
Operation, maintenance and safety manuals
on site.
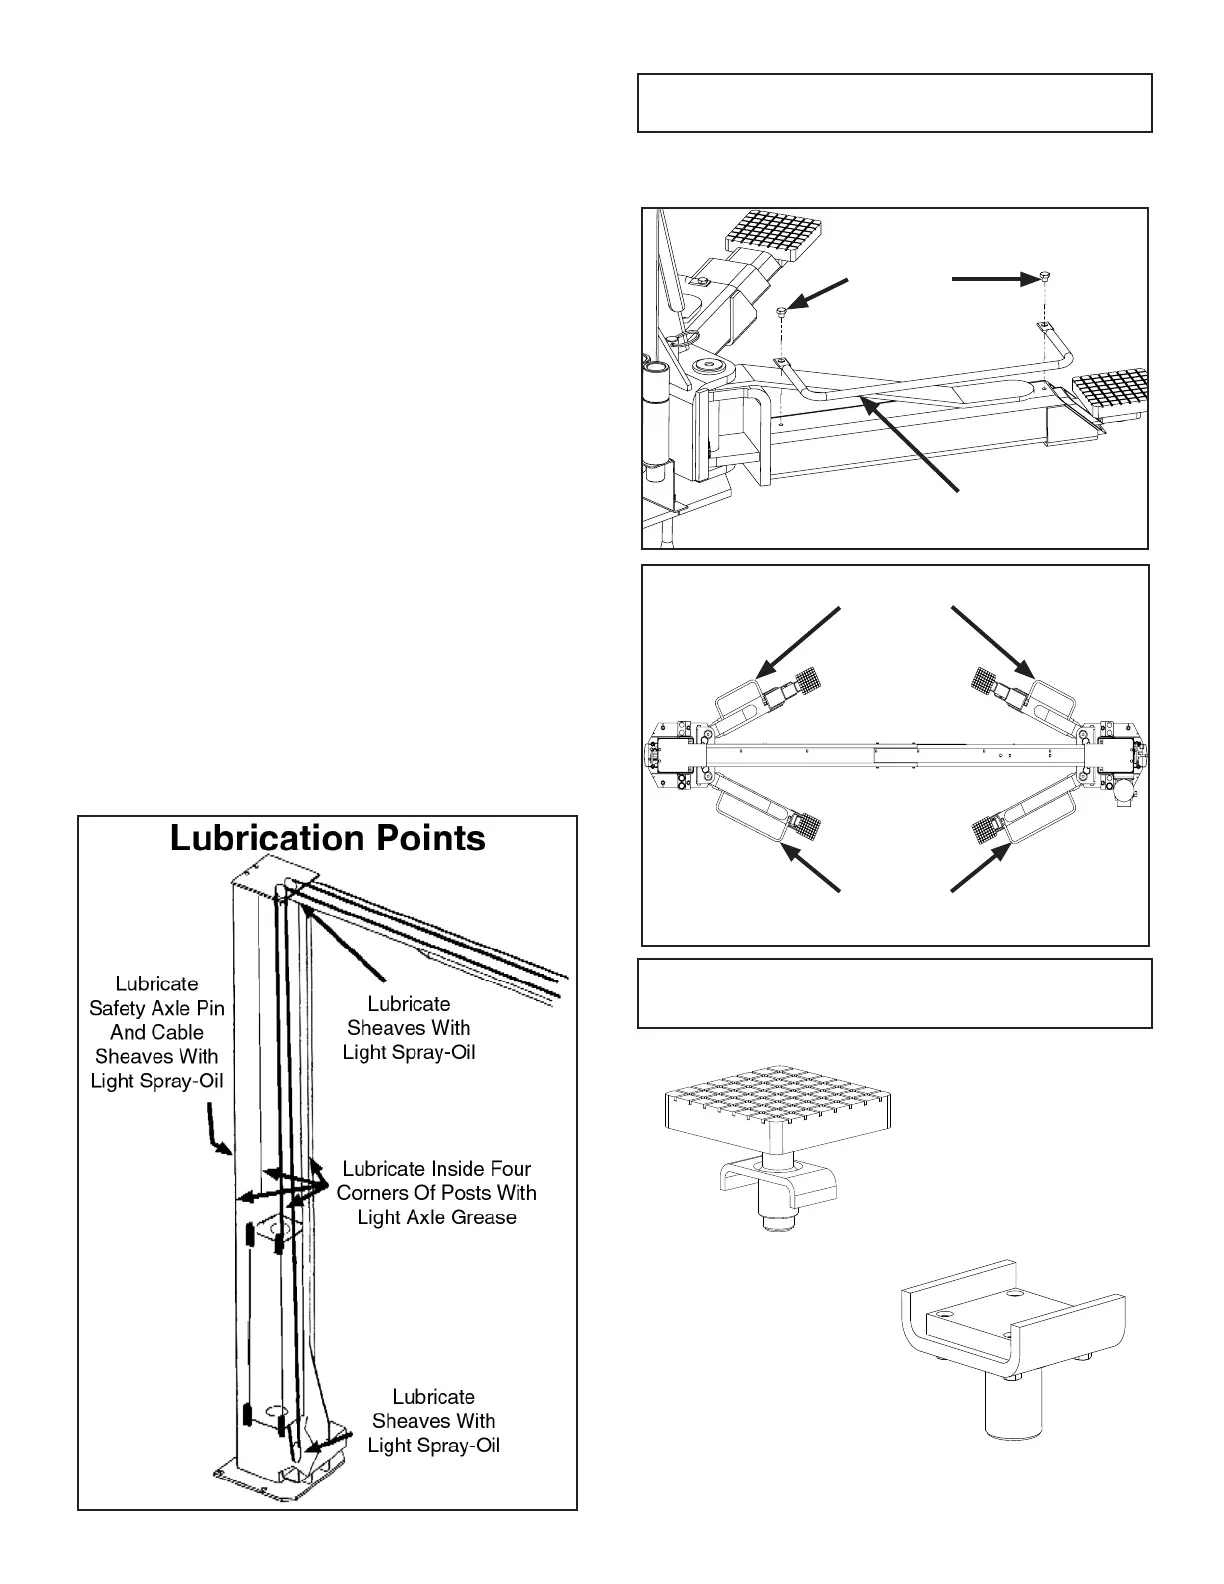
STEP 15
(Lubrication)
1. After installation and start-up has been completed,
lubricate lift components as described below.
(See Fig. 15.1)
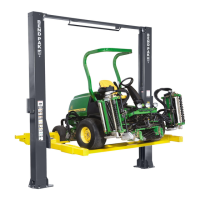
1. Install the Foot Guards to the outside of the 4 Lift Arm
Assemblies. Tighten the Hex Head Bolts.
(See Figures Below)
Fig. 15.1
OPTIONAL FOOT GUARD
INSTALLATION
Footguards
Hex Head
Bolt
Footguards
Footguards
OPTIONAL CRADLE AND SCREW
PAD ADAPTERS
SCREW PAD
ADAPTER
FRAME
CRADLE PAD
ADAPTER
Optional Equipment available through your
Authorized BendPak Dealer.