36
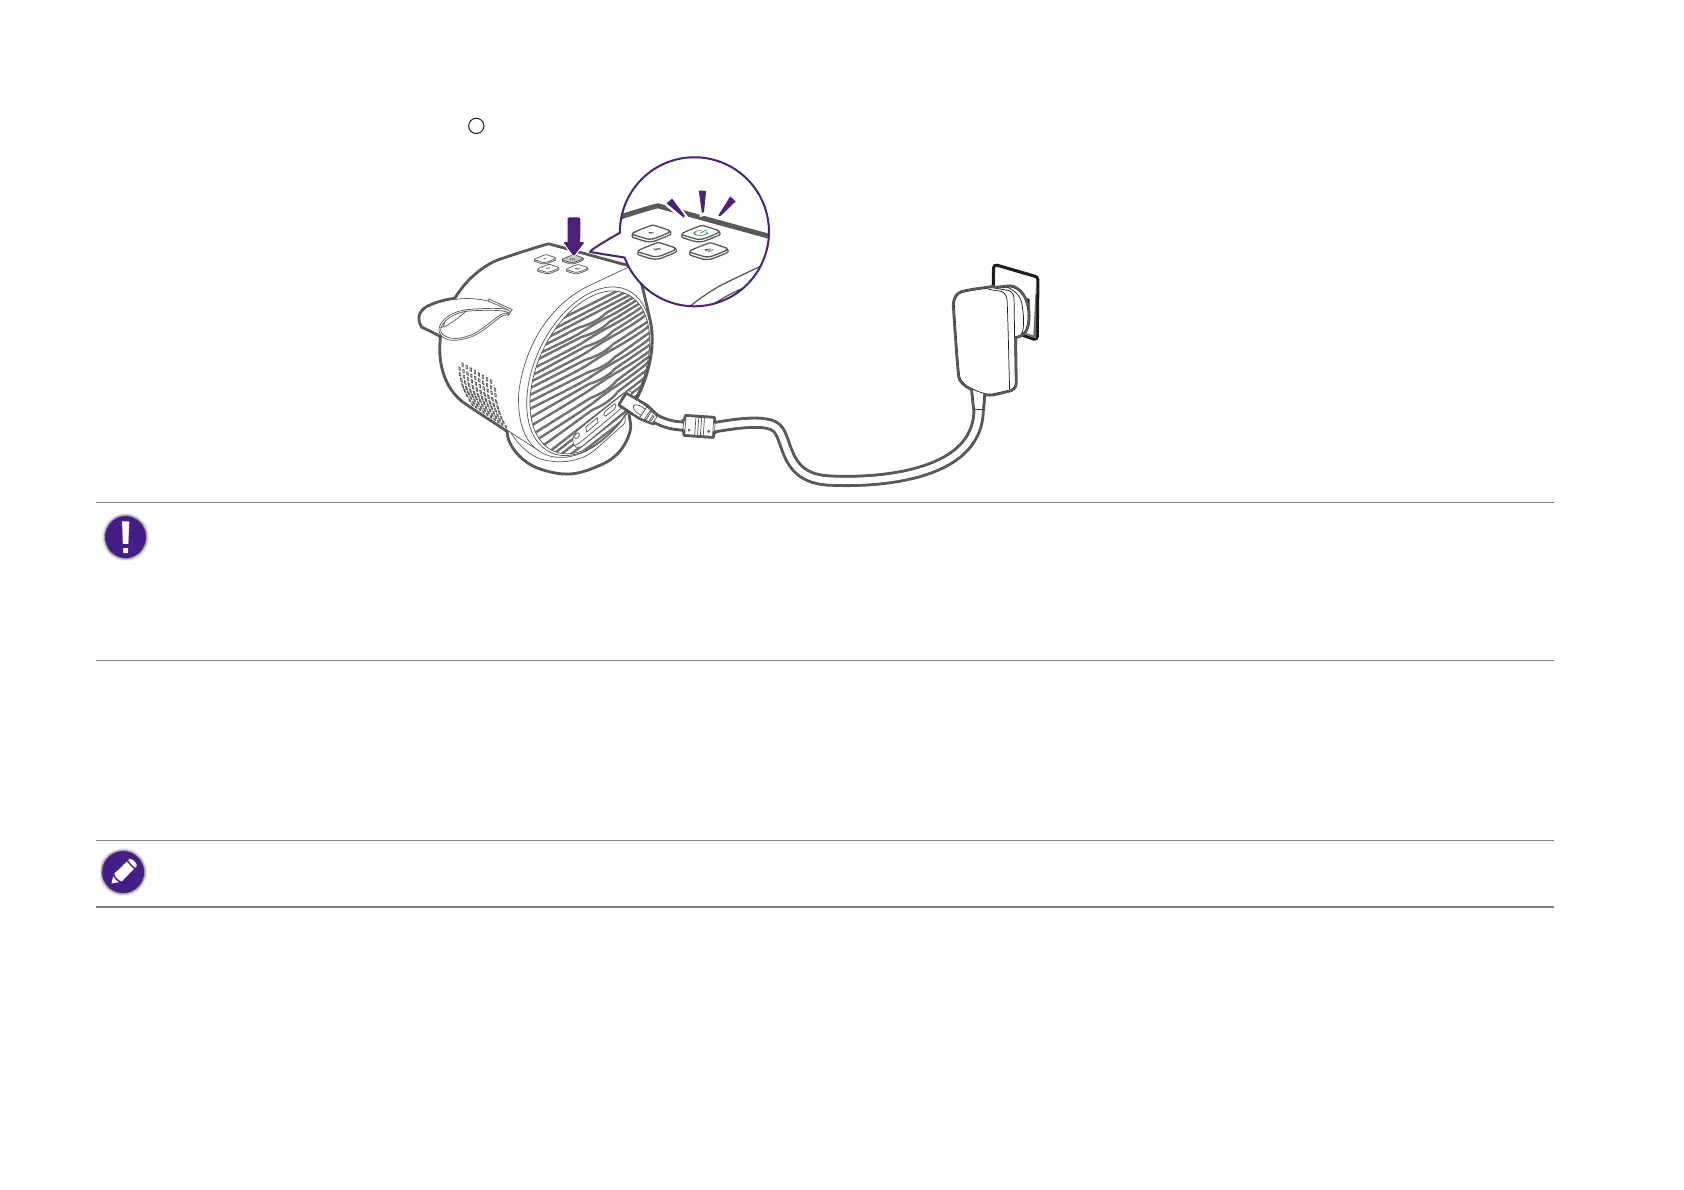
3. Press and hold the power button on the projector for over 2 seconds. The power LED will flash green pattern.
4. The fans will start operating and a start-up image will be shown while the projector warms up. This process may take a few minutes. The
projector does not respond to further commands while it is warming up.
5. If you are starting up the projector for the first time, the projector’s setup wizard will appear to guide you through the initial hardware setup
including selecting the system language and correcting keystone. Using your remote control, follow the on-screen instructions to proceed with
the process.
6. Once you’ve completed the projector’s setup wizard, the projector will begin the Android TV setup wizard to guide you through setting up the
projector’s operating system, including steps for pairing the remote control, selecting the language for Android TV, setting up a Wi-Fi
connection, signing in to a Google account, and other related steps.
• When supplying power directly to the projector please use the supplied power cable to avoid possible dangers such as electric shock and fire.
• Powering on via the remote control is not enabled by default. To enable it, go to System > Use remote control to power on.
• Prior to pairing the remote control to your projector you must ensure that your remote control is in range of the projector’s IR sensor. See Remote control effective
range on page 24 for more details.
• Powering on via the remote control will not work if you have not completed the setup wizard procedure or if the projector’s battery level is below 5%.
The screenshots above are for reference only and may differ from the actual design.
 Loading...