16 Positioning your projector
Adjusting the projected image
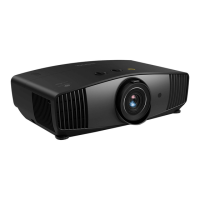
Adjusting the projection angle
If the projector is not placed on a flat surface or the
screen and the projector are not perpendicular to
each other, the projected image becomes trapezoidal.
You can screw the adjuster feet to fine-tune the
horizontal angle.
To retract the feet, screw the adjuster feet in a
reverse direction.
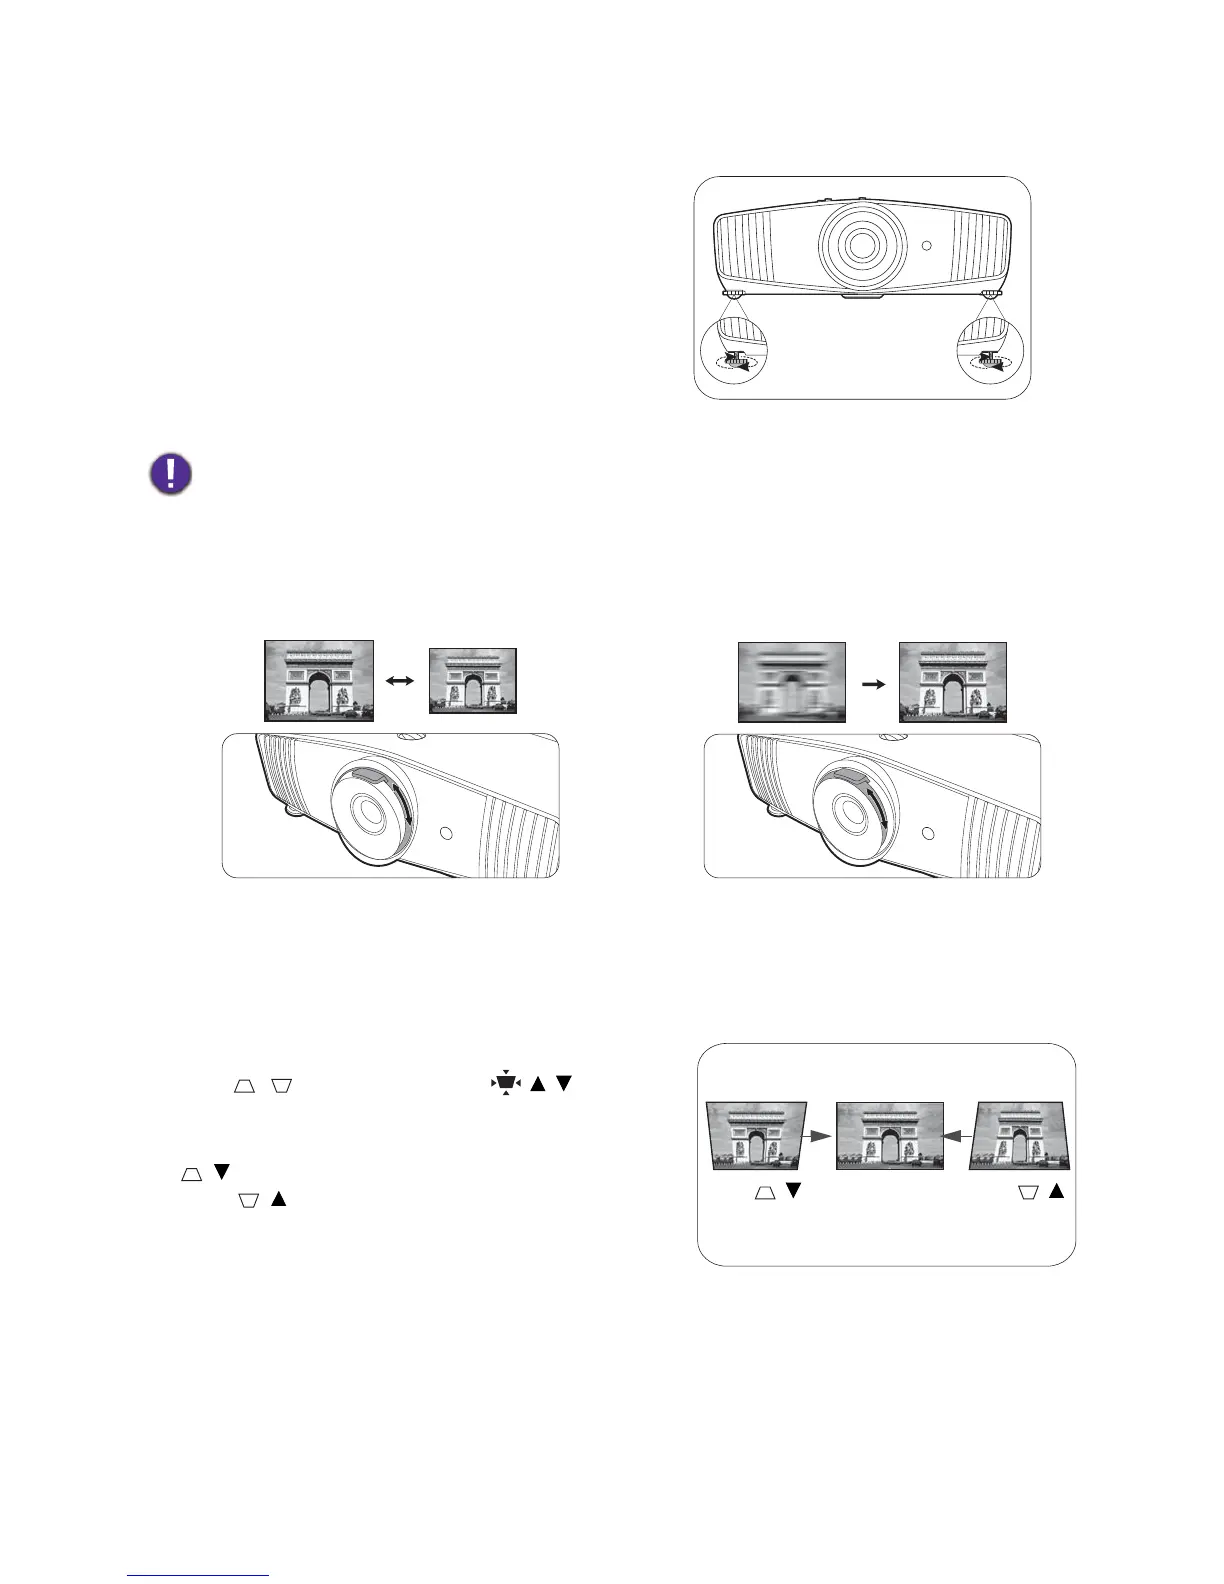
Fine-tuning the image size and clarity
Correcting keystone
Keystoning refers to the situation where the projected image becomes a trapezoid due to angled
projection.
To manually correct this:
1. Press / on the projector or / / on the
remote control.
2. After the Keystone correction page appears, press
/ to correct keystoning at the top of the image.
Press / to correct keystoning at the bottom of
the image. When done, press BACK to save and exit.
3. To reset the Keystone correction page, press OK for
2 seconds.
Do not look into the lens while the lamp is on. The strong light from the lamp may cause damage to your eyes.
1. Adjust the projected image to the size that you
need using the zoom ring.
2. Sharpen the image by rotating the focus ring.