196 The Embroidery Computer – Starting to Embroider
Selecting the Embroidery Hoop
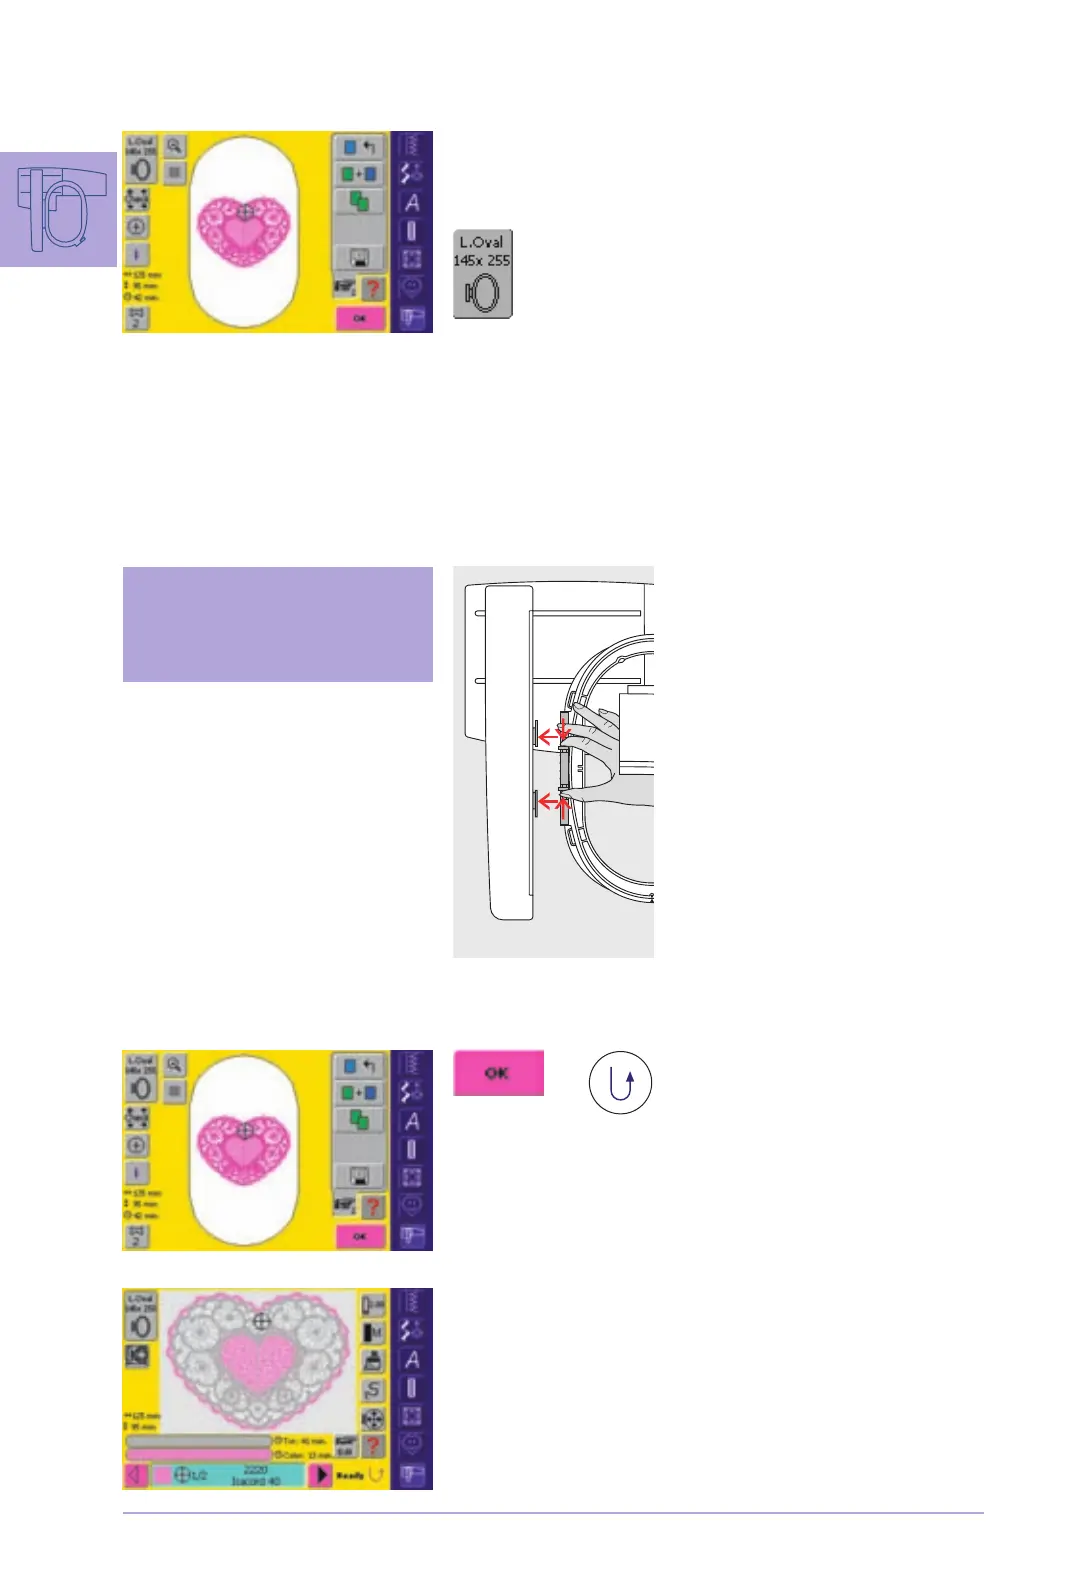
Embroidering Motifs
Design Menu Edit 1
select an embroidery motif from the various choices of motifs
• the screen «Design Menu Edit 1» appears
• the selected embroidery motif is shown in the most
appropriate (smallest possible) hoop
•
the «Hoop» on-screen button shows which
hoop should be attached
attach the recommended hoop
touch «OK» in the Design Menu Edit 1 or press
the Quick Reverse button on head frame
• embroidery computer moves to check if hoop is
attached
Embroidery Menu (Ready)
• the Embroidery menu (Ready) opens with the
embroidery motif
•
the embroidery motif is ready to be embroidered
Starting to
Embroider
Attaching the Embroidery Hoop
Raising Needle and Embroidery Presser Foot
raise needle and embroidery presser foot
hold the hoop with the right side of the fabric
up and the attaching mechanism to the left
Attaching the Hoop
pass the hoop under the embroidery
presser foot
squeeze the ends of the attaching
mechanism on the side of the hoop
position the center points of the
hoop (small attachment clamps) over
the bracket of the embroidery arm
push the hoop down until it engages
release the attaching mechanism of
the hoop
Removing the Hoop
press both ends on the hoop
attaching mechanism towards each
other
pull up to remove the hoop
s187-206_e 19.4.2004 16:30 Uhr Seite 196
030794.71.04_0401_a200_EN
 Loading...