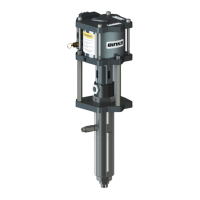
Instruction Manual
Page 37 of 40 Issue: 2.1
N:\Engineering\Manuals\Pump Unit E2-30 & 40 R2.1.doc
Testing and Lubricating – Section 6.5
Testing and Lubrication (Qualified personnel only)
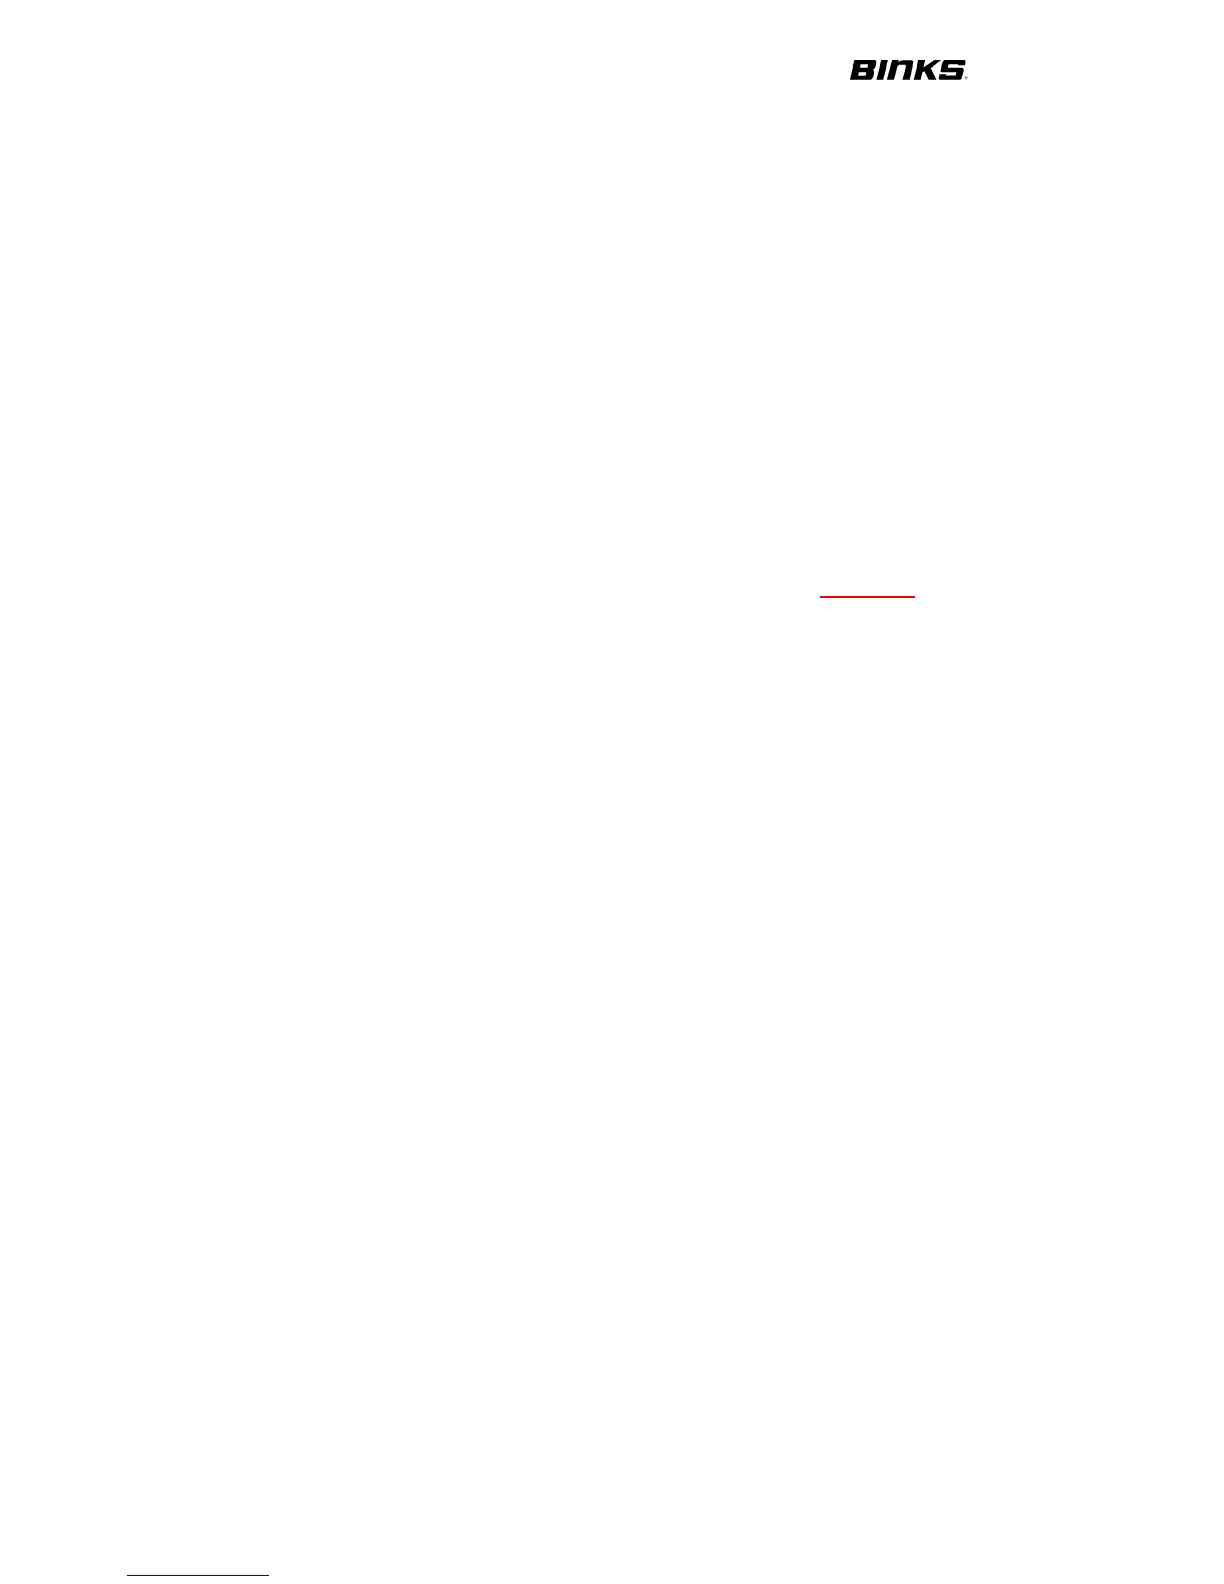
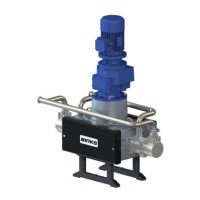
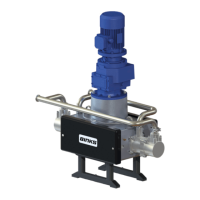
1. Connect pump to paint system.
2. Connect electric motor to a suitable electrical supply.
3. Fit the gearbox vent plug.
4. Apply (502376) grease to linear bearings (35 strokes of a grease gun on a
new bearing and 15 pumps on a bearing in current use).
5. Turn on paint system and set back pressure regulator to zero.
6. Loosen inlet cylinder vent plugs and allow the inlet air to escape from the
pump. When paint starts to come out tighten the plugs back up and clean any
paint spillage.
7. Turn the pump on at the local isolation mounted switch. (Important – Never
allow the pump to run with a closed (‘valved off’) inlet or outlet connection)
8. Allow the pump to run for about 10 minutes between 60 to 80Hz to ensure any
trapped air is correctly vented. Check for any leaks and mechanical noises.
9. While running at a slow speed apply (502375) grease to cam follower bearings
10. While running apply (502375) grease to main shaft bearing (40 strokes of a
grease gun on a new bearing and 6 pumps on a bearing in current use)
11. Run the pump at 20 cycles/min (50 HZ) and increase the back pressure to 10
Bar and run for 1 hour. Check for any leaks and mechanical noises.
Fluid Drain Down
Always wear protective eyewear, gloves, clothing and respirator as recommended by
the fluid and solvent manufacturer.
1. Stop the pump (turn off the electric motor); isolate the paint supply and place
a suitable container underneath the hose to prevent spillage.
2. Disconnect the outlet hose and position securely into a suitable container.
3. Start the pump and run at slow speed (20Hz) for 1 minute. The pump will
now have most of the paint removed; however, some material will remain
within the fluid cylinders and manifolds.
4. If required to finally remove any paint from the pump, place the supply hose
in a compatible solvent and run the pump until sufficiently clean.