1-8 Adjustments and Settings
The SRP-F310/312/313II is set up at the factory to be appropriate for almost all users.
It does, however, offer some settings for users with special requirements.
It has DIP switches that allow you to change communication settings, such as
handshaking and parity check, as well as print density.
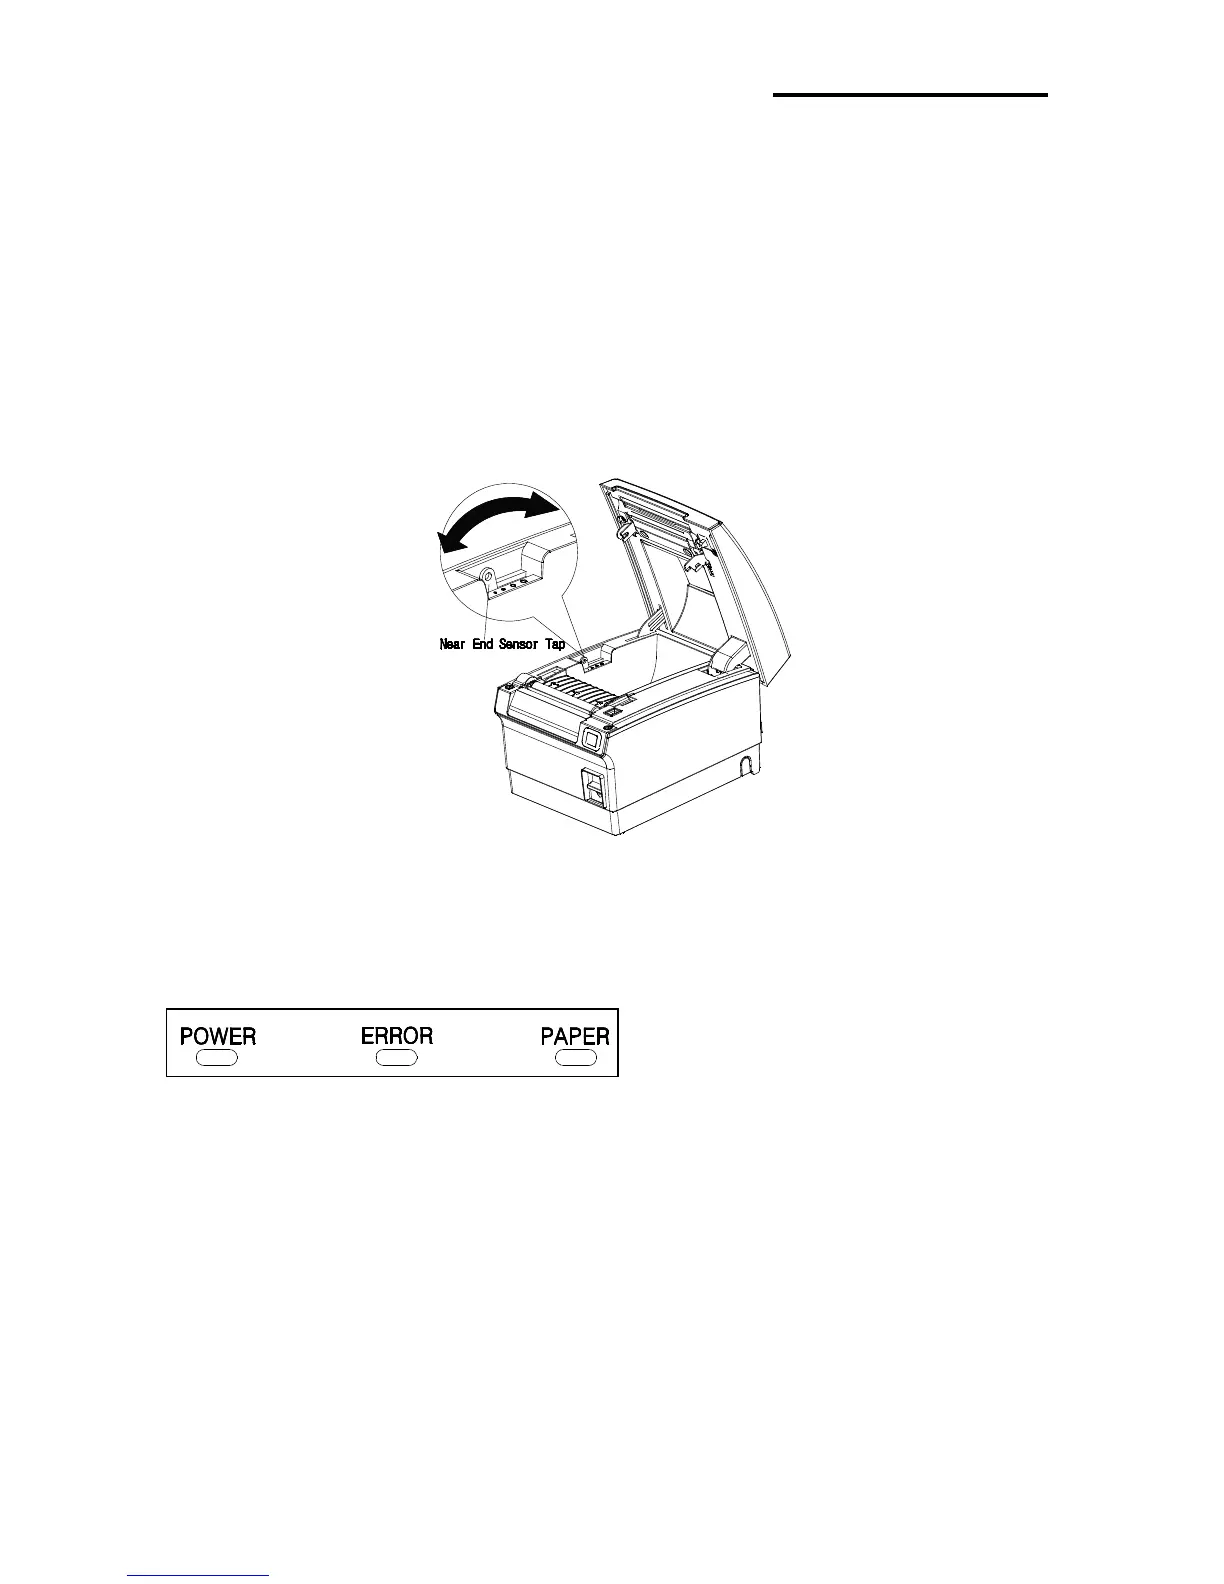
One of the features of the SRP-F310/312/313II is to detect the remaining level of paper.
Paper LED will be turned on if the paper sensor detects that the remaining level of paper
is lower than the preset level. This warning level can be changed by rotating the paper
sensor tab forward or backward (refer to the following picture).
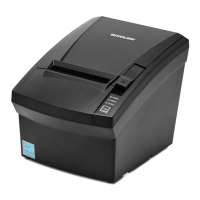
1-9 Using the Printer
Control Panel
○ POWER
The POWER light is on whenever the printer is on.
○ ERROR
This indicates an error.
○ PAPER
This light indicates the near end of the paper roll. Install a new paper roll and the
printer will continue printing. When the light blinks, it indicates the self-test printing
standby state or macro execution Standby state when the macro execution command
is used.
○ FEED
Press the FEED button once to advance paper one line. You can also hold down the
FEED button to feed paper continuously.