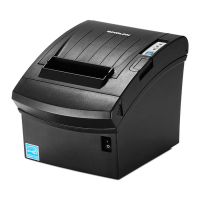
1-10 Connecting the Computer
You need an appropriate interface cable.
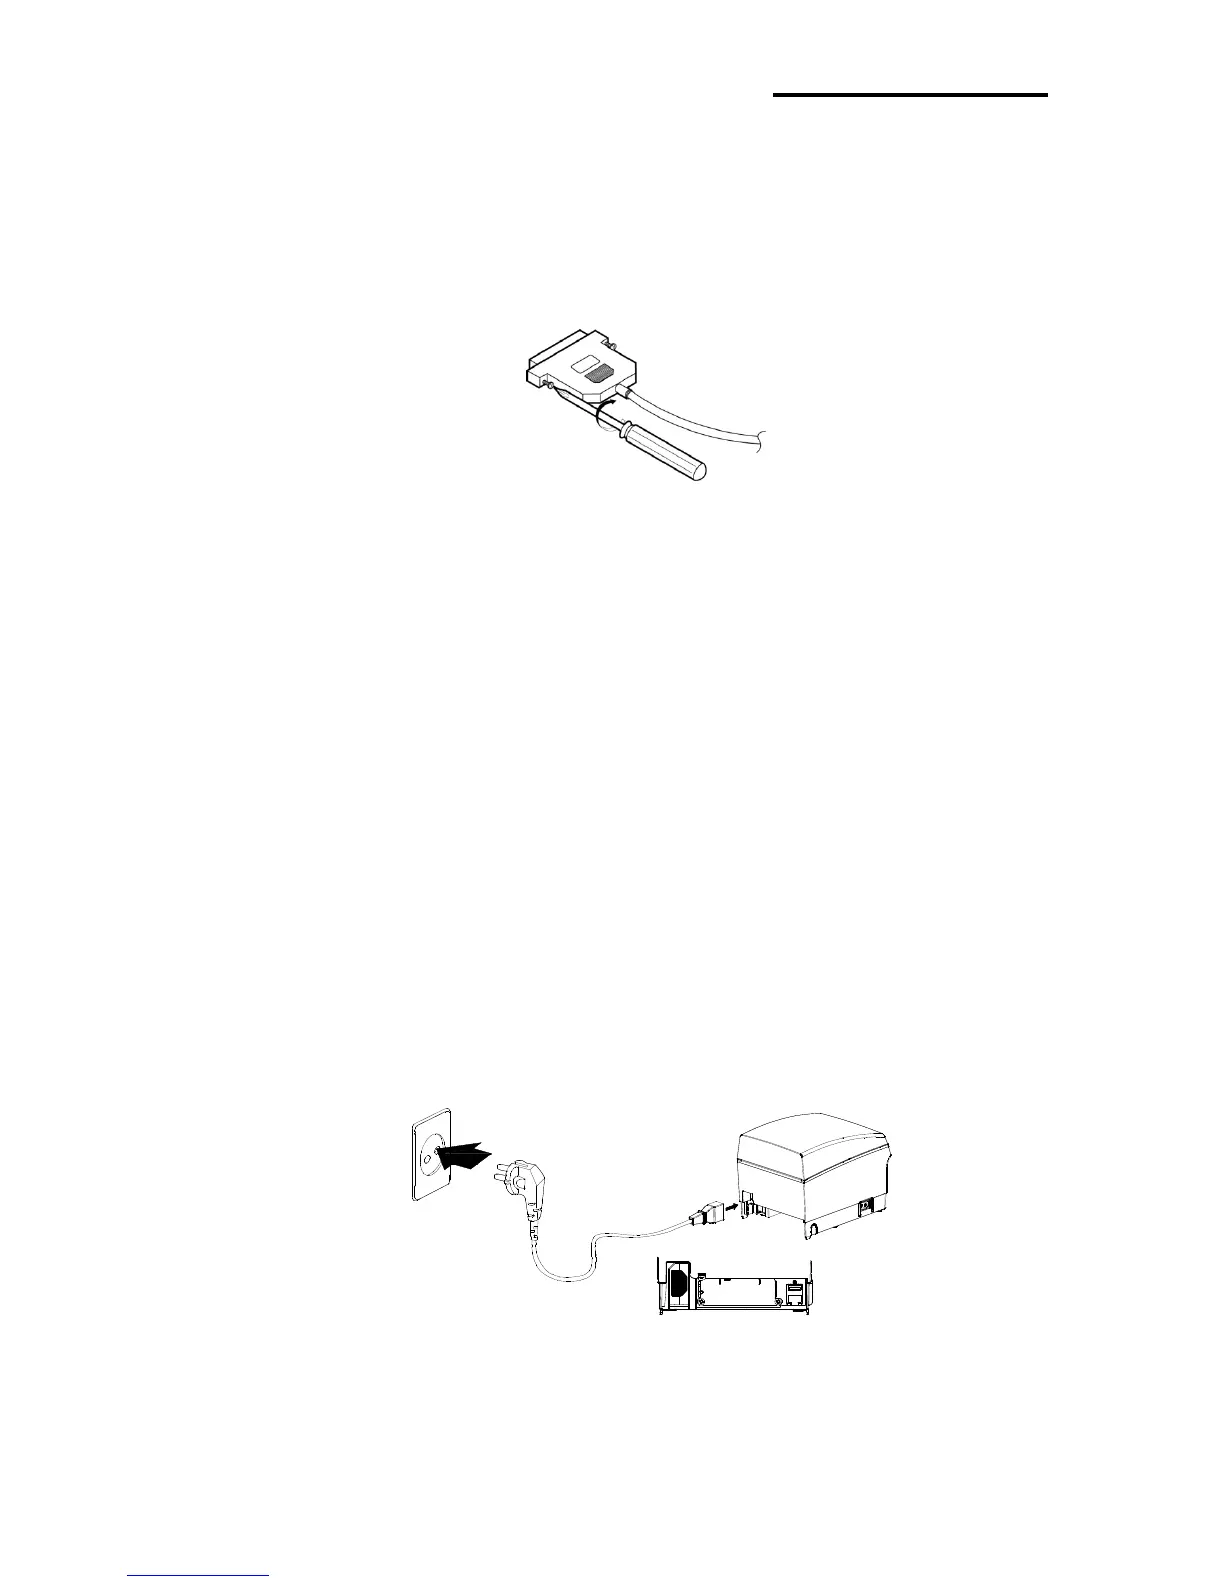
1-10-1 Plug the cable connector securely into the printer’s interface connector.
1-10-2 Tighten the screws on both sides of the cable connector.
1-10-3 Attach the other end of the cable to the computer.
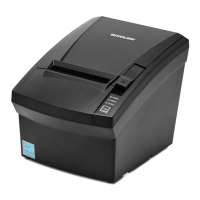
1-11 Connecting the Power Supply
※ CAUTIONS
When connecting or disconnecting the power supply from the printer, make sure that
the power supply is not plugged into an electrical outlet. Otherwise you may damage
the power supply or the printer.
If the power supply’s rated voltage and your outlet’s voltage do not match, contact
your dealer for assistance. Do not plug in the power cord. Otherwise, you may damage
the power supply or the printer.
1-11-1 Make sure that the printer’s power switch is turned off, and the power
supply’s power cord is unplugged from the electrical outlet.
1-11-2 Check the label on the power supply to make sure that the voltage required by
the power supply matches that of your electrical outlet.
1-11-3 Plug in the power supply’s cable as shown below. Notice that the flat side of
the plug faces down.
※ NOTE
To remove the DC cable connector, make sure that the power supply’s power cord
is unplugged; then grasp the connector at the arrow and pull it straight out.