3 Using the soft menu buttons, select ‘change’. The output video is now displayed on the
LCD and sent to all output connectors. The buttons will also illuminate blue to confirm
your settings.
Press the ‘out’ button to select your output settings.
In the above illustration the output is set to 1080i50.
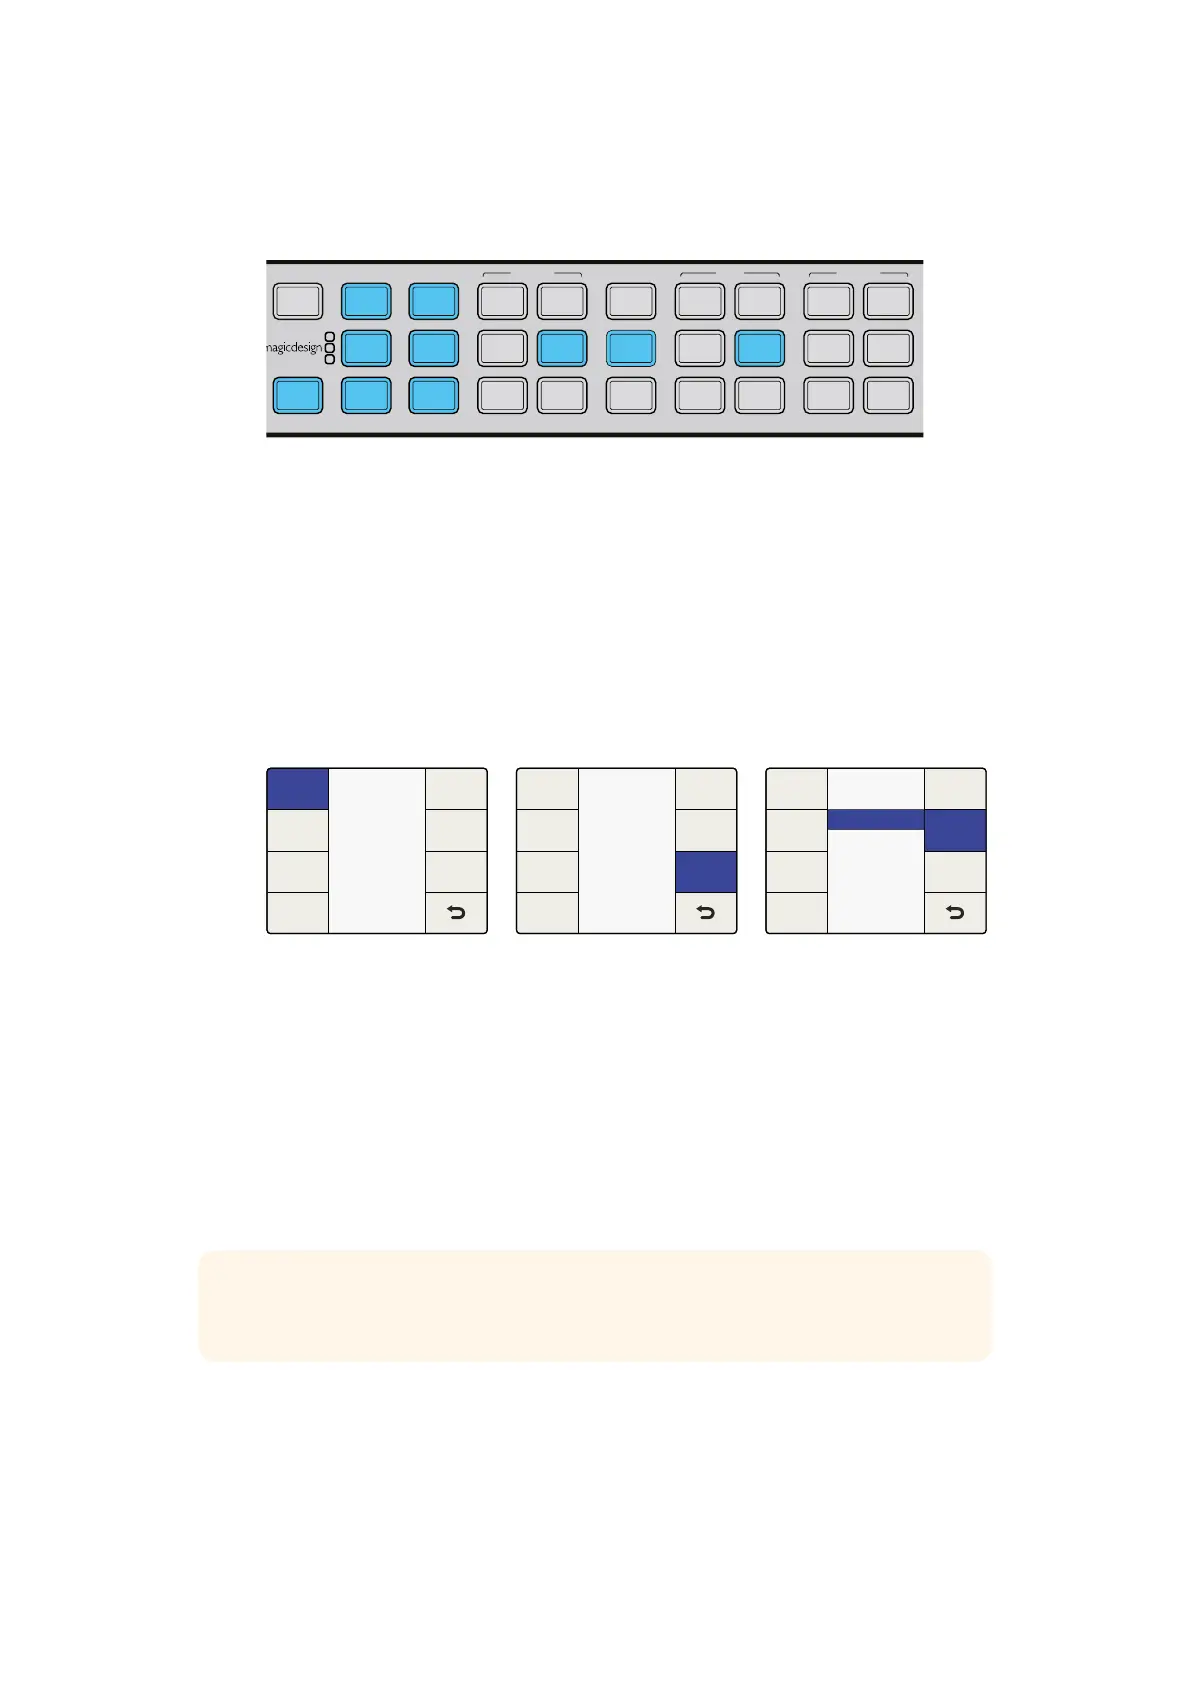
Setting your Frame Rate Conversion Aperture
When converting frame rates you’ll need to set the appropriate frame rate aperture.
Select your settings from 0 ‘Drama’ to 3 ‘ Sport’ depending on the amount of motion in your
video. These settings are adjusted using the soft menu buttons and rotary knob.
1 Press the ‘home’ button.
2 Using the soft menu buttons, select Video>Advanced>FRC Aperture.
3 Using the rotary knob, select the aperture setting most suited to your video.
Setting your Aspect Ratio
When up, down or cross converting between HD and Ultra HD, the aspect ratio will always be
16:9, so no aspect ratio buttons will be illuminated. However, the ‘adj’ adjustable aspect ratio
function is always available when converting within the same format if you wish to make any
manual adjustments.
When converting from one format to another, for example SD to HD, other aspect ratio settings
will become available. Your Teranex Processor is now ready to convert your 1080i59.94 video
to 1080i50.
IN
OUT
FORMAT
486
720
2K
1080
576
1080
FRAME
P
I
PSF
MENU
HOME
MENU
1
MENU
2
REM
LOCK
PANEL
LOCK
RATE
23.98
25
29.97
30
24
50
59.94
60
VIDEO
GAIN
SAT
R-Y
B-Y
BLK
HUE
SHARP
PRESETS AUDIO STATUS
SYSTEM STATUS
1
3
5
2
4
6
ANAM
LBOX
PBOX
ASPECT
SMART
14:9
CCUT
ZOOM
ADJ
SDI
VIDEO
HDMI
ANLG
AUDIO
EMBED
AES
ANLG
3 (Sport)
2
1
0 (Drama)
FRC Aperture
FRC
Aperture
Source
Type
Scene
Detect
Clean
Cadence
Advanced Menu>FRC Aperture
Audio
System
Setup
Ancillary
Data
Noise
Reduction
Video Main Menu
Main Menu>Video
Video
Advanced
Proc
Amp
Test
Patterns
Aspect
Setup
Clip
Color
Video>Advanced Menu
TIP For more information on aspect ratio conversion refer to
“Aspect Menu” on page 35 and “Aspect Ratio Conversions” on page 23.
3131Conversion Workflows
 Loading...