Page 9
LB Hex™ Unplugged Manual Rev. A © 2018 Blizzard Lighting, LLC
CAUTION:Donotallowcontactbetweenthecommonandthexture’schassis
ground.Groundingthecommoncancauseagroundloop,andyourxturemay
perform erratically. Test cables with an ohm meter to verify correct polarity and
to make sure the pins are not grounded or shorted to the shield or each other.
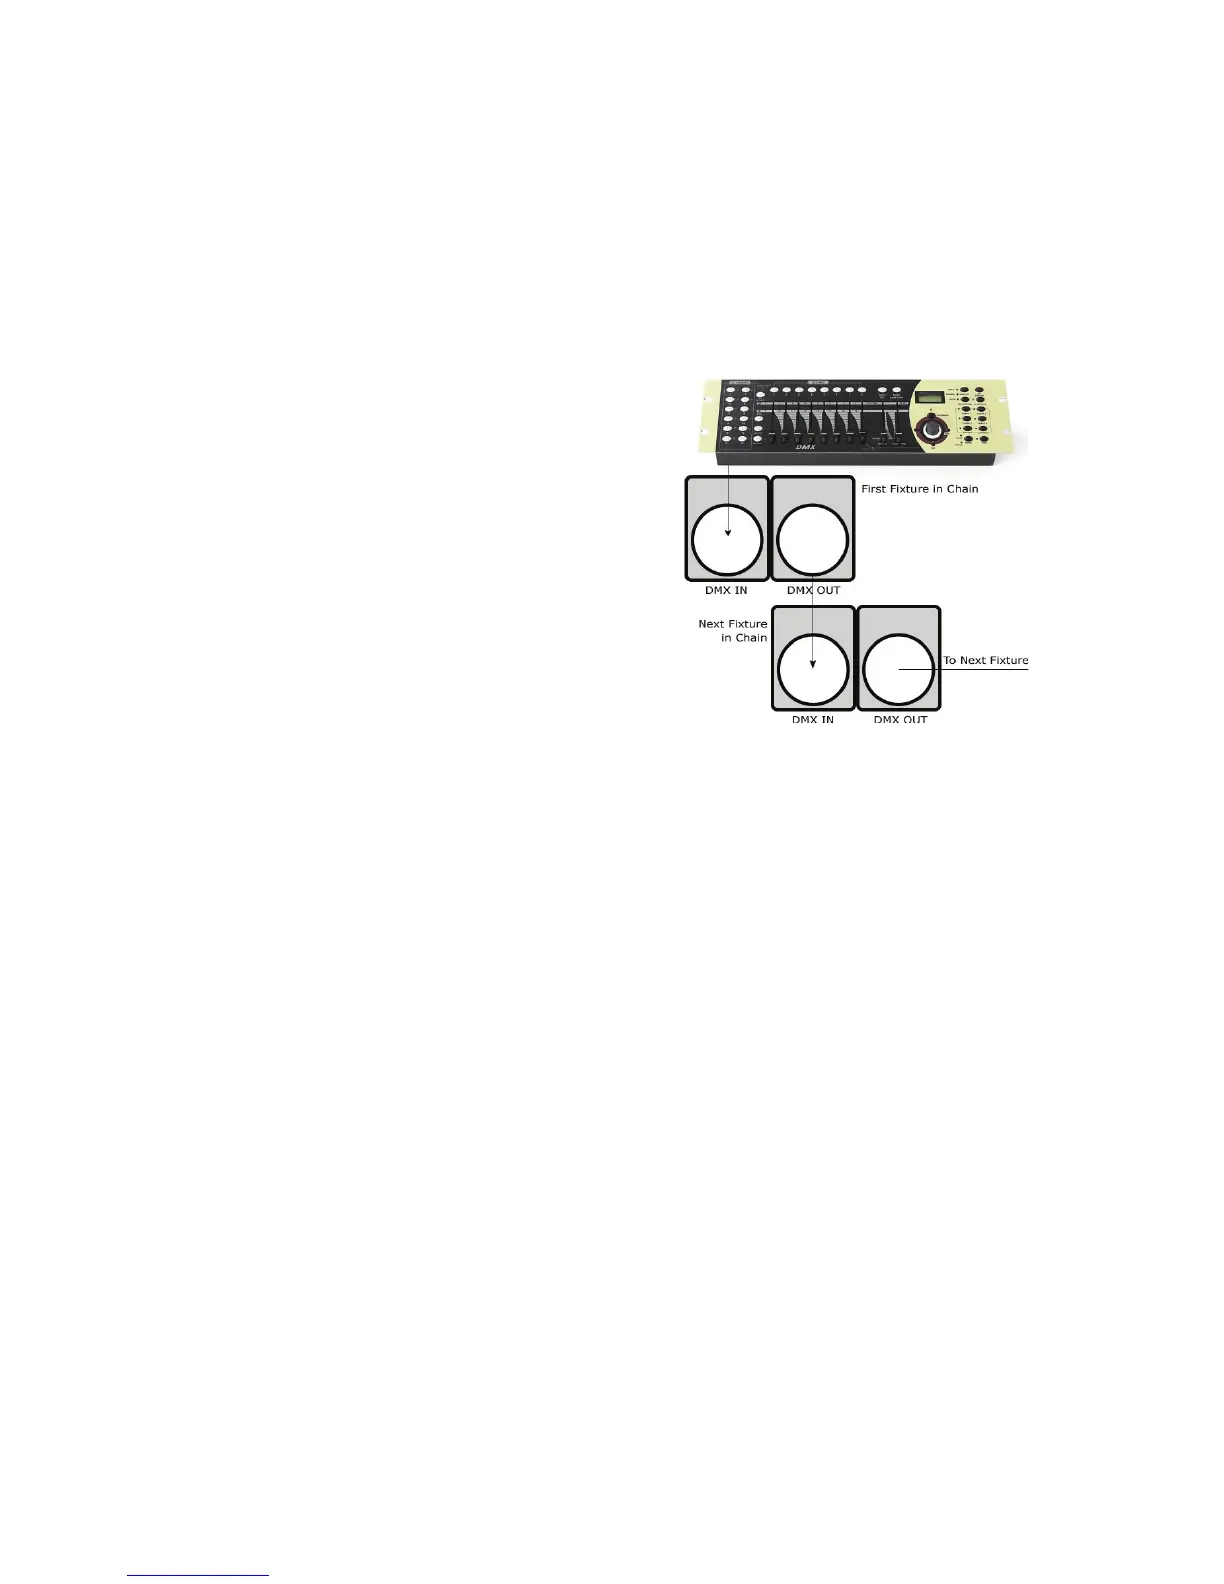
Take It To The Next Level: Setting Up DMX Control
Step 1: Connect the male connector of the DMX cable to the female connector
(output) on the controller.
Step 2: Connect the female connector of
theDMXcabletotherstxture’smale
connector (input). Note: It doesn’t
matterwhichxtureaddressisthe
rstoneconnected.Werecommend
connectingthexturesintermsoftheir
proximity to the controller, rather than
connectingthelowestxturenumber
rst,andsoon.
Step 3:Connectotherxturesinthe
chain from output to input as above.
Place a DMX terminator on the output
ofthenalxturetoensurebest
communication.
Fixture Linking (Master/Slave Mode)
1. Connect the (male) 3-pin connector side of the DMX cable to the output
(female)3-pinconnectoroftherstxture.
2.Connecttheendofthecablecomingfromtherstxturewhichwillhavea
(female)3-pinconnectortotheinputconnectorofthenextxtureconsistingof
a (male) 3-pin connector. Then, proceed to connect from the output as stated
abovetotheinputofthefollowingxtureandsoon.
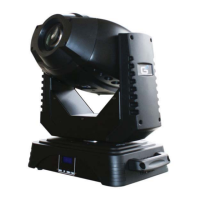
Mounting & Rigging
• ThisxturemaybemountedinanySAFEpositionprovidedthereisenough
room for ventilation.
• Mountthextureusingasuitable“C”or“O”typeclamp.Theclampshould
beratedtoholdatleast10xthexture’sweighttoensurestructuralstability.
Do not mount to surfaces with unknown strength, and ensure properly “rated”
riggingisusedwhenmountingxturesoverhead.
• Adjusttheangleofthexturebylooseningbothknobsandtiltingthexture.
Afterndingthedesiredposition,retightenbothknobs.
• Safety cables MUST ALWAYS be used.
•Nevermountinplaceswherethexturewillbeexposedtorain,highhumid-
ity, extreme temperature changes or restricted ventilation.