Installation
7
Oven Assembly
OVEN ASSEMBLY TO STAND
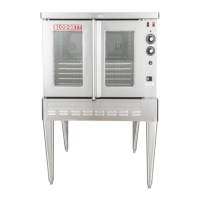
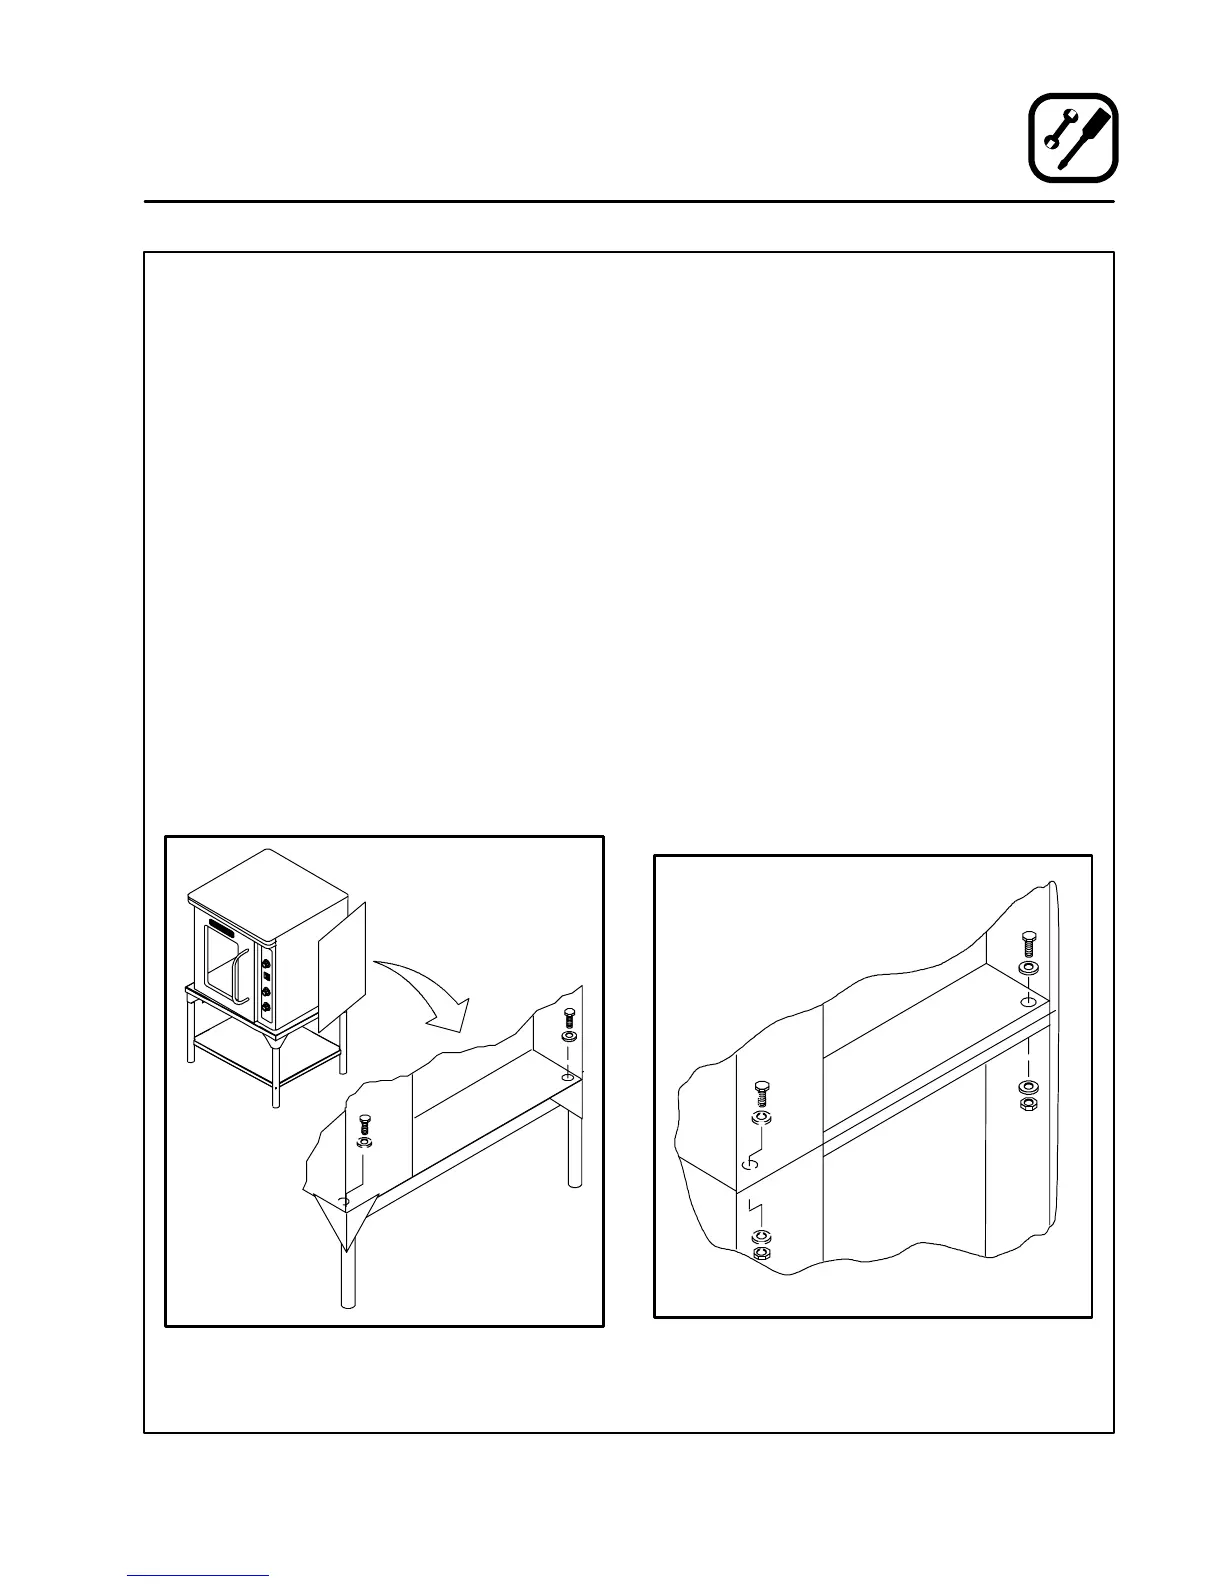
Single Section
1. Place the assembled stand in the location
where the oven is going to be used.
2. Remove the side control compartment cover
and open the front control panel of a single
oven (or lower section).
3. W ith a tool, punch out the knock-outs in the
oven bottom near each corner.
4. Set the oven on the stand. Center it to the frame.
5. Align the front, and rear bolt holes of the oven
with the bolt holes in the stand.
6. Insert a bolt and w a sher, from the top down
througheachofthe2holes.
7. Place a nut and w asher on each of the 2 bolts,
and tighten securely.
8. Replace the oven’s side control compartment,
and close the front control panel.
NO TE: For single sectio n ove n s only. For
double stacked ovens step 8 will be
completed once the ovens are stacked.
Figure 4
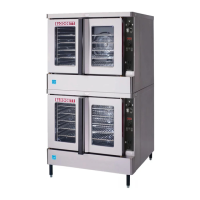
Double Section
1. Assemble the lower section t o the stand as de-
scribed. DO NOT replace the side control
compartment or close the front control panel.
2. W ith a tool, punch out the knock-outs in the
oven top of the lower oven.
3. Remove the side control compartment cover
and open the front control panel of the upper
oven.
4. W ith a tool, punch out the knock-outs in the
bottom of the upper oven near each corner.
5. Set the upper oven on the lower oven.
6. Align the front, and rear bolt holes of the upper
oven with the bo l t hol es in the bottom ov en.
7. Insert a bolt and w a sher, from the top down
througheachofthe2holes.
8. Place a nut and w asher on each of the 2 bolts,
and tighten securely.
9. Replace the control compartment cover, and
close the front control panel on both of the
ovens.
Figure 5