1 689 989 113 2012-11-26| Robert Bosch GmbH
24 | BEA 070 | Maintenanceen
5.2 Spare and wearing parts
Name Part number
BEA 070
1 687 023 551
Passenger car exhaust gas sampling probe
<)
1 680 790 044
Exhaust gas sampling hose
Ø 10 mm, length 1 m
<)
1 680 703 047
Power supply unit
1 687 023 620
USB cable 5 m
<)
1 684 465 563
Bluetooth USB adapter 1 687 023 449
Power cord 4 m
<)
1 684 461 182
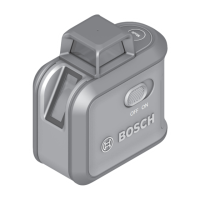
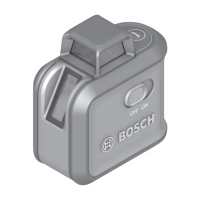
Cover
<)
1 680 021 003
Cleaning brush
<)
1 687 929 006
Calibration pin
<)
1 688 130 220
<)
Wearing part
5.3 Maintenance
5.3.1 Replacing the battery pack
(special accessory)
Battery pack replacement is described in installation
instructions 1689978579.
5.3.2 Maintenance intervals
Action Monthly Six-monthly
Clean exhaust gas sampling
probe and sampling hose
X
Clean optical heads and
measuring chamber
X
Clean collector X
Clean charging contacts X
5.3.3 Cleaning the exhaust gas sampling probe and
sampling hose
! The exhaust gas sampling probe and sampling hose
must be blown out with an extraction system, to
prevent soot and dust from being breathed in.
R Detach the exhaust gas sampling hose from the
BEA 070.
R Blow out the exhaust gas sampling probe and sam-
pling hose with oil-free compressed air.
5.3.4 Cleaning the optical heads and measuring
chamber
Cleaning is due when an error message appears saying
that the device is not ready for measurement and clean-
ing is necessary.
i Irrespective of this message, we recommend per-
forming maintenance every month, depending on
how often the device is used.
The procedure described below applies to both the
transmitter and receiver side.
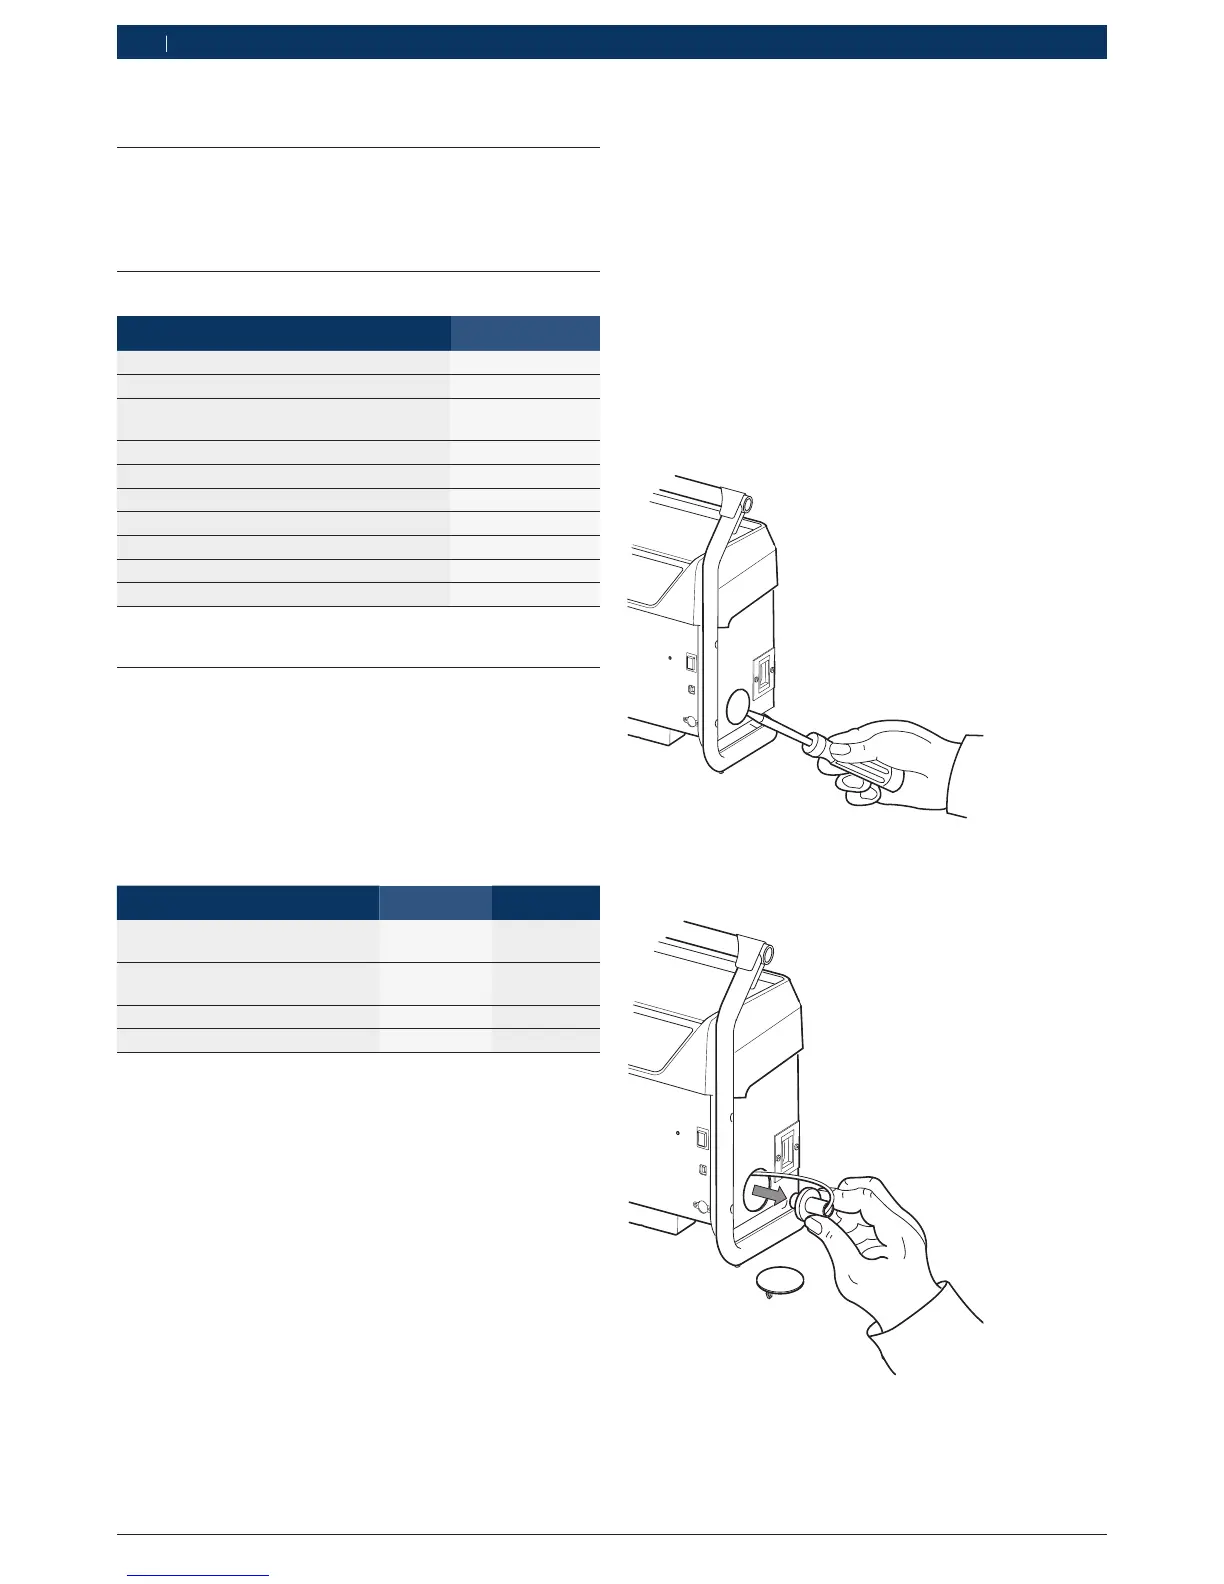
1. Using a screwdriver, remove the covers (Fig 1, Pos. 3,
13) from the side walls (Fig.2).
BEA 070
459909-03_K
o
Fig. 2: Removing the cover
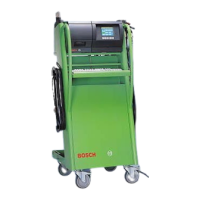
2. Pull out both optical heads by hand (Fig.3).
BEA 070
459909-05_K
o
Fig. 3: Pulling out the optical head
5. Maintenance
5.1 Cleaning
The housing and the LCD are only to be cleaned using
a soft cloth and neutral cleaning agents. Do not use
abrasive cleaning agents and coarse workshop cloths.