9
Maximizing the volume levels of data
recorded to the tracks (Normalize)
Ver. 2 includes the Normalize function, which raises the
volume of prerecorded track data to the highest level
possible.
1. Press [UTILITY], then press [CURSOR] to move the
cursor to “TRACK,” then press [ENTER].
2. Use [CURSOR] to move the cursor to NORMALIZE,
then press [ENTER].
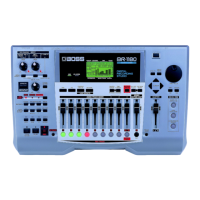
This brings up the Normalize screen.
fig.13
3. Select the track you want to normalize with the TIME/
VALUE dial.
You can select mono or stereo tracks. With stereo tracks
selected, you can increase the volume level while
maintaining the balance between the left and right
tracks.
4. Use [CURSOR] to move the cursor to “LOC,” then
press [ENTER].
The Normalize screen appears again.
fig.14
5. Using [CURSOR] and the TIME/VALUE dial, set the
start point and end point for the segment you want to
normalize.
If you are normalizing the entire track from beginning to
end, press [CURSOR] to move the cursor to “ALL” and
press [ENTER].
* Set a minimum length of 0.5 seconds for the segment to be
normalized. No sound will play back if the segment is shorter
than 0.5 seconds.
* The sound is interrupted for an instant (about twenty
milliseconds) immediately before and after the normalized
segment. For this reason, we recommend setting the start and
end points at locations where this will not be noticed, such as
during breaks in performances.
6. Use [CURSOR] to move the cursor to “Normalize To:”
then set the normalization volume with the TIME/
VALUE dial.
1–100%:
When set to 100%, the amplitude of the wave data is
digitally converted to the maximum value that can be
handled. A setting of 50% cuts the amplitude in half.
* If normalization is run with a setting of 100%, note that the
sound during playback may become distorted when the volume
is raised further, such as when effects are used.
* If there is wave data in the normalized segment that
approaches the maximum amplitude, even for an instant, then
you cannot expect to achieve much with the normalize effect.
This tendency is especially pronounced with sounds such as
drums in which the amplitude of their loudest passages differ
greatly from other sections. Be sure to keep this in mind.
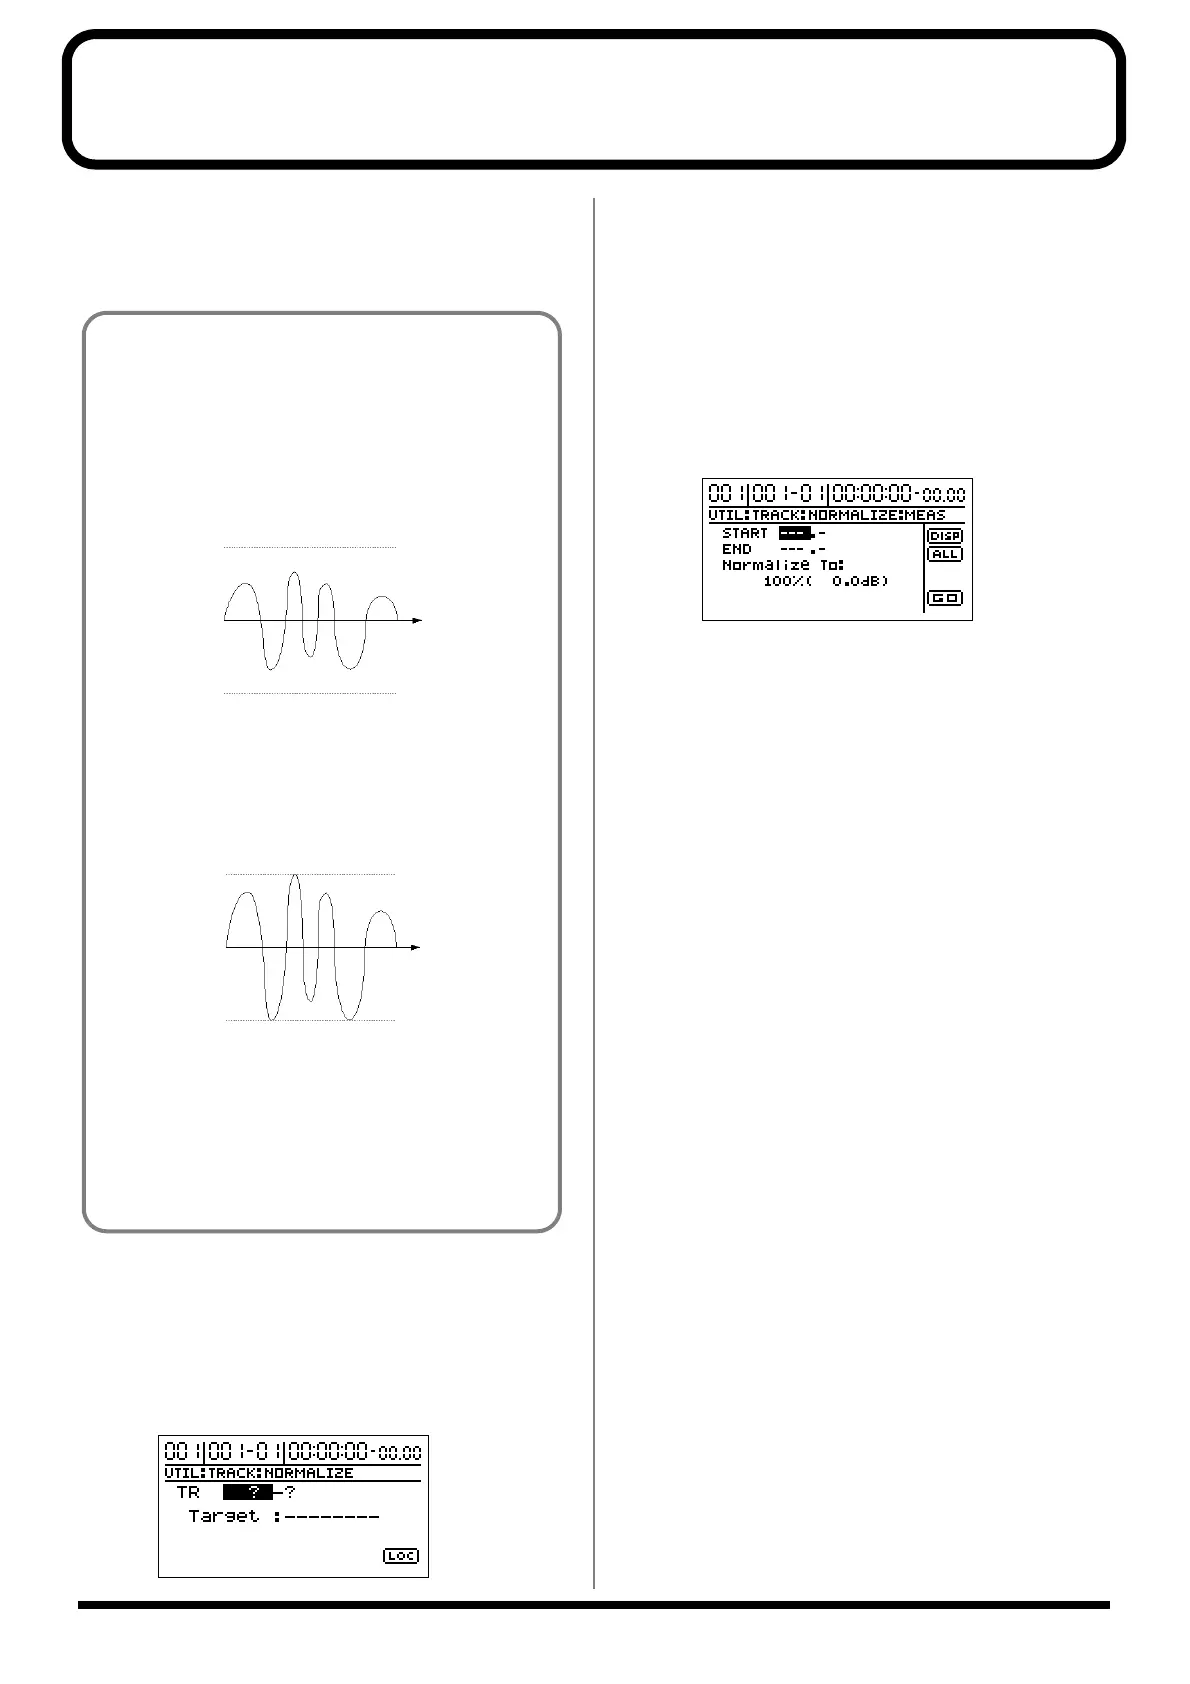
What Normalize does:
The maximum values for wave data handled in digital
recording are predetermined. Since exceeding these
levels even slightly causes the sound to become
distorted, recording levels are normally set so that the
sound does not distort. However, this lowers the overall
volume of the recorded data.
fig.11
But there is a process that digitally calculates the
recorded data in order to extend the waveforms to the
maximum values for the wave data being treated. This
process is called “normalization.”
After normalization, the waveform looks like this:
fig.12
This allows you to ensure you are getting full volume
within the allowable range of values for the data you are
working with.
Furthermore, even if any other tracks have been
recorded at relatively low volume levels, you can use
this function to increase volume later on.