Install a new washer ring onto the front cover.
Align and install the thread-hole of motor housing to the thread-hole of front cover.
Tighten housing screws.
* Attentions
When assembling housing and front cover,
armature can work as a magnet to easily
pull the front cover up; and then gently
press it down with hands to complete the
assembly.
7.3.5 Installation
Install lead wire of starter motor and be sure to install the dust seal.
Install the starter motor.
Install rear brake wire clip.
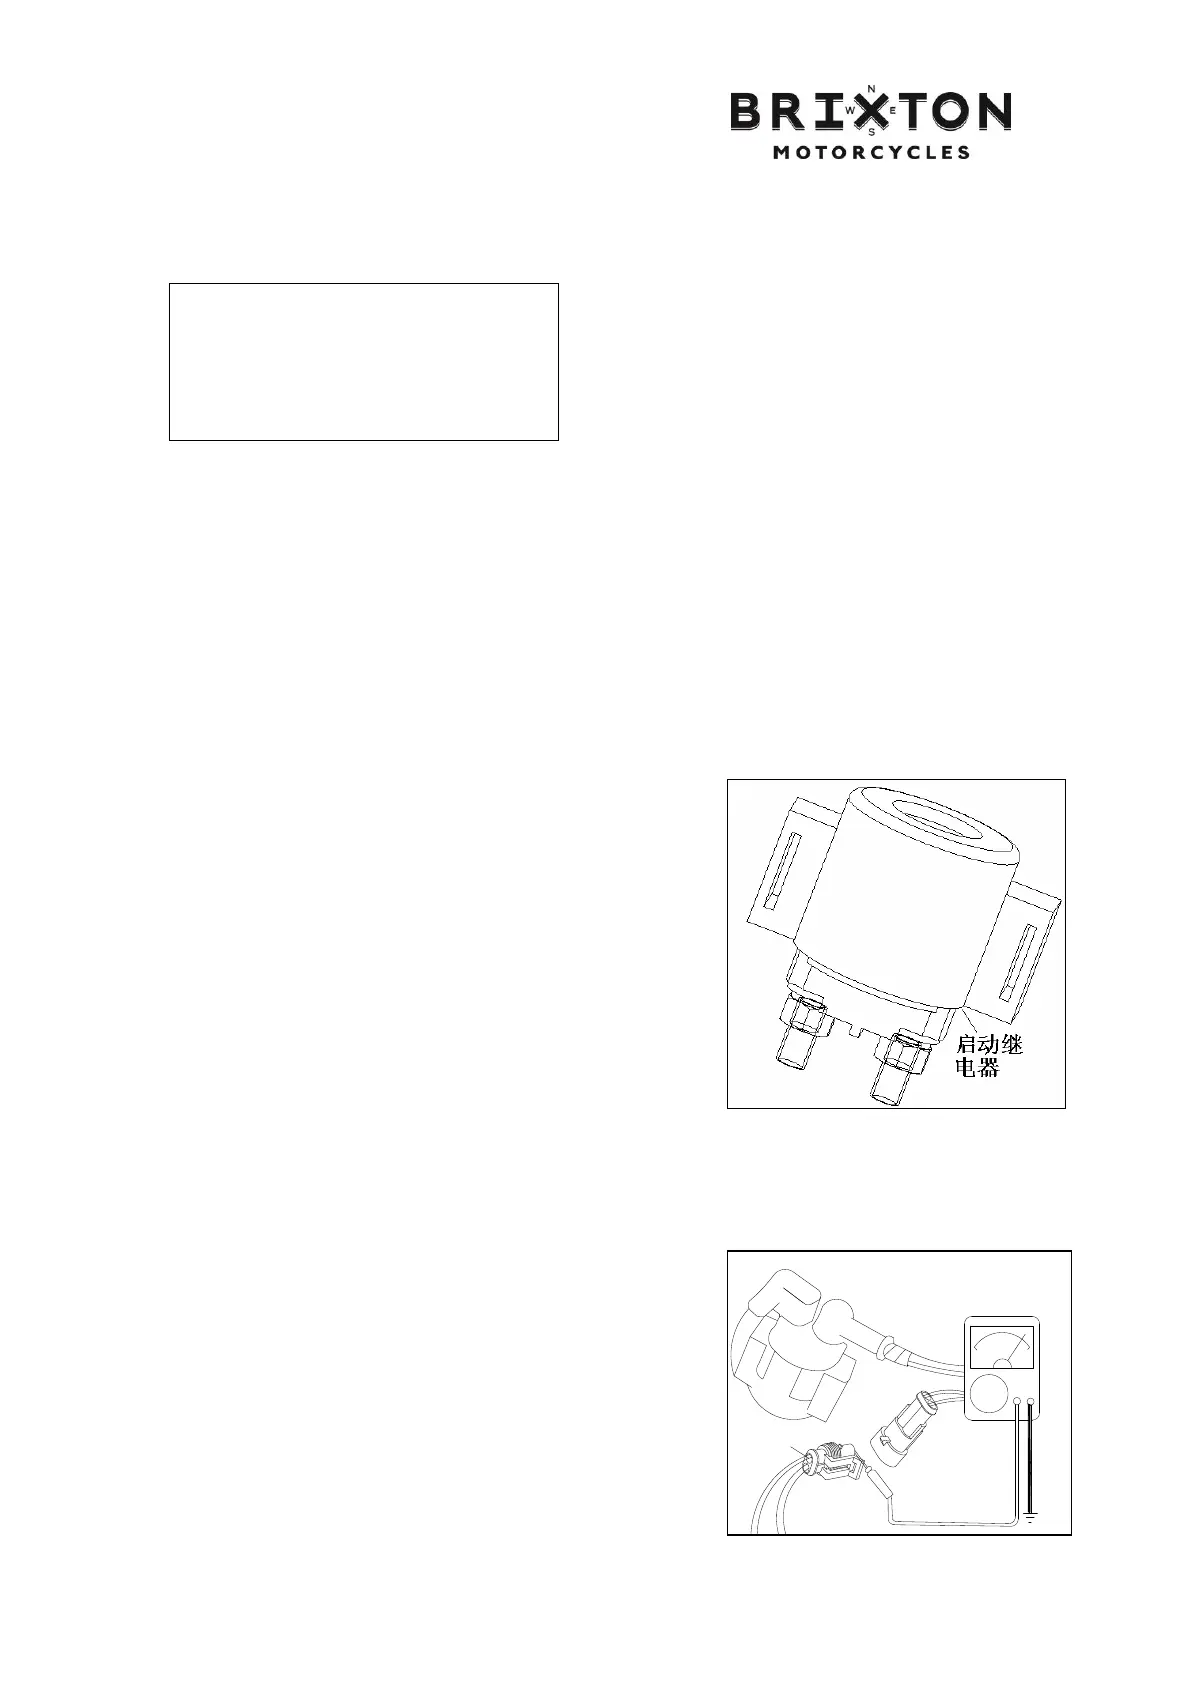
7.4 Starter Relay
7.4.1 Actuation Inspection
Remove the right cover.
When the ignition switch is set at “ON” position, press starter
motor and a “Click” sound can be heard.
“Click” sound indicates normal.
No sound: • Check starter relay voltage.
• Check starter relay ground wire loop.
• Inspect starter relay actuation.
7.4.2 Starter relay voltage inspection
Lift and support the main stand. Measure the voltage
between negative pole (green/yellow) of starter relay
connector and vehicle ground wire.
Set ignition switch at “ON” position and catch the brake
lever. Battery voltage shall meet the requirements.
When there is no voltage at wire terminal of starter relay,
inspect braking switch continuity and lead wire.
KS MOTORCYCLES - http://ksmotorcycles.com
 Loading...