Upper Threading 33
1
— — — — — — — — — — — — — — — — — — — — — — — — — — — — — — — — — — — — — — — — — — — — — — — — — — — —
b
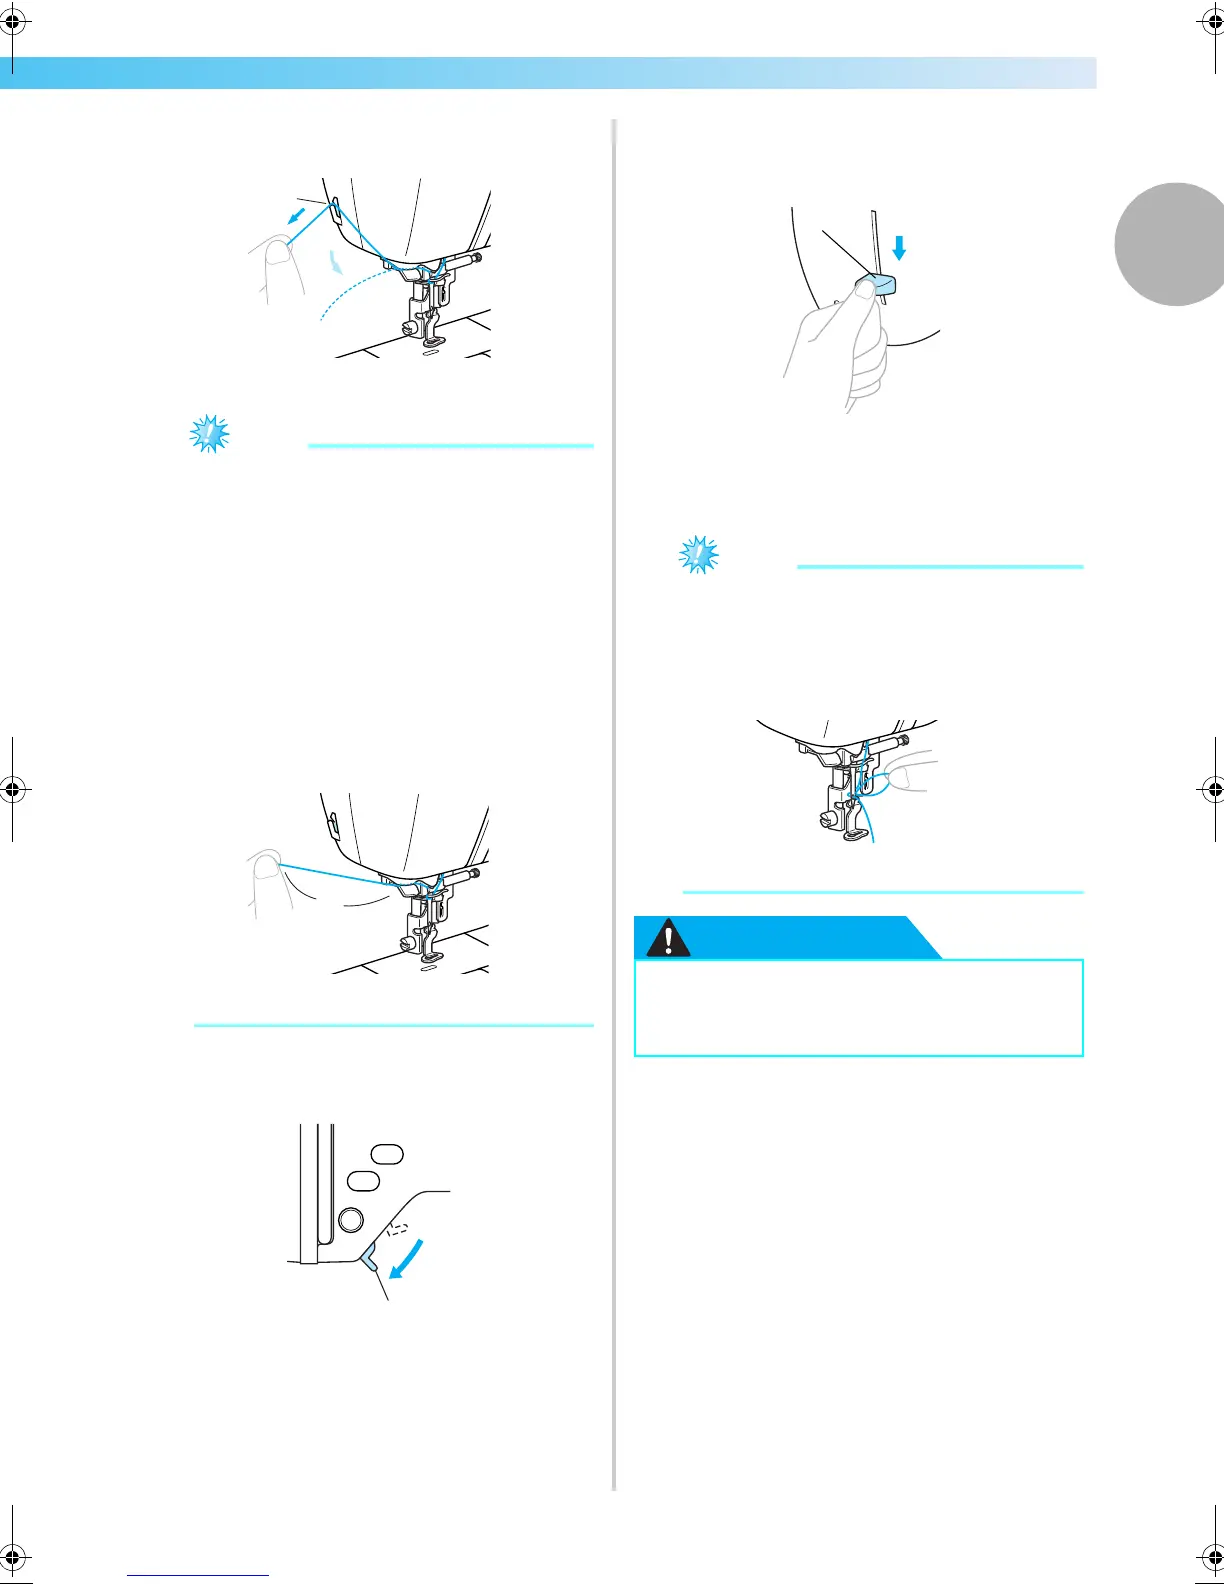
Cut the thread with the cutter on the left side
of the machine.
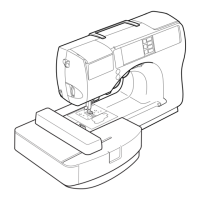
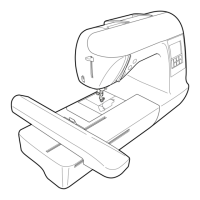
a Cutter
Note
z If the thread is pulled through and cannot be
cut correctly, lower the embroidery foot so
that the thread is held in place before cutting
the thread. If this operation is performed,
skip step
c.
z When using thread that quickly winds off the
spool, such as metallic thread, it may be
difficult to thread the needle if the thread is
cut.
Therefore, instead of using the thread cutter,
pull out about 80 mm (approx. 3 inches) of
thread after passing it through the thread
guide disks (marked “7”).
a 80mm or more
c
Lower the presser foot lever to lower the
embroidery foot.
a Presser foot lever
d
Lower the needle threader lever on the left
side of the machine until it clicks, and then
slowly return the lever to its original position.
a Needle threader lever
X The thread is passed through the eye of the
needle.
Note
z If the needle was not completely threaded,
but a loop in the thread was formed in the
eye of the needle, carefully pull the loop
through the eye of the needle to pull out the
end of the thread.
CAUTION
1
1
1
● When pulling out the thread, do not pull
it with extreme force, otherwise the
needle may break or bend.
1
F-combo-BrotherE_sgml.book Page 33 Thursday, November 17, 2005 3:39 PM