2. Press [Next].
3. Press [Yes] after a confirmation message if a print quality check has been completed appears on the LCD.
4. Press [Auto] or [Manual].
• If you select the [Auto] mode, the print alignment is automatically adjusted by scanning the Alignment
Check Sheet.
• If you select the [Manual] mode, you need to input information printed on the Alignment Check Sheet
manually.
5. If you selected the [Auto] mode, select the paper size to print the Alignment Check Sheet on.
6. Load specified size paper in the tray, and then press [Start].
The machine prints the Alignment Check Sheet.
7. Follow the instructions on the LCD.
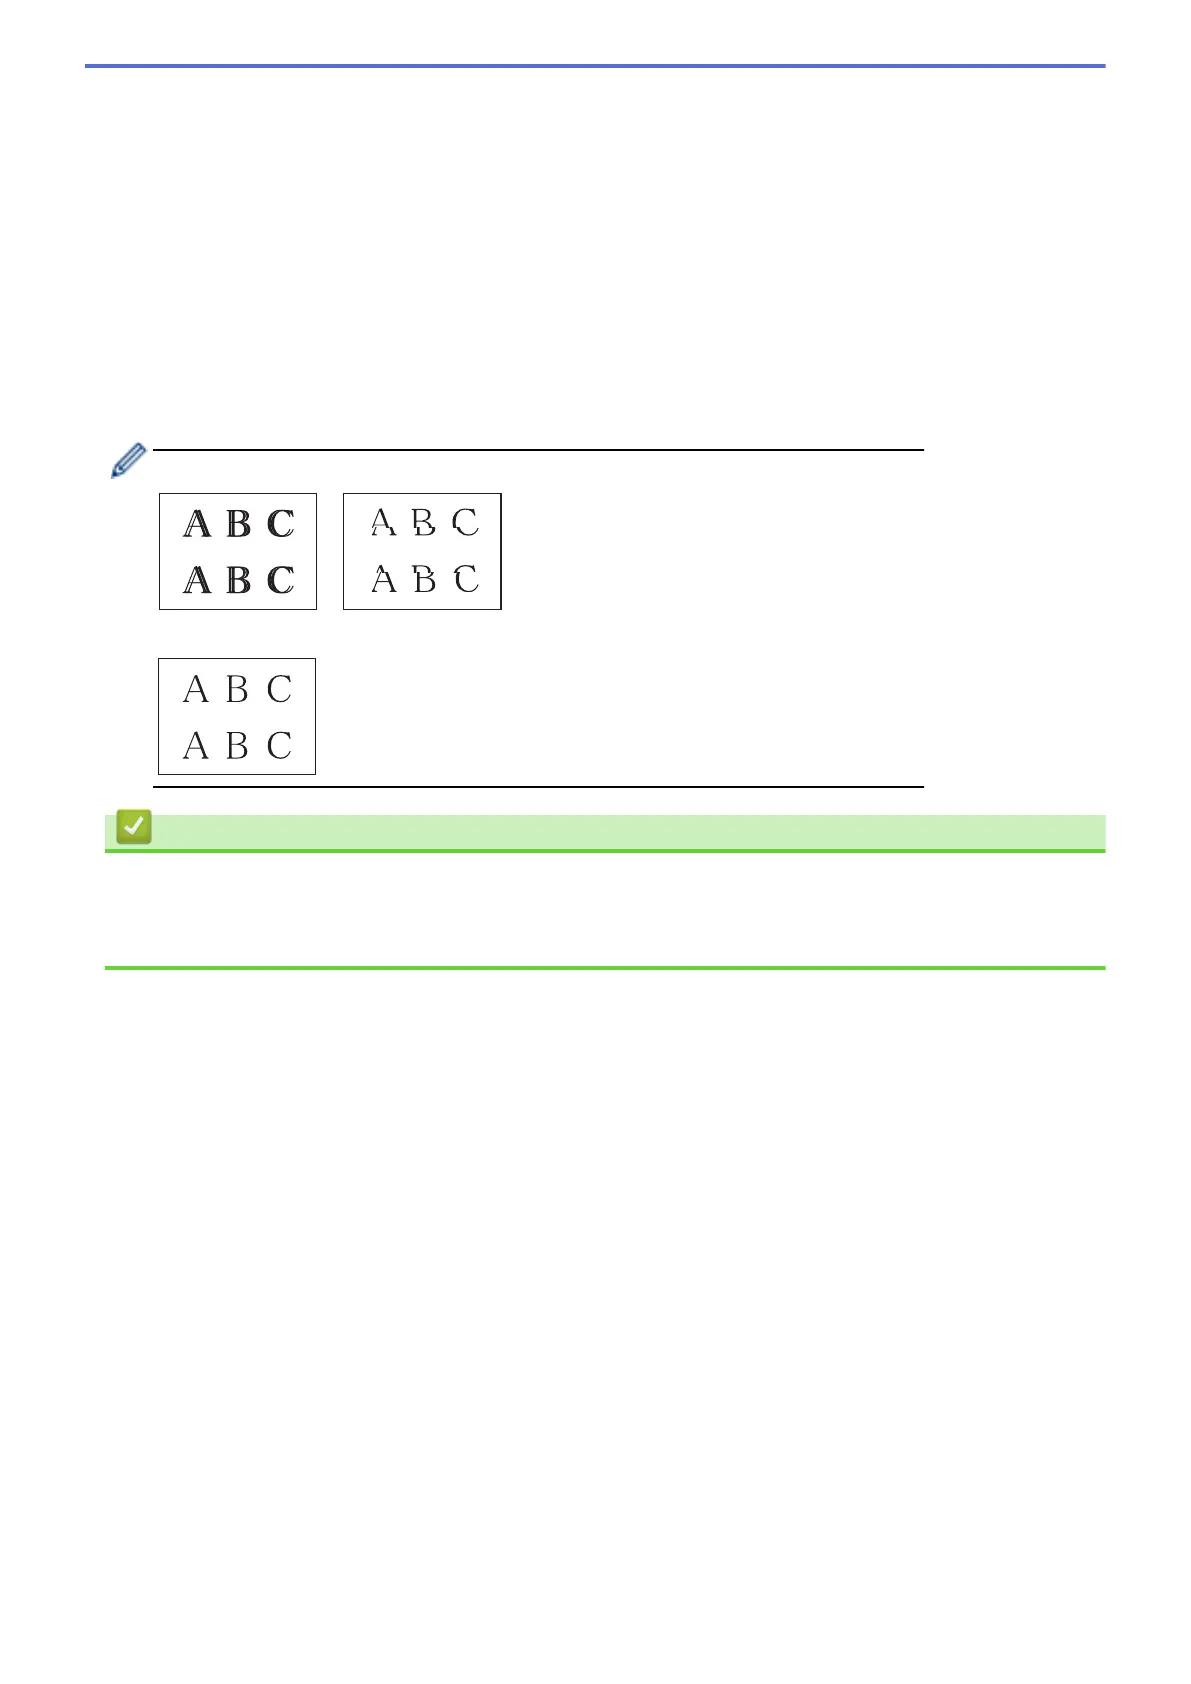
When the print alignment is not adjusted correctly, text looks blurry or crooked, like this:
After the print alignment is adjusted correctly, text looks like this:
Related Information
• Check Your Brother Machine
Related Topics:
• Paper Handling and Printing Problems
614
 Loading...