10
Tutorial
Adding Text and Converting an Image to an
Embroidery Design (Auto Punch Function)
In this section, we are going to use the Auto Punch function to automatically create an embroidery pattern from
an image.
This procedure will go through each step of the basic operation.
Step 1 Entering text
First, we will start up PE-DESIGN Lite and enter
text.
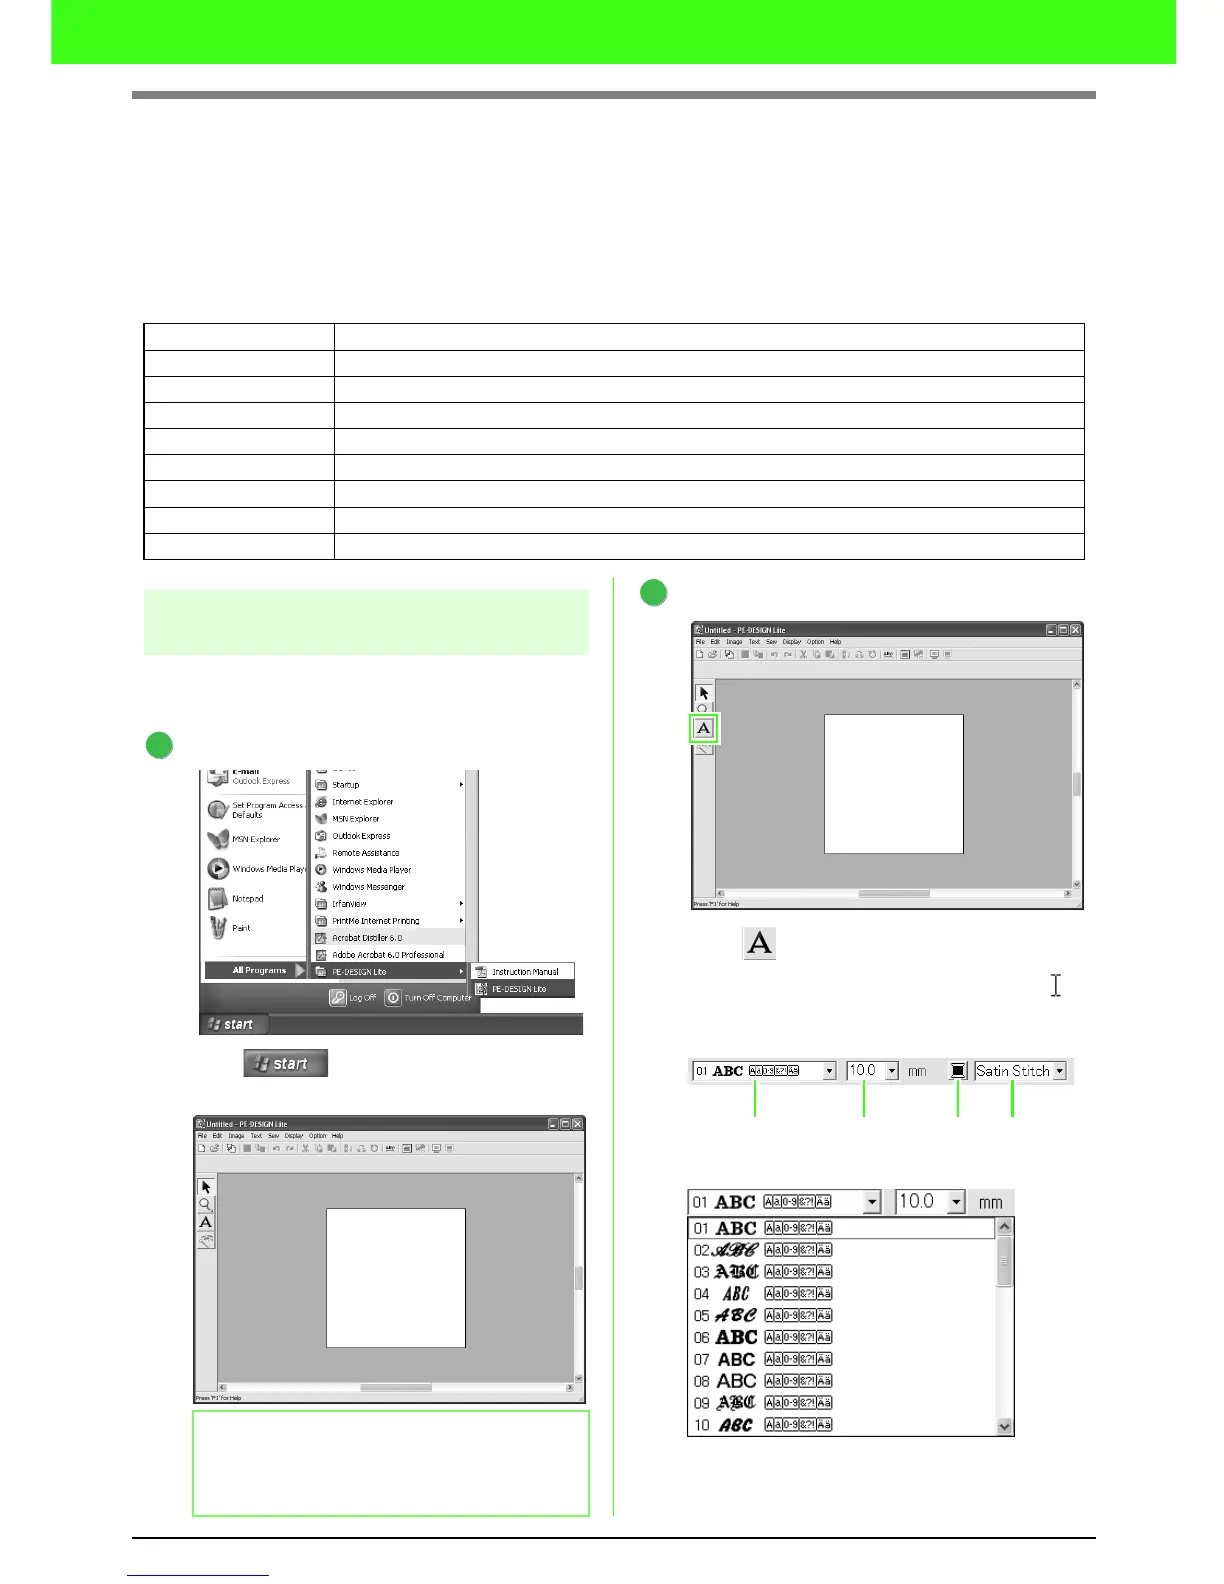
Start up PE-DESIGN Lite.
Click , then select All Programs,
then PE-DESIGN Lite, then PE-DESIGN Lite.
Enter the text.
Click on the Tool Box.
→ The shape of the pointer changes to ,
and the Sewing Attributes bar appears as
shown below appears.
Select the font. For this example, use the
default font, 01.
Step 1 Entering text
Step 2 Adjusting the text layout
Step 3 Importing image data
Step 4 Automatically converting the image to an embroidery pattern
Step 5 Specifying the sewing color and direction
Step 6 Changing the sewing order
Step 7 Displaying a preview of the embroidery
Step 8 Saving the embroidery design
Step 9 Transferring the design to an original card
b Memo:
The default value for the Design Page size in
this example is 100 x 100 mm.
1
2
Font
Tex t S i ze
Text body
color
Text body
sew type

 Loading...