pictures at the following frequencies: 5, 10, 20, 30, 60
seconds; 1, 2, 5, 10, 30 and 60 minutes.
TIMELAPSE DURATION
The timelapse duration can be set as well for the
cameras. The timelapse duration controls how many
hours per day the camera captures timelapse images. In
some locations you may want to take timelapse images
all day, while in other locations you may need to only
take images for 2 hours in the morning and 2 hours
before sundown. Your available TIMELAPSE DURATION
options are:
- ALL DAY Camera takes images from sunrise to sunset.
- 2, 3 or 4 HOUR These Durations limit the camera to
taking images either 2, 3 or 4 hours after sunrise and
2,3 or 4 hours prior to sunset.
NOTE:
Your trail camera learns the length of a day and constantly
adjusts the 2,3 or 4 hour durtion modes automatically.
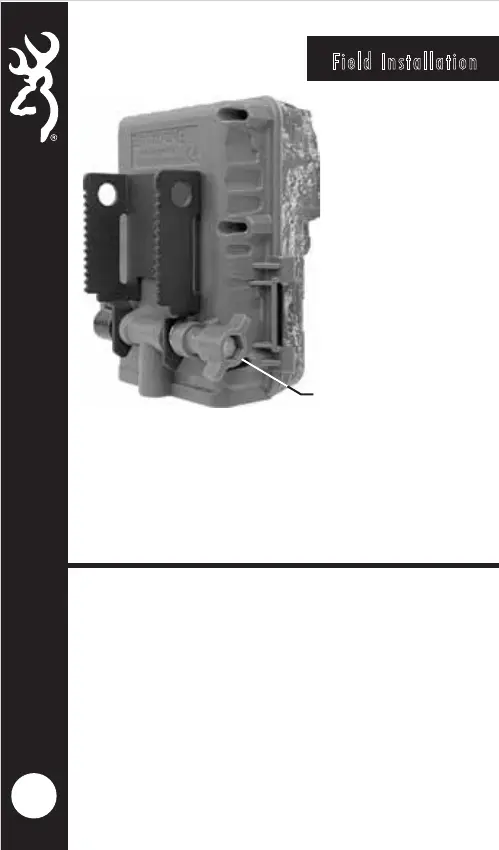
Field Installation
We recommend mounting your new trail camera at a
height of approximately 3 feet off the ground.
For best results, use the MOTION TEST feature after
mounting the camera. This ensures the camera is
pointed at the correct location.
The adjustable steel mounting bracket is also equipped
with built in security cable loops. These are perfect for
using a locking steel cable or a 5/16" Python™ cable
lock (not included).
17
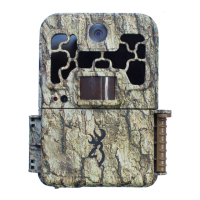
Your camera has a built in adjustable tree mount
bracket. After securing the camera to a tree, loosen the
tension knob on the side of the camera. Position the
camera at the correct angle, and re-tighten the tension
knob.
TENSION KNOB