PARTSTOBEINSTALLED
tbl2014-007-206_a
1. M12 x 60 Flan
ge hexagonal bolts
2. M12 flange elastic nuts
TIGHTENING TORQUE
Shock absorber nuts
54 N•m (40 lbf•ft)
6. Lower vehicle.
7. Reinstall covers.
Disc Cleaning
1. Remove wheels.
2. Clean brake disc. Use the
XPS BRAKES AND
PARTS CLEANER (USA) (P/N 219 701 705)
and a
clean rag.
NOTICE
A thin layer of anticorrosion product
can be present on the brake disc and must be
removed before using the vehicle. Not con-
forming to this procedure may lead to a brake
chattering and the brake pads replacement
would be necessary to solve the problem.
3. Reinstall wheels.
4. Tighten wheel lug nuts in a criss-cross se-
quence.
PARTS TORQUE
Wheel
lug nuts
100 N•
m (74 lbf•ft)
Cage Installation
1. Loosely assemble the rear section and both
middle sections of the cage.
tbl2014-007-204_a
LOOSELY ASS
EMBLED REAR AND MIDDLE SECTIONS OF THE
CAGE
PDI KIT PARTS QTY
M10 x 30 Torx screws 6
NOTE: DO NOT TIGHTEN screws until installa-
tion is completed.
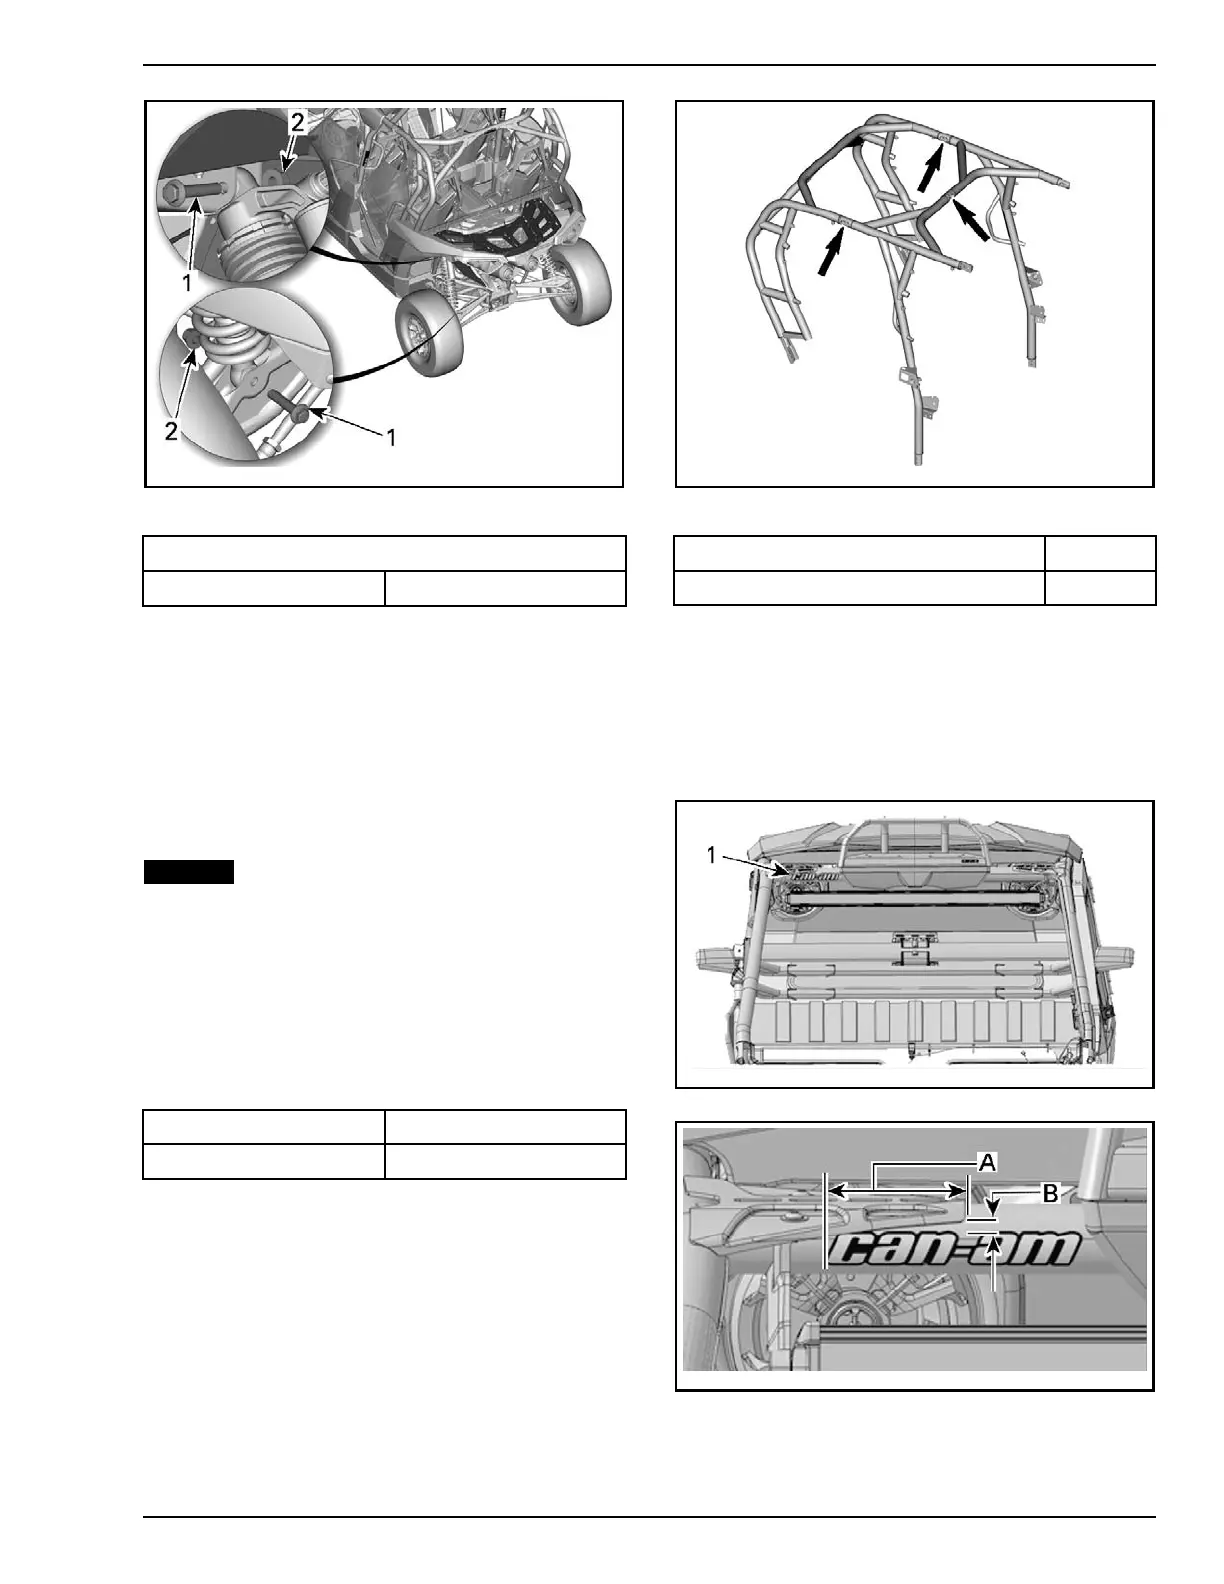
2. On X rs model, install the Can-Am decal on the
front tube of cage (located in glove box).
2.1 Clean the right portion of the front tube.
2.2 Install the decal.
tbl201
4-006-002_a
1. CAN-AM Label location
tbl2014-006-001_a
1. A.100 m m (4 in)
2. B.5 m m (0.2 in)
3. Remove rear fenders.
PREDELIVERY 2014-1 11 / 34