MATRON-Light with 2250-M Field Guide, Page 8
2.
Initial setting up procedure
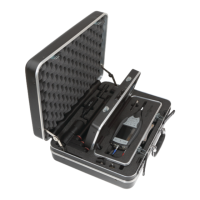
2.1.1 Before opening the outer case, ensure the “
Bruel & Kjaer
” label under the handle is
the correct way up.
2.1.2 Open the (outer) briefcase by pulling the outer edges of the clips on either side of the
carrying handle
2.1.3 Remove the inner brief case containing your 2250-M.
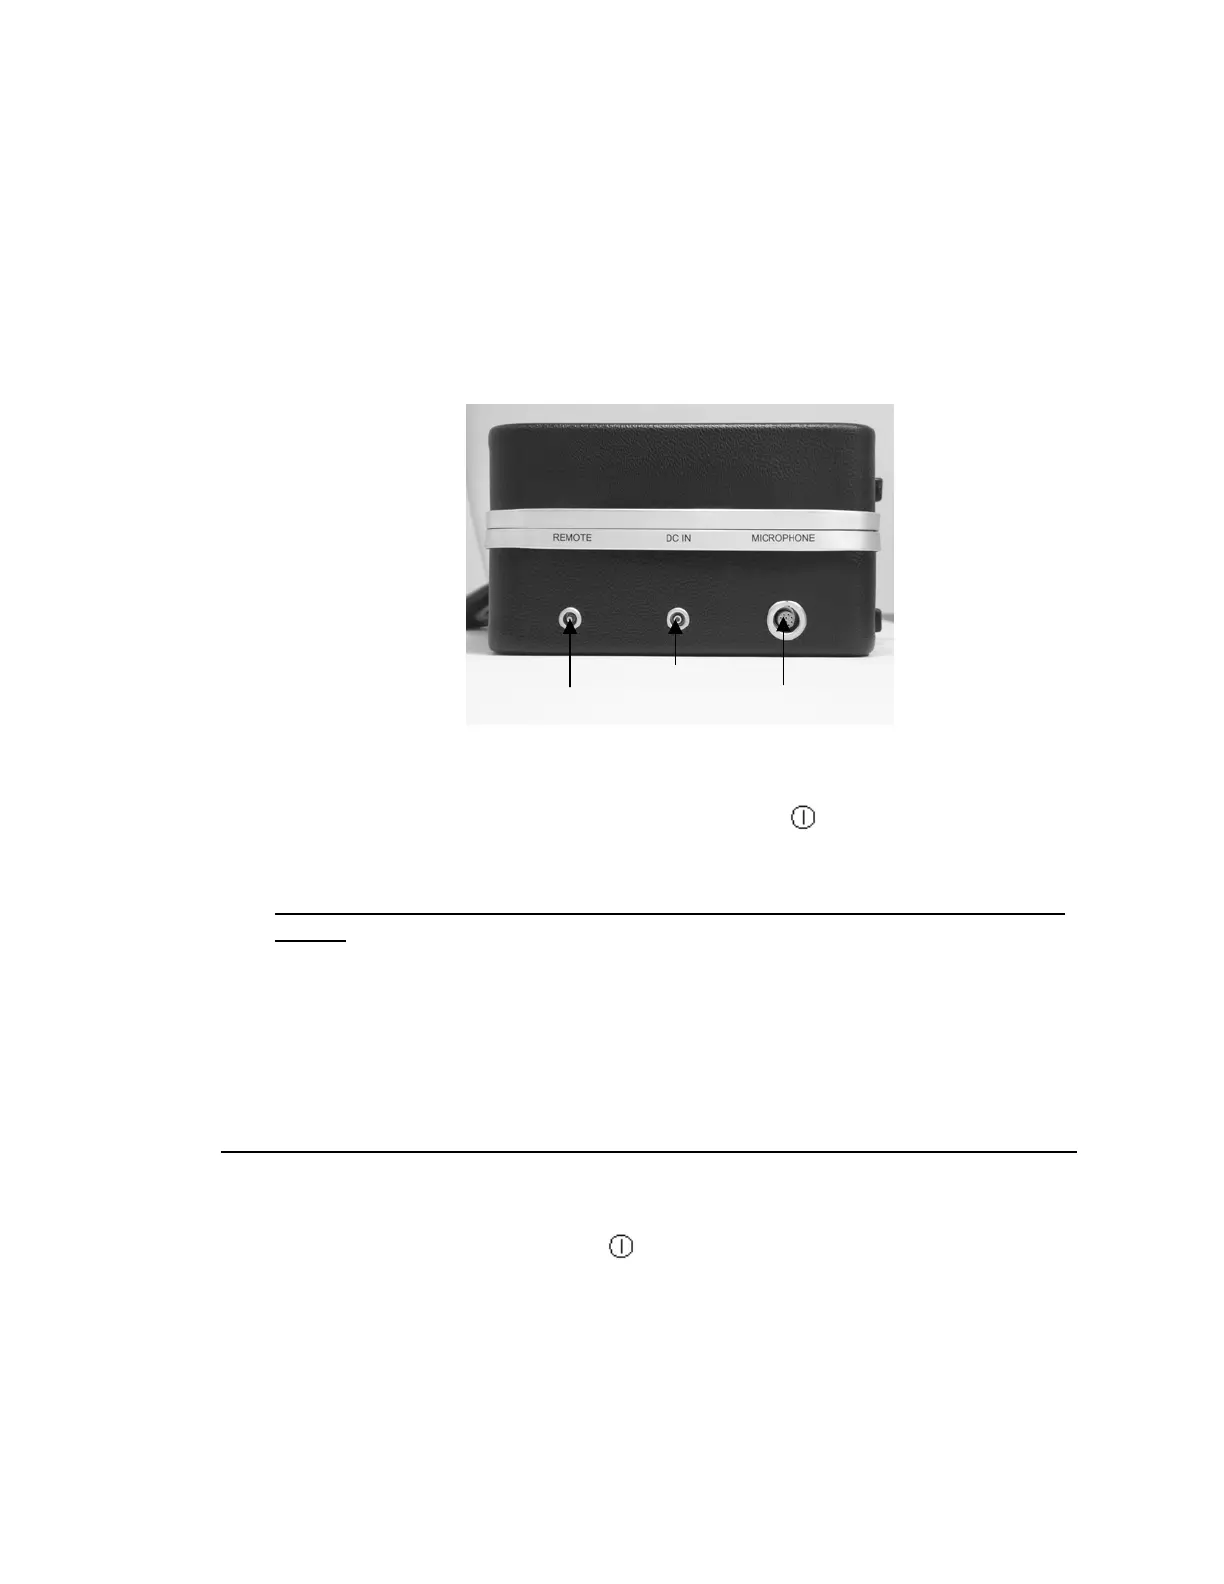
2.1.4 Attach the small Lemo plug at the end of the cable of the power supply (Type ZG-0426)
to the middle (Power (12V)) socket of the inner case as shown here:
2.1.5 Connect the mains supply cable to the ZG-0426 power supply and then to a power socket.
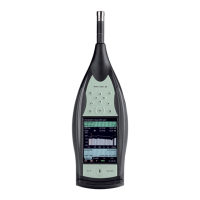
2.1.6 Switch on the 2250-M Hand-held analyser by pressing
(On/Off).
2.2
Preparing Type 2250-M Analyser to continuously log noise results & record audio
signals
:
Please note that your new Type 2250-M Noise analyser is delivered pre-configured to work as
part of the MATRON-Light system.
The following notes detail the settings used in this configuration so that you can change them if
you wish.
If you wish to operate the MATRON-Light with the default settings, proceed to Section 3
.
2.2.1 Apply power to your MATRON-Light system as described in 2.1.5.
2.2.2 Switch on the 2250-M by pressing
(On/Off).
2.2.3 After a short time a screen similar to this one should appear:
Hand-switch
Power (12V)
Microphone
extension cable
Hand-switch
Power (12V)
Microphone
extension cable
 Loading...