MATRON-Light with 2250-M Field Guide, Page 18
4. Installing the MATRON-Light system at complainant’s home
Locate the MATRON-Light system in a position where the complainant would
normally be when hearing the noise under investigation.
4.1 The microphone and preamplifier (connected to the microphone extension cable) should be
mounted on the short extension rod of the fold-flat tripod Type UA-1251 by using Tripod
Adaptor Type UA-0588.
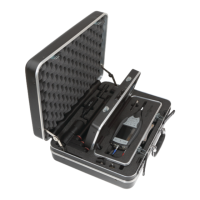
4.2 The other end of the microphone extension cable (Type AO-0441) should be connected to the
corresponding socket (right-hand one viewed from the side of the case) on the right-hand side
of the small case.
4.3 Attach the small Lemo plug at the end of the cable of the power supply (Type ZG-0426) to the
middle (Power (12V)) socket marked “DC IN”. Connect the mains supply cable to the ZG-
0426 power supply and then to a power socket.
4.4 Remove the hand-switch and its cable from the brief case and connect the plug to the
corresponding socket marked “REMOTE”.
Starting 2250-M
When your MATRON-Light system has been assembled, start it running with the following
procedure.
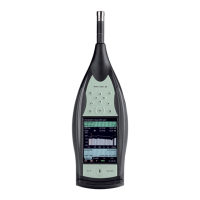
4.5 Switch on the 2250-M by pressing
(On/Off).
4.6 Press
(Start/Pause) and the measurement will start (flashing amber traffic lights change
to green).
4.7 Apply Calibrator Type 4231 to the remotely-mounted microphone and activate by pressing
On/Off
(
on some models). You may observe the green lights on your 2250-M change to
red (overload) as the calibrator is applied. This is normal as the pressure change at the
Hand-switch
Power (12V)
Microphone
extension cable
Hand-switch
Power (12V)
Microphone
extension cable
 Loading...