14
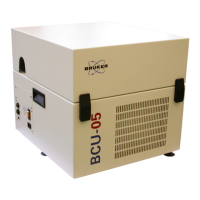
20 These two screws must be installed back in the holes in the Z axis bearing, as shown below.
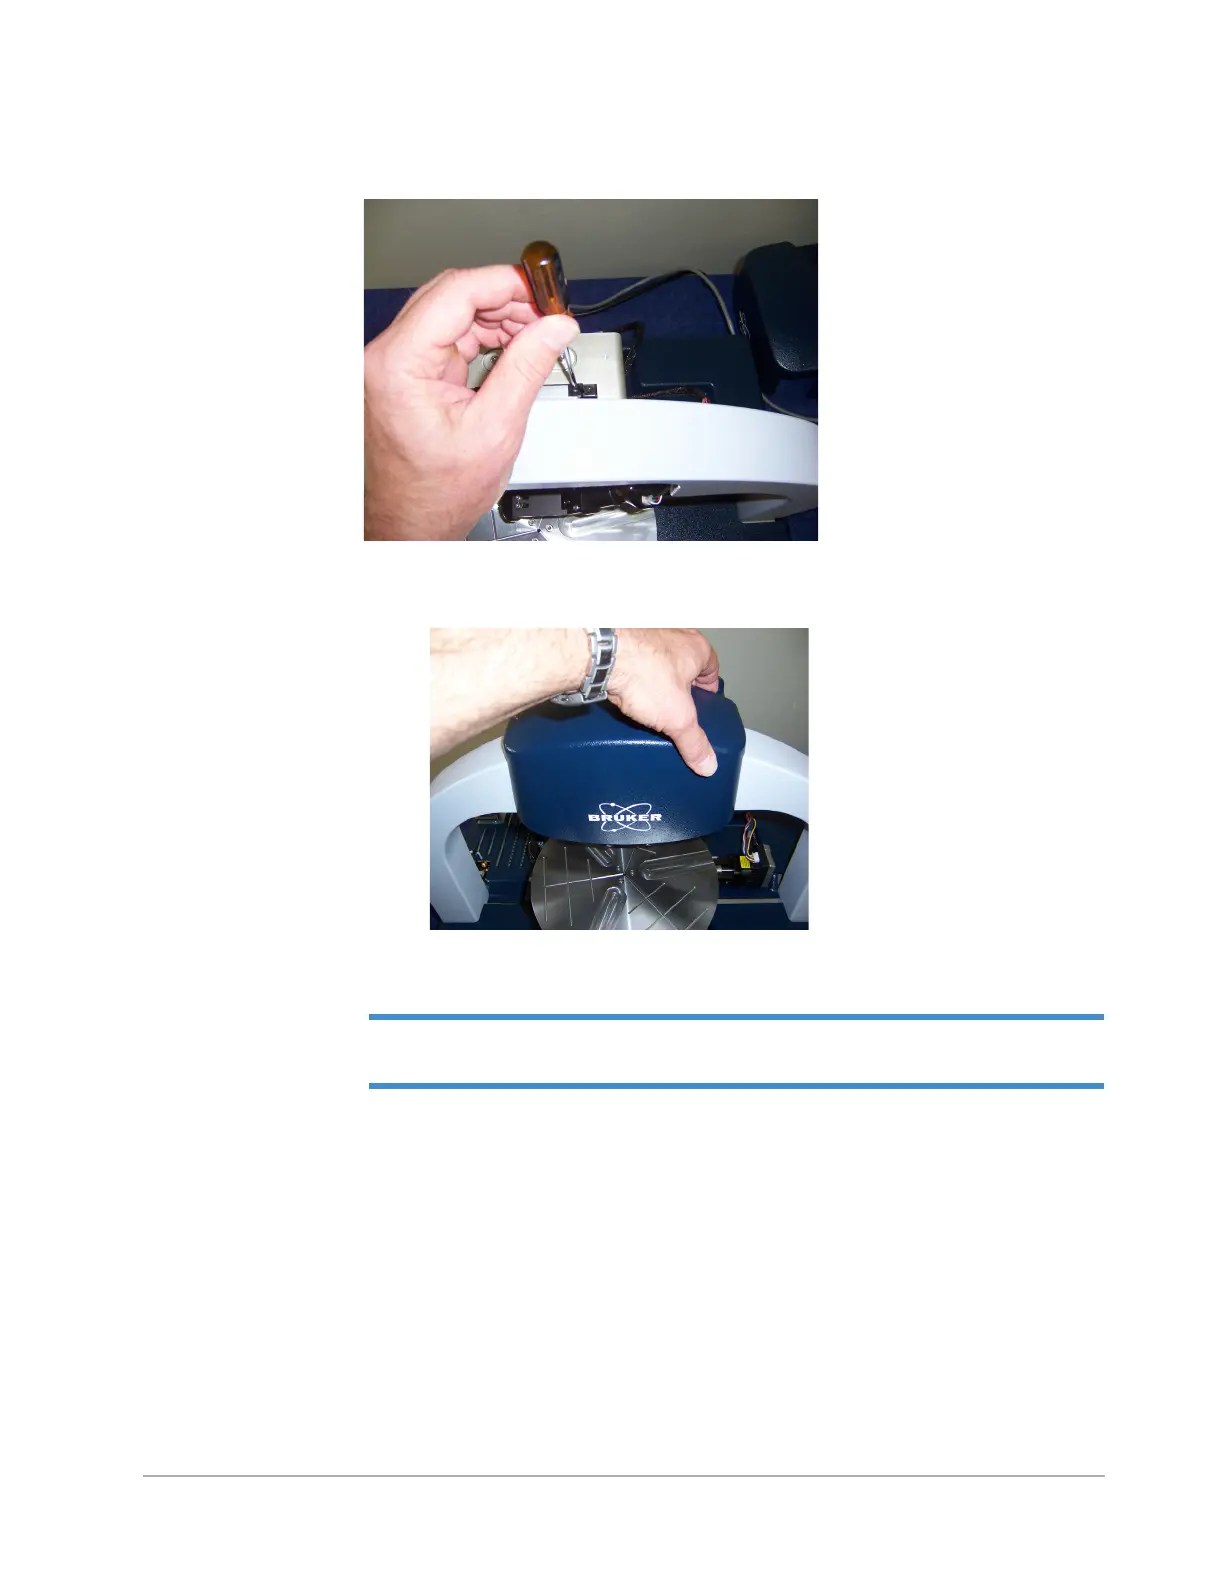
21 Now replace the head cover, lowering the left side first.
22 Place the environmental over the fully assembled DektakXT tool. Make sure that the enclosure does not
touch the edges of the DektakXT itself.
NOTE – Always take measurements with the enclosure over the tool with the door closed,
since air currents and noise will affect measurements without this protection.
23 Pass the three power cables through the opening at the bottom of the back of the environmental enclosure.

 Loading...